
Initiate a login flow
There are several ways to initiate a login flow:
-
Default login flow: The system uses the default login flow, unless the journey ID is provided in the ACR value.
-
Relying party: The relying party can provide the journey ID as an ACR value, using the following format:
urn:onewelcome:ujo:v1:auth:journey:id:{Journey ID} -
Default ACR or Authentication Context Class References value: Set the default ACR value for OIDC web clients or set the Authentication Context Class References value for SAML applications. The default ACR or Authentication Context Class References value specifies the journey ID in the following format:
urn:onewelcome:ujo:v1:auth:journey:id:{Journey ID}
Set the default login flow
There can only be one default login flow. When you set a flow as default, the previous flow reverts to being a regular, non-default, flow.
You can set a login flow as default on the Login flows screen or on the flow editor:
-
On the Login flows screen, select the menu for the flow and then select Make default.
-
In the top-right corner of the flow editor, select the menu and then select Make default.
Set the login flow for an OIDC web client
To ensure that an OIDC web client uses a specific login flow, you can set the default ACR value for the web client. For the ACR value, provide the ID for the login flow that you want to use in the following format:
urn:onewelcome:ujo:v1:auth:journey:id:{Journey ID}
The web client uses the specified login flow, unless the authentication request specifies a different journey ID in its ACR value.
-
On the OneWelcome Identity Platform console, on the Login flows page, copy the login flow ID that you want to associate with a specific web client.
You can also find the Journey ID on the Journey information side sheet, on the right side of the flow editor.
Note
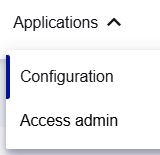
To easily get to the Access admin console, in the top-right of the OneWelcome Identity Platform console, select Applications > Access admin. The Access admin console opens in a new tab.
-
On the Access admin console, go to Configuration > Web clients.
The Web clients page lists the clients that are configured for your tenant.
-
Locate the web client that you want to associate with the journey ID that you copied.
-
In the Actions column for that web client, select Edit.
The Edit Web client page opens and shows the configuration for the selected client.
-
Scroll down to the ACRs section.
-
In the Default ACRs field, select or enter the ACR value with the journey ID in the following format:
urn:onewelcome:ujo:v1:auth:journey:id:{Journey ID}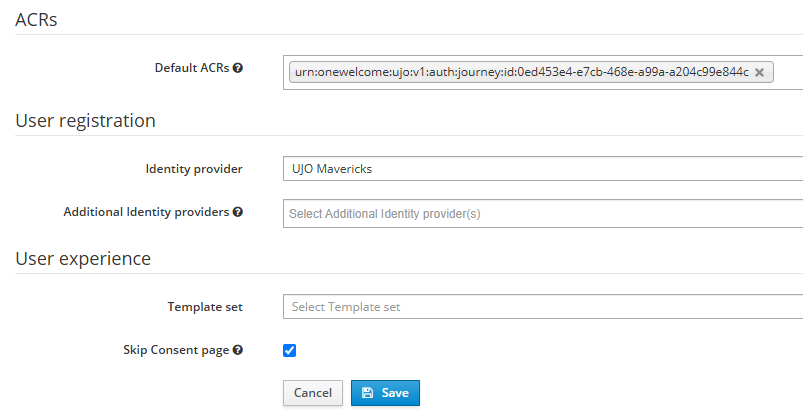
You can also include an ACR value with the journey ID. The order in which you specify them affects the outcome:
-
ACR level + journey ID: The login flow is selected and the achieved ACR level is reported back.
-
Journey ID + ACR level: The login flow is selected and the executed login flow is reported back.
-
ACR level (only): The default login flow is selected and the achieved ACR level is reported back.
-
Journey ID (only): The login flow is selected and the executed login flow is reported back.
-
-
Select Save.
Set the login flow for a SAML application
To ensure that a SAML application uses a specific login flow, set the default Authentication Context Class References (ACR) value for the application. For the ACR value, provide the ID for the login flow that you want to use in the following format:
urn:onewelcome:ujo:v1:auth:journey:id:{Journey ID}
The application uses the specified login flow, unless the authentication request specifies a different journey ID in its ACR value.
-
On the OneWelcome Identity Platform console, select: Core > Applications.
-
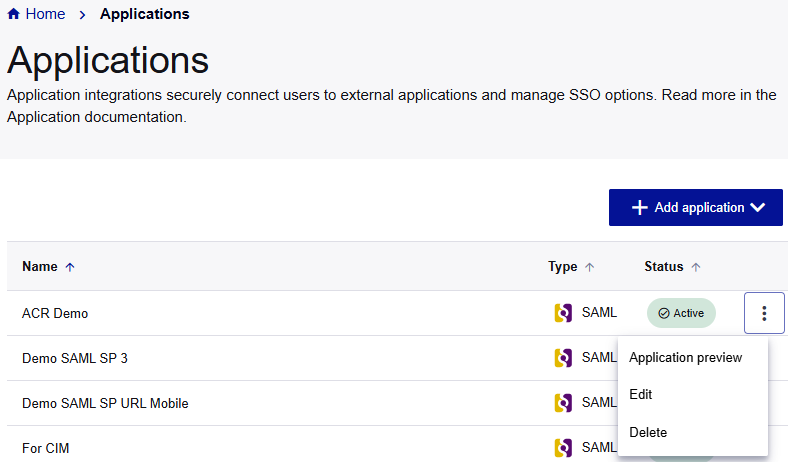
On the Applications page, locate the application that you want to update with an ACR value.
-
In the application menu, select Edit.
You can also specify the Authentication Context Class References when you add a SAML application.
-
On the Edit SAML application page, go to the end of the SAML SP configuration section.
-
In the Default Authentication Context Class References field, select or enter the value with the journey ID in the following format:
urn:onewelcome:ujo:v1:auth:journey:id:{Journey ID}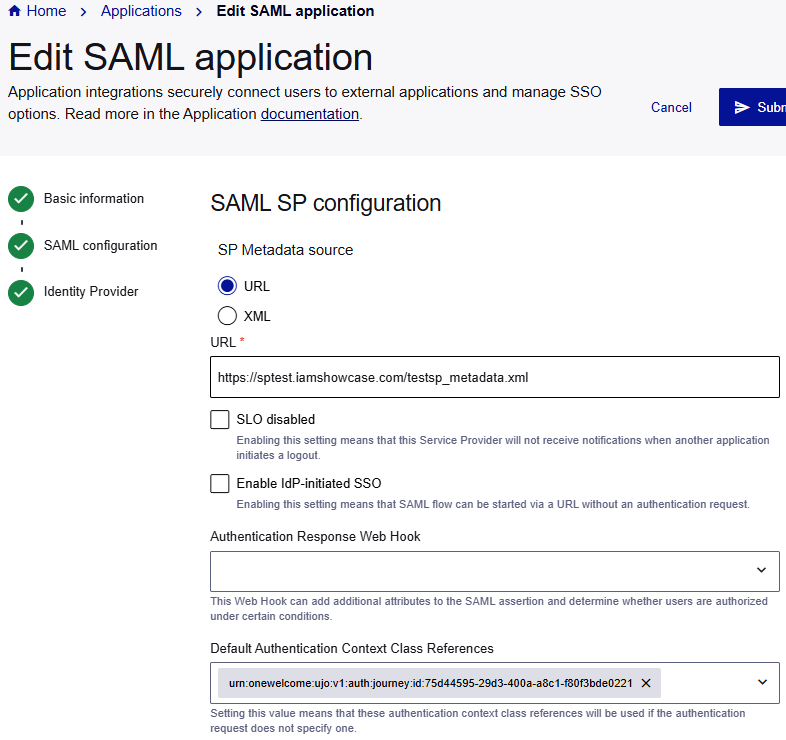
-
Select Submit.