
Email templates
The OneWelcome Identity Platform provides templates for the the email messages that are used in user journeys. For example, a step in a user journey can trigger the system to send an email when a user registers their account or resets their password. In these cases, you could create email templates for account registration or password reset messages.
You can customize the email templates so that your users receive emails whose content, style, and imagery match your organization's identity and needs. For example, you can create email templates for each language and locale that your organization supports.
View email templates
You can view the email templates on the OneWelcome Identity Platform admin console. The view shows a list of defined email templates.
-
Log in to the OneWelcome Identity Platform admin console.
-
If you have more than one tenant, select the tenant.
-
In the left page, select Customizations > Email templates (Classic).
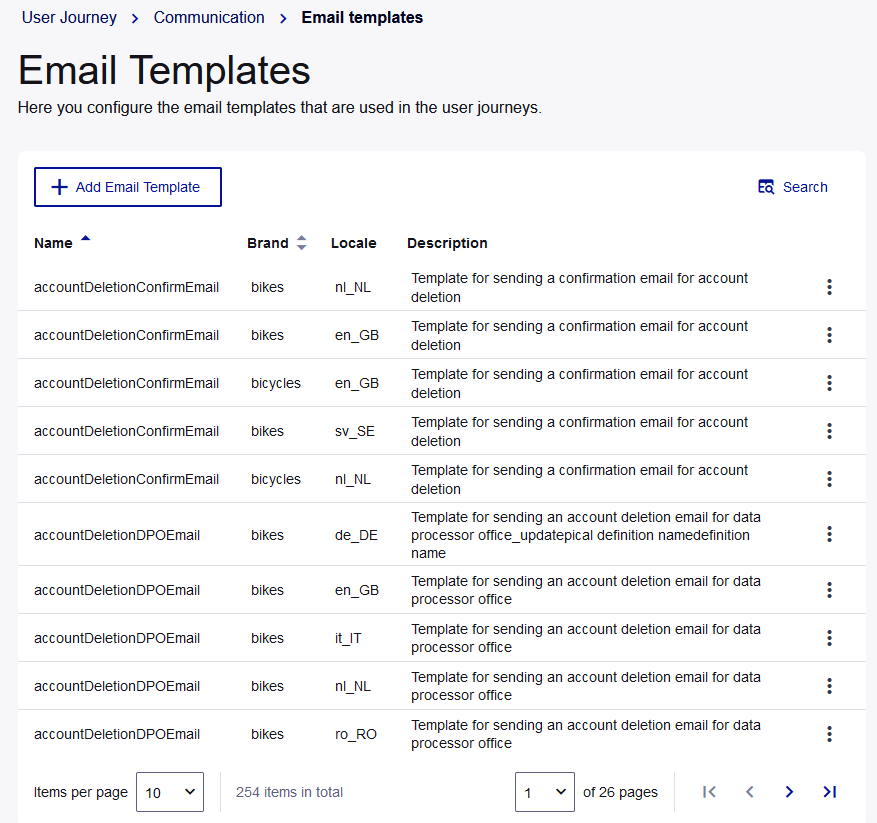
The list of email templates displays the following information:
-
Name
-
Brand
-
Locale
-
Description
-
Add email templates
Create custom templates for the email messages that are sent to your users as part of a user journey.
The combination of the template name, brand, and locale must be unique. For example, you can have multiple email templates named password-reset as long as each template specifies different brands or locales.
-
On the Email Templates page, select Add Email Template.
-
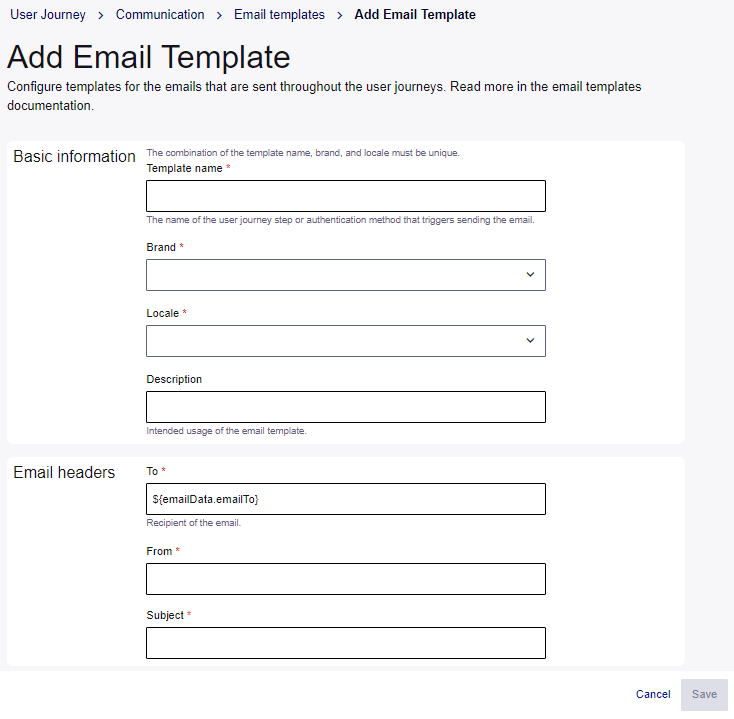
In the Basic information section, enter a unique Template name.
For example, the name can identify the user journey step or authentication method that triggers the email.
-
Select the Brand and Locale.
-
(Optional) Enter a Description.
-
In the Email headers section, in the To field, enter the email addresses for the recipients. The default recipient is ${emailData.emailTo}, which is a placeholder for the email address of the user who triggered the step. The user journey replaces this placeholder with the user's email address.
-
In the From field, enter the email address of the sender.
-
Enter the email Subject.
-
In the Body section, in the Template box, enter the email message in HTML format. To incorporate dynamic content, use the Velocity Template Language.
-
Select Save. Your template is added to the list on the Email Templates page.
View email template details
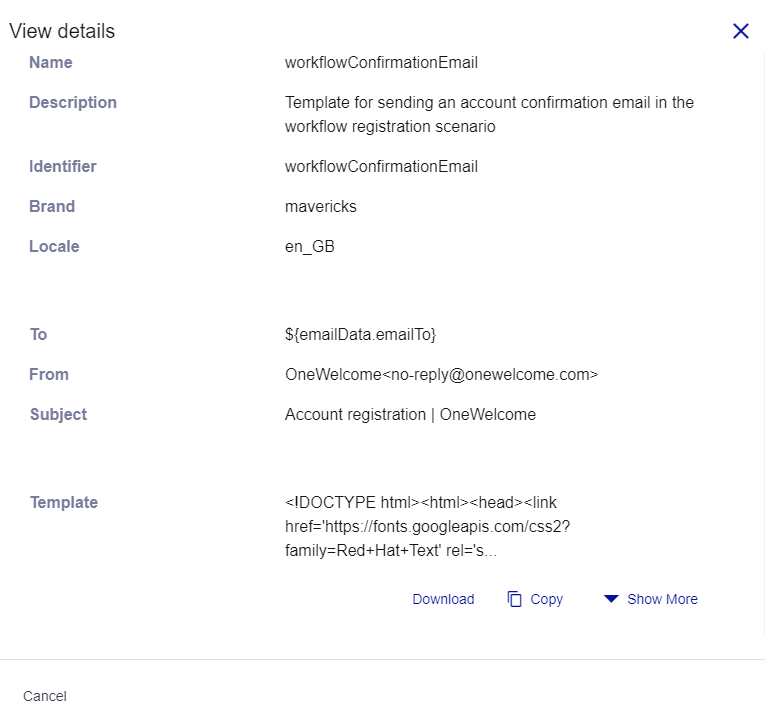
When you view the details for an email template, you can also download, copy, and view the complete HTML for the template body.
-
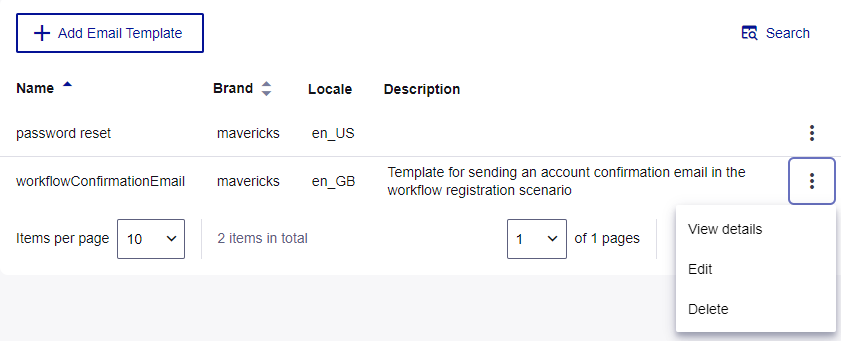
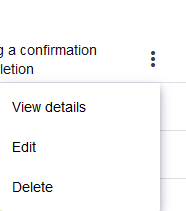
On the Email Templates page, select the menu for the template that you want to view, and select View details.
The View details page includes all the information in the template. At the bottom of the screen, there are options for downloading, copying, and showing the complete template body.
-
To show the complete HTML for the template body, at the bottom of the screen, select Show More.
Download the email template
You can download the email template as an HTML file.
-
On the Email Templates page, select the menu for the template that you want to view, and select View details.
-
At the bottom of the View details screen, select Download.
Copy the email template
You can copy the HTML body of the email template to the clipboard. For example, you can paste the HTML body in another email template and modify it.
-
On the Email Templates page, select the menu for the template that you want to view, and select View details.
-
At the bottom of the View details screen, select Copy.
Edit the email template
-
On the Email Templates page, select the menu for the template that you want to edit, and select Edit.
-
Edit the template as required, and then select Save.
Search for email templates
-
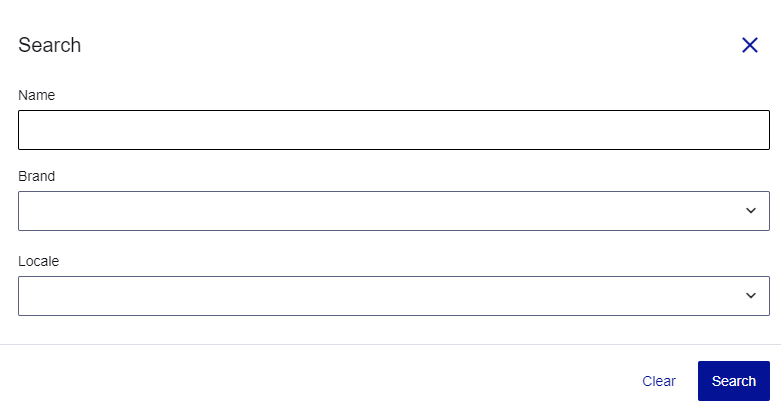
On the Email Templates page, select Search.
-
On the Search screen, enter your search criteria. You can search by Name, Brand, or Locale.
The Email Templates page lists the search results.
-
Select Search.
Delete the email template
-
On the Email Templates page, select the menu for the template that you want to delete, and select Delete.
-
On the confirmation message, select Delete.