
SAML external IDPs
The SAML identity provider is the generic implementation for IDPs that use the SAML authentication protocol.
However the identity broker also includes SAML implementations for specific external IDPs, including eHerkenning and DigiD.
To configure the two-way communication between the OneWelcome Identity Platform and the external IDP, you need to configure settings in both the OneWelcome Identity Platform and the external IDP.
For the OneWelcome Identity Platform, you configure the settings on the console. For each IDP, you need to configure the following information in the identity broker module:
-
Basic information
-
Connection details
-
Variants
-
Attribute mappings
Configure SAML basic information
-
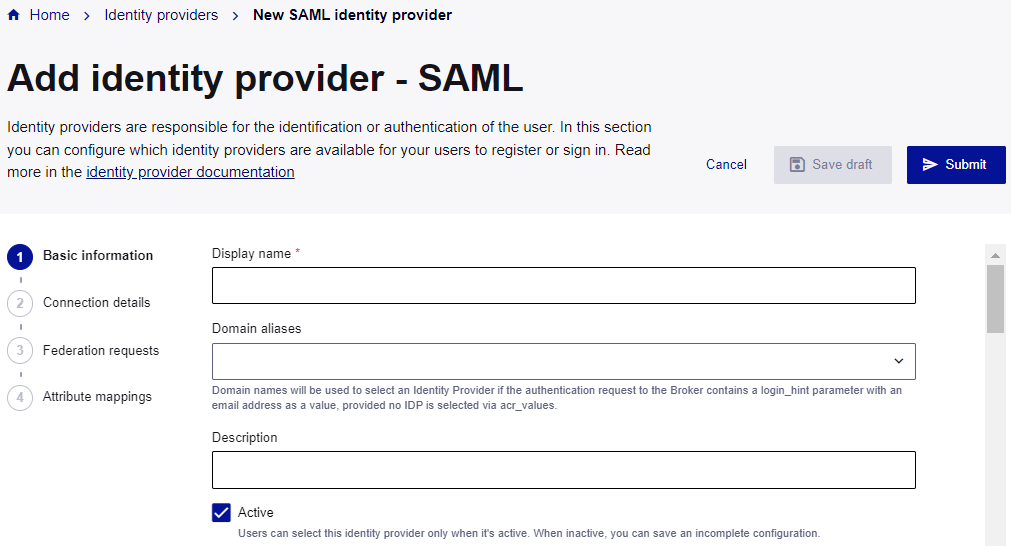
On the Identity providers page, select Add identity provider, and then select SAML.
-
In the Basic information section, enter a Display name.
The display name is used in the OneWelcome Identity Platform, but is not visible to your users.
-
(Optional) Add any Domain aliases.
Domain names are used to match a user's email address with a specific IDP. They're used when
acr_valuesare not used to select the IDP and the authentication request to the identity broker contains alogin_hintparameter with an email address as a value.Domain aliases must follow these rules:
-
You can add up to 26 domain aliases.
-
The maximum length of a single domain is 253 characters.
-
The allowed sequence is
[subdomain].[...].[subdomain].[topLevelDomain.tld] -
The allowed characters are:
- Letters (a-z and A-Z)
- Numbers (0-9)
- Hyphens (-)
- Dots (.) are allowed only between sequences of letters, numbers, and hyphens (with a maximum of 63 characters each)
-
-
(Optional) Enter a Description.
-
Set the state of the IDP:
-
To make the IDP available to users after you save it, select the Active check box.
-
To allow you to save an incomplete configuration or to prevent the IDP from being available to users after you save it, clear the Active check box.
You can change the state at any time.
-
Configure SAML connection details
The SAML connection details include the metadata file that the identity provider needs. You can either provide a URL for the metadata, or provide the metadata as raw XML.
-
Select the Identity provider metadata:
-
To use a metadata file, select Dynamic from URL, enter the Metadata URL, and then click Load.
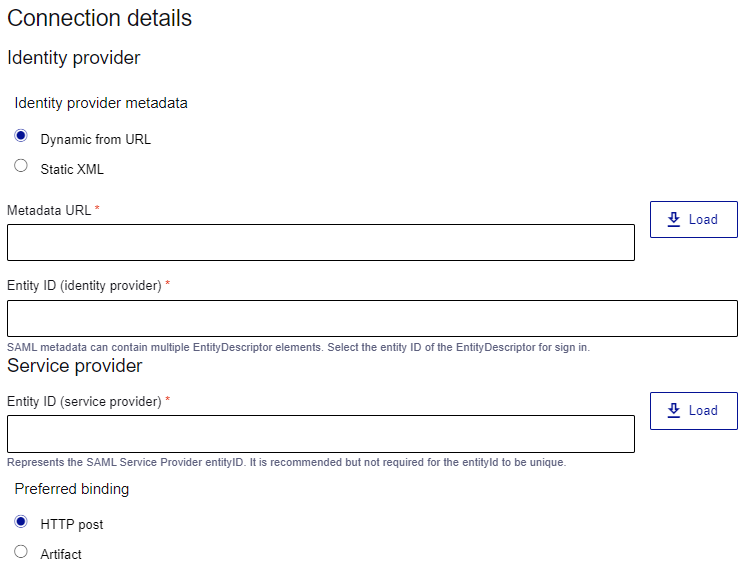
The Entity ID (identity provider), Entity ID (service provider), and Preferred binding fields populate automatically.
If these fields do not populate automatically, validate your metadata URL or manually update the fields.
-
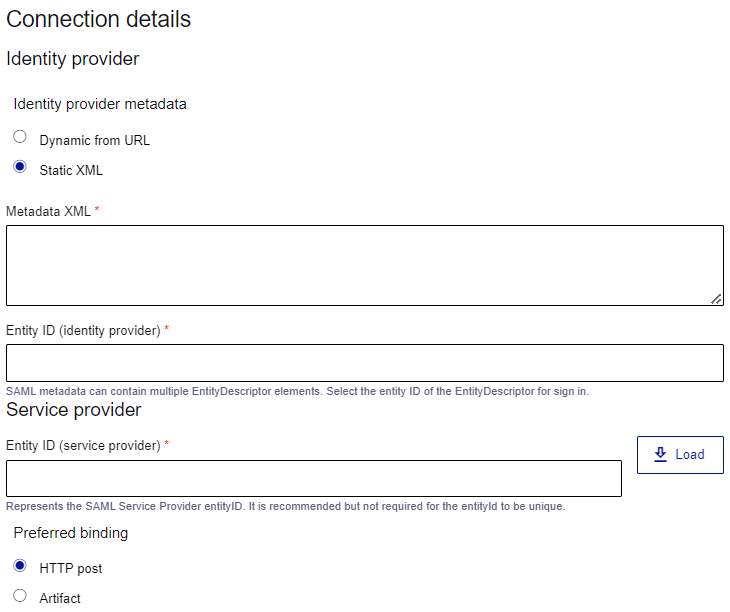
To enter the metadata XML, under Identity provider metadata, select Static XML, and enter the following information:
-
Metadata XML: Enter the metadata as raw XML.
-
Entity ID (identity provider): Indicate which entity descriptor from the metadata to configure for login.
-
Entity ID (service provider): Enter the SAML service provider entity ID. It is recommended, but not required, for the entity ID to be unique.
-
Preferred binding:
-
HTTP Post
-
Artifact
-
If certificates expire, you have to manually update them in the configuration.
-
-
-
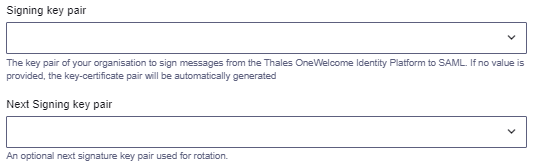
Select or add a Signing key pair that your organization uses for signing messages from the OneWelcome Identity Platform to SAML.
If you don't select a key pair, the OneWelcome Identity Platform generates one.
-
To add a signing key pair, under Signing key pair, select Add key pair.
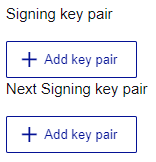
-
Enter a Display name for the key pair.

-
Select the Private key (.key) and the Certificate (.crt), and then select Add key pair.
-
To add another key pair, under Next Signing key pair, select Add key pair.
-
-
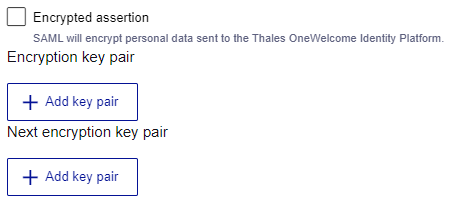
To encrypt personal data that is sent to the OneWelcome Identity Platform, select the Encrypted assertion check box.
If you don't add a key pair, the OneWelcome Identity Platform generates one.
-
Select or add an Encryption key pair.
-
To add an encryption key pair, select Add Key Pair and enter a Display name.
-
Select the Private key and the Certificate, and then select Add key pair.
-
To add another key pair, under Next encryption key pair click Add Key Pair.
-
-
To enable a mutual TLS connection for back-channel communication, select the Enable Mutual TLS check box.
If you don't add a key pair, the OneWelcome Identity Platform generates it.

-
Select or add a Mutual TLS keystore key pair.
-
To add a mutual TLS keystore key pair, select Add key pair and enter a Display name.
-
Select the Private key and the Certificate, and then select Add key pair.
-
Select or add a Mutual TLS truststore certificate.
-
To add a mutual TLS truststore certificate, select Add certificate and enter a Display name.
-
Select the Certificate, and then select Add certificate.
-
-
To ensure that logout requests are propagated to the identity provider to end the user's session, select the Single logout check box.

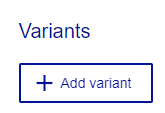
Add SAML variants
You must add at least one variant. Variants allow you to send different authentication requests, with different scopes, claims, and ACR values, to an IDP.
You might use variants for several reasons:
-
Multiple services: If you manage several services through one connection, such as in case of representation or delegation, variants help you send specific requests for each service.
-
Different purposes: Whether you need to authenticate users, identify them, or just verify that they are over 18, variants allow you to adjust the requested attributes accordingly.
-
Levels of assurance: If your portal requires different levels of assurance, variants enable you to customize the authentication request to meet these requirements.
-
Under Variants, select Add variant.
-
Enter a Variant name. Each variant in this SAML identity provider must have unique name.

-
To specify which authentication method to use at the external identity provider, enter the Authentication context class reference (ACR) value.
-
Set the Authentication context comparison value, which is the authentication level that is required:
-
Minimum
-
Exact
-
Maximum
-
Better
-
-
To make the variant active when you save the IDP, select the Active check box.
-
To force users to authenticate at the identity provider, even if they have an existing session, select Force authentication.
-
To add another variant, select Add variant and repeat the steps above.
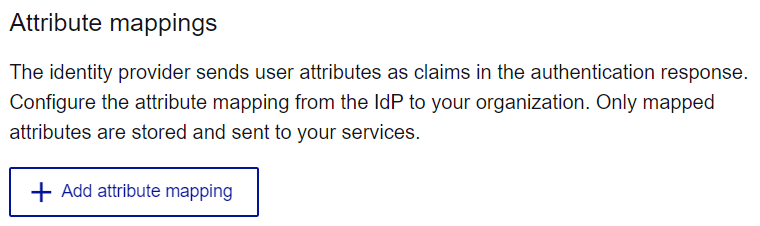
Map SAML attributes
Configure the attribute mapping from the IDP to your organization. Mapping SAML attributes provides the ability to rename attributes received from the external IDP. If you don't configure attribute mappings, a one-to-one mapping is attempted by default. Only mapped attributes are stored and sent to your services, and the other attributes are disregarded.
The identity provider sends user attributes as claims in the authentication response.
-
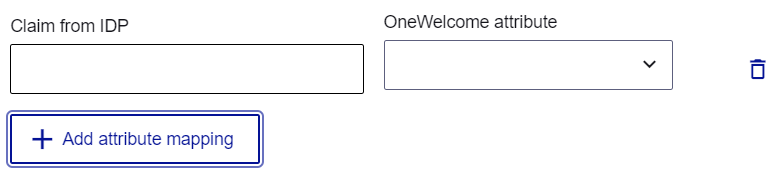
(Optional) Select Return original assertion.
-
Click Add attribute mapping.
-
Enter the Claim from IDP and the equivalent OneWelcome attribute to map attributes between the identity provider and the OneWelcome Identity Provider.
Repeat this procedure for each identity provider claim that you want to map to a OneWelcome Identity Provider attribute.
-
Save your IDP configuration:
-
To save an incomplete IDP configuration or a draft that is not available to users, select Save draft.
-
To save the IDP configuration that is available to users, select Submit.
-