
Test your external IDP
Generally, to test an external identity provider that you configured in the identity broker, you must log in to the OneWelcome Identity Provider console and select the tenant you are working on:
For testing purposes, you can use OAuth tools as a test portal.
Set up the identity broker in Access
If an identity provider of the type identity broker exists, you can skip this step.
-
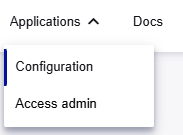
In the top-right of the OneWelcome Identity Platform console, select Applications > Access admin.
-
On the Access admin console, go to Configuration > Identity providers.
-
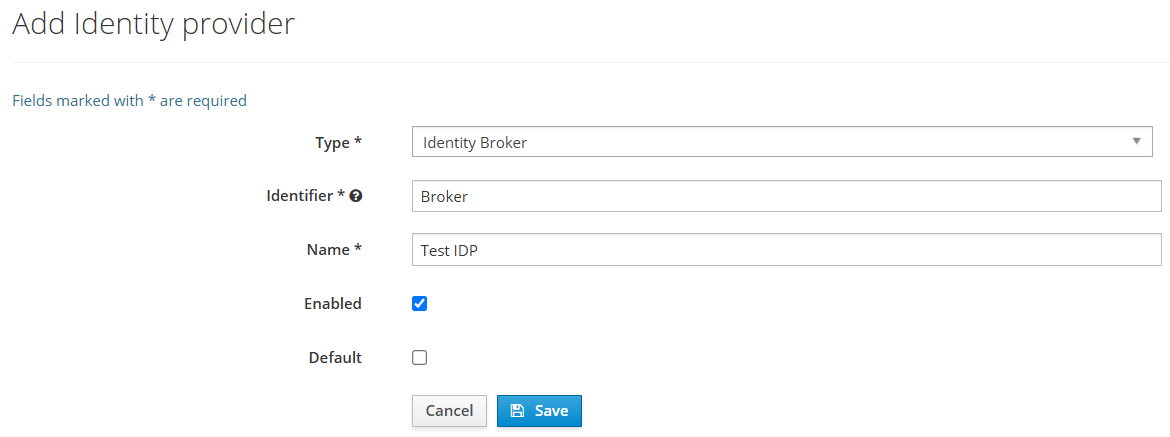
Click Add identity provider.
-
In the Type list, select Identity Broker.
-
Enter an Identifier and Name.
-
Select the Enabled check box, but leave the Default check box unchecked.
-
Click Save.
Set up a web client in Access
If you already set up a web client for testing, you can skip this step.
-
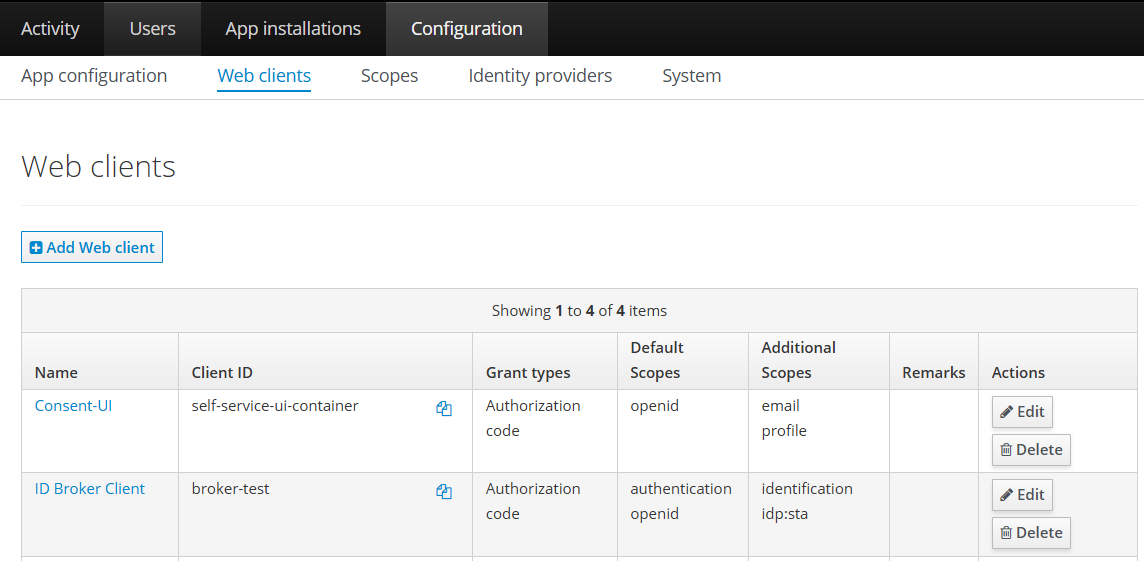
On the Access admin console, go to Configuration > Web clients.
-
Click Add Web client.
-
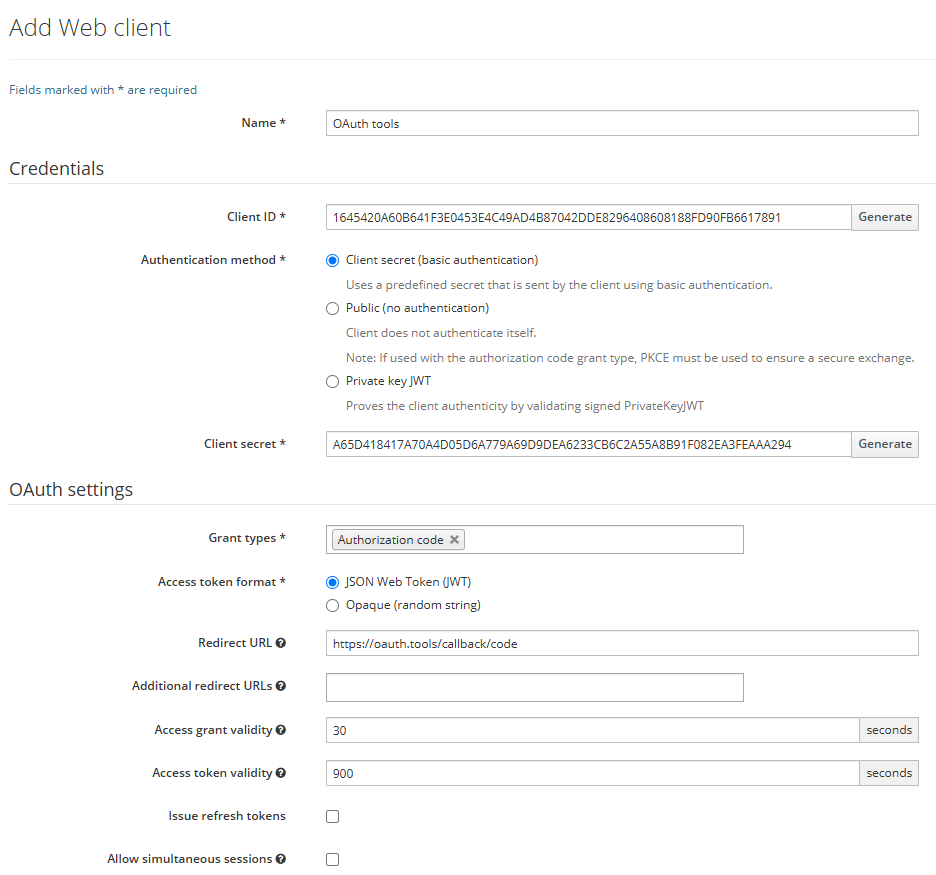
Enter a Name.
-
In the Credentials section, for the Client ID, click Generate and copy the value.
-
For the Authentication method, select Client secret (basic authentication).
-
For the Client secret, click Generate and copy the value.
-
In the OAuth settings section, for the Grant types, select Authorization code.
-
Enter this Redirect URL:
https://oauth.tools/callback/code. -
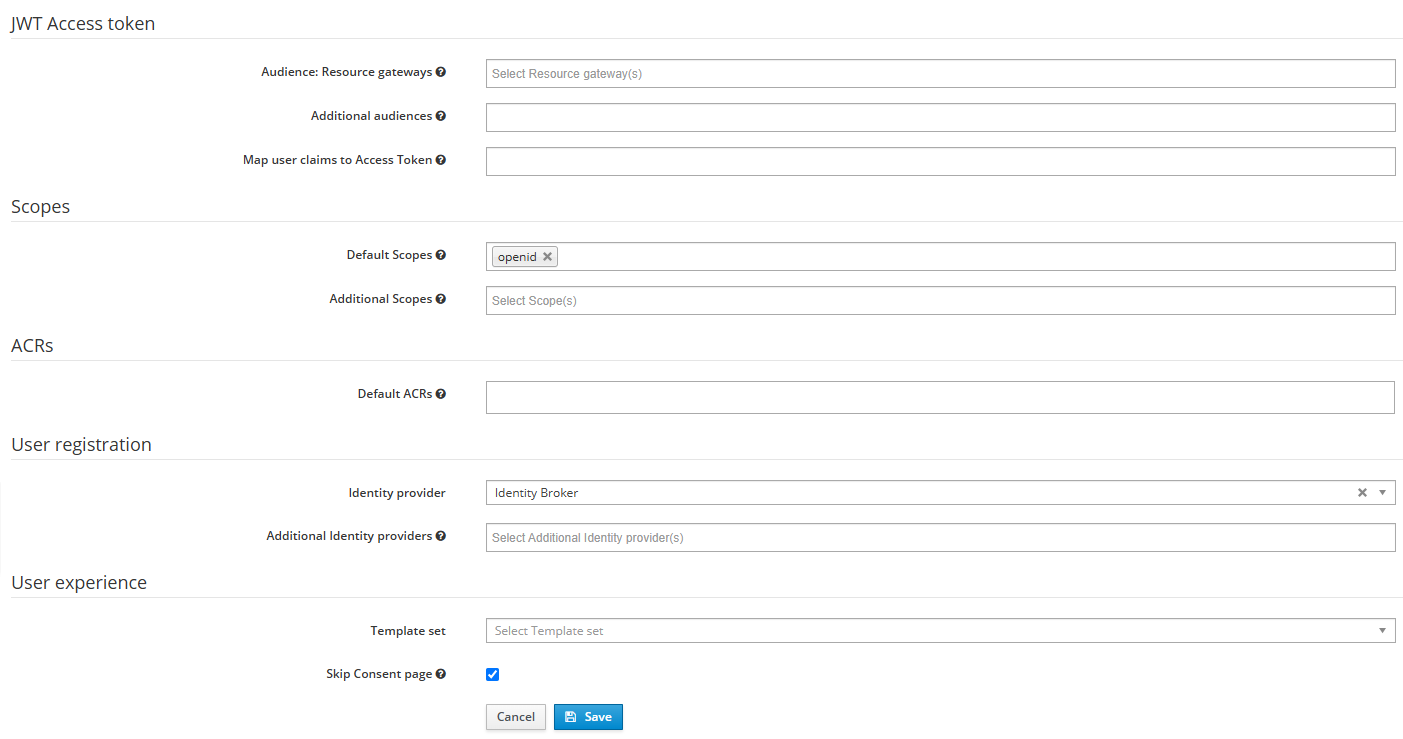
In the Scopes section, for the Default Scopes, select openid.
-
In the User registration section, for the Identity provider select the identity broker that you created.
-
In the User experience section, select the Skip Consent page check box.
-
Click Save, and then click Save again.
Set up your OAuth tools workspace
You can skip this step if you already set up a workspace in OAuth tools.
-
Go to OAuth tools.
-
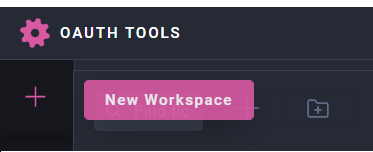
Click New Workspace.
-
Enter a name and click Create Workspace.

-
On the Endpoints tab, enter this Metadata URL:
https://<tenant-domain>/oauth/.well-known/openid-configuration, and click Discover.
This fills all the required fields.
-
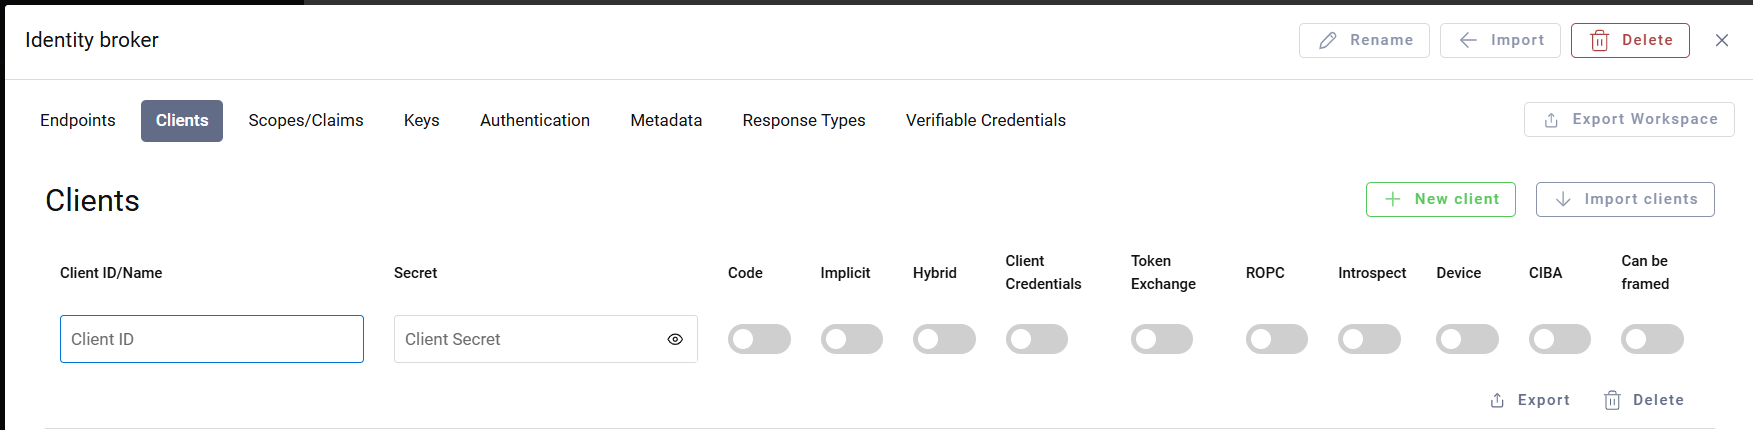
On the Clients tab, add a client.
-
Paste the Client ID and Client Secret that you generated when you set up a web client on the Access admin console.
-
Toggle the Code switch.
-
Close the Clients screen.
Add a flow in OAuth tools
-
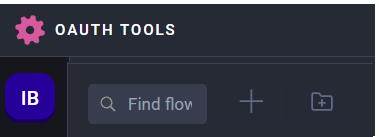
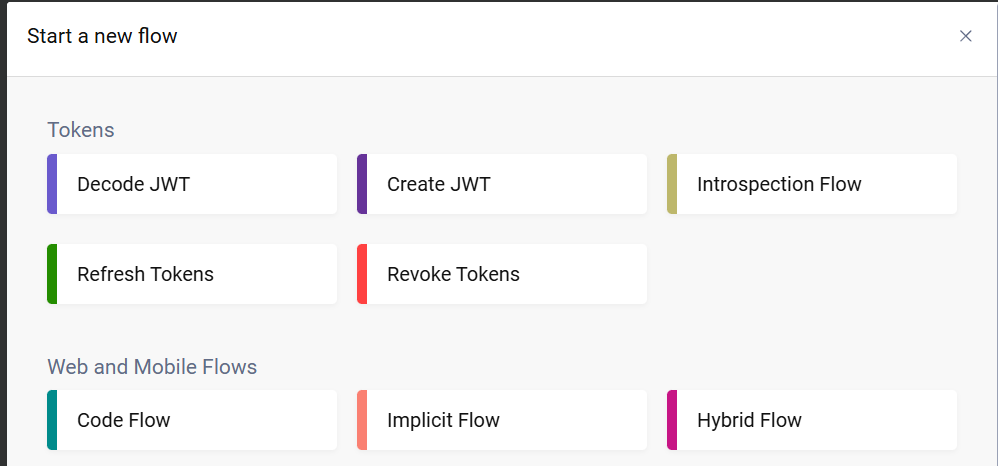
On the OAuth tools page, next to Find flow, click the plus (+) sign.
-
In the Web and Mobile Flows section, click Code Flow.
-
In the Settings section, under Start with client ID, select the Client ID that you added.
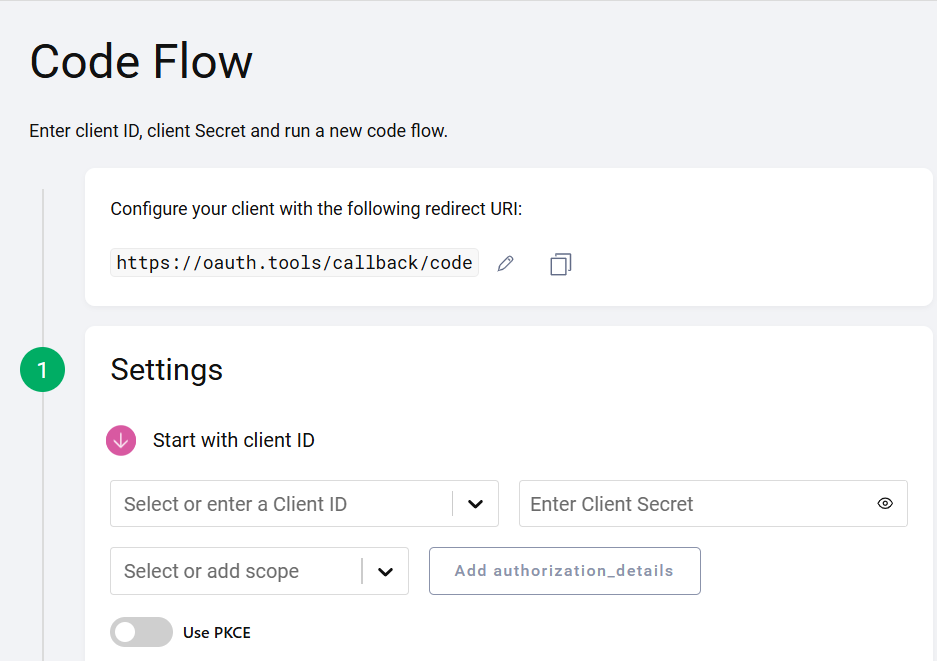
-
Toggle the Use PKCE switch.
-
In the OpenID settings, set the acr value.
To find the ACR value, go to the Identity Broker on the OneWelcome Identity Platform. On the Identity providers page, select the menu for the identity provider that you are testing, and then select View details. In the Variants section, copy the ACR value.

-
Click the big green Run button.
If it's successful, you are redirected to the external IDP that you're testing.
After you authenticate at the external IDP, you return to OAuth tools.
-
Click the Redeem code button. To make this easier next time, you can toggle the Auto-redeem code switch.
If everything works, you receive an Access token (Token 1) and an ID token (Token 2).
When you click Show decoded JWT for the ID token, you see all the attributes that were received from the external IDP.