
Pre-installation
You must complete the pre-installation process to ensure that you have the required installation and configuration files for an initial installation.
-
Login to STA (SafeNet Trusted Access) by providing your operator credentials. After successful login, the SafeNet Trusted Access console displays the Dashboard of the account.
-
Select the required virtual server account from the top-right drop-down menu.
-
Click the Applications tab.
-
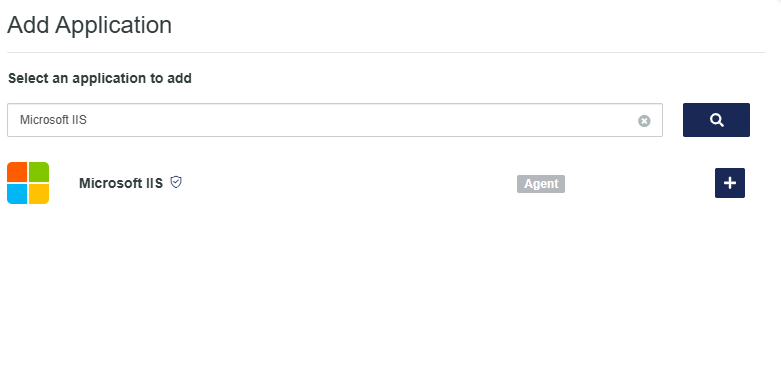
Click Add Application. The Add Application window displays a list of available applications.
-
Select Microsoft IIS. Use Search to locate it, if required.
-
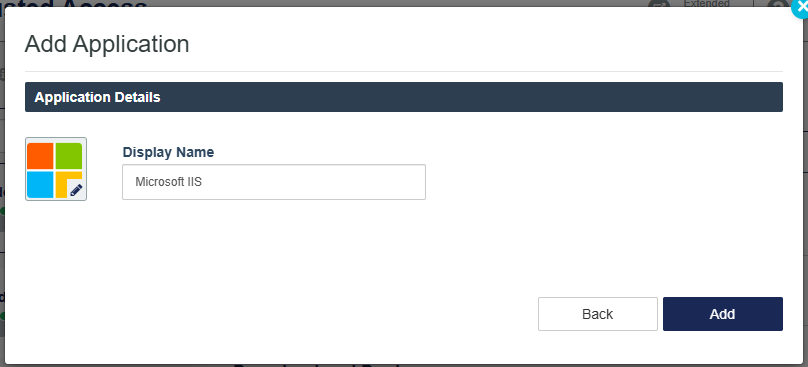
Add a Display Name (any name can be used), and then click Add. A guided walk-through about how to set up the agent displays.
-
At the Agent Setup screen, click the forward arrow (>). The Download and Deploy screen displays.
-
Click Begin Setup.
-
At the Agent Setup section, enter the Microsoft IIS REDIRECT URL.
The REDIRECT URL is the host name address of the machine where Microsoft Internet Information Services (Microsoft IIS) is installed (for example,https://domain.com:443/).
All letters must be in lowercase. Click Save And Continue.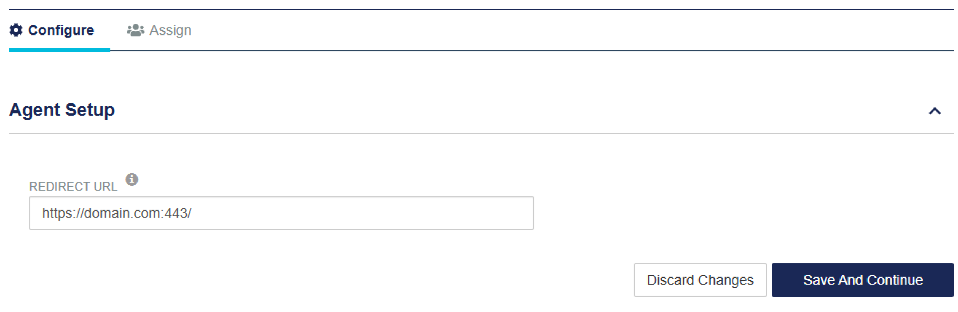
You must define the port number in the Redirect URL at which the website is hosted in IIS. If you need to update the REDIRECT URL after this initial setup, a new configuration file must be downloaded. For more details, refer to Updating REDIRECT URL.
-
At the Download and Deploy section, click the Install Package button to download the installer(s) and the configuration file. You can click HELP DOCUMENTATION to view the agent's documentation.
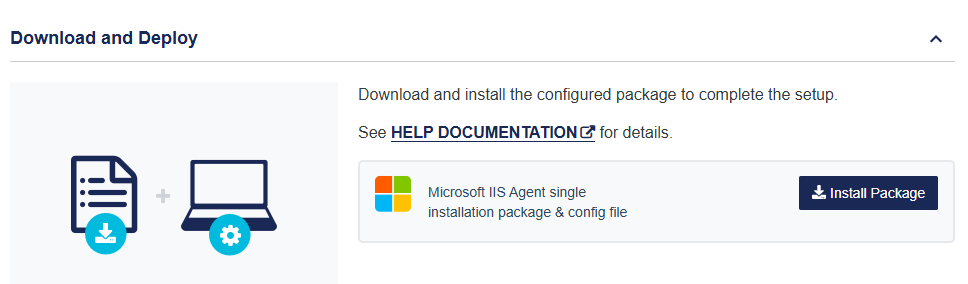
The following components will be downloaded: Installation file(s) and Configuration file. Place all the components at the path where Microsoft Internet Information Services is present. The installation and configuration files must be installed on the Windows server environment.
Once the agent is successfully downloaded, the application Status will change to active on the SafeNet Trusted Access console. You need to refresh the console page to view any change in the setup Status.
-
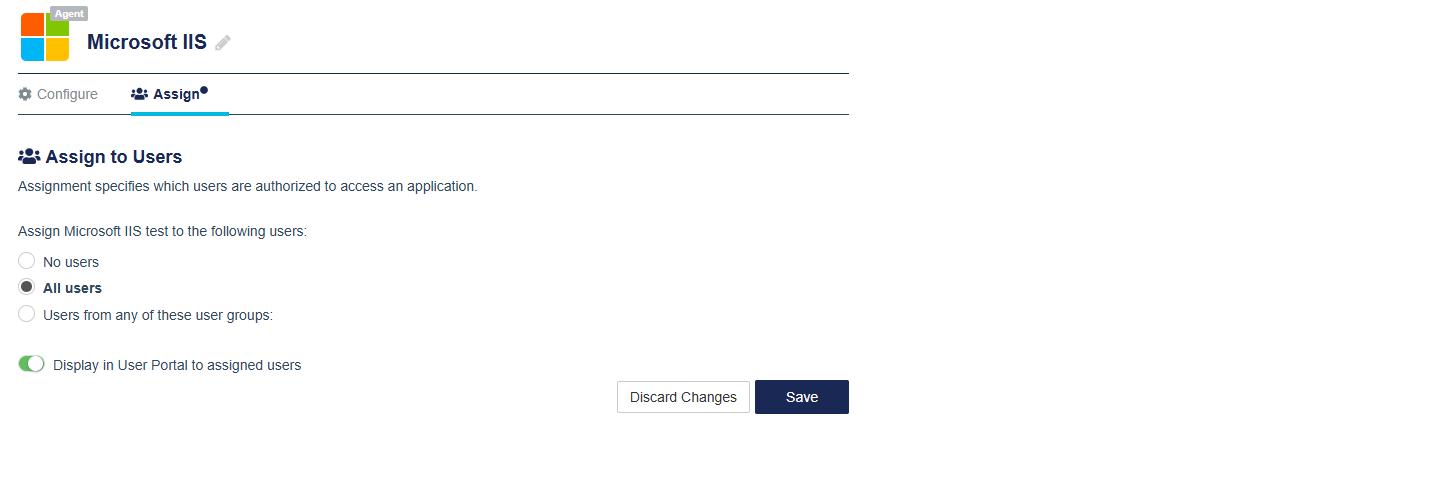
Click Assign and authorize user access to the application, as per the requirements.
-
Click Save.
-
Install the agent at the Microsoft IIS server using installation and configuration files.