
Installing the agent
This section describes two ways to install the agent: Interactive Installation or Silent installation.
Always work in Run as administrator mode when installing and configuring the agent.
Interactive Installation
To install the agent on a Windows machine using the installer:
-
Locate the installation file and execute the following command to run the installer:
msiexec /i "SafeNet Authentication Service Agent for Win 8-10-2012-2016 x64.msi" /qf -
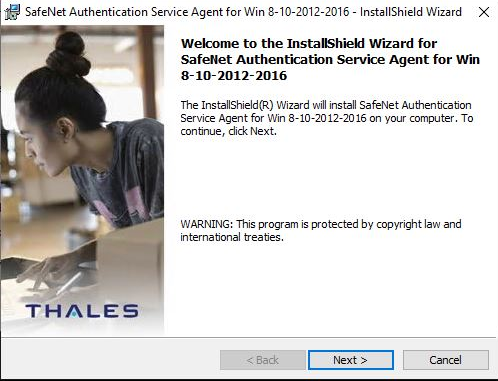
On the Welcome to the InstallShield Wizard window, click Next.
-
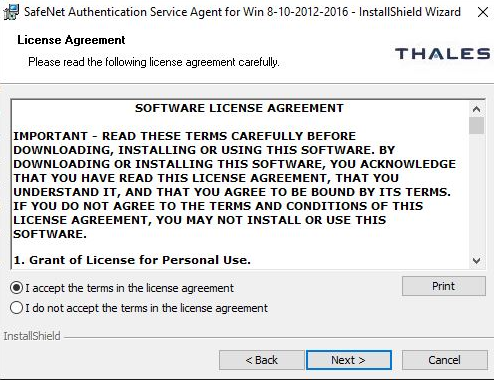
On the License Agreement window, read the software license agreement. To contiune, select I accept the terms in the license agreement and then click Next.
The InstallShield Wizard searches for the agent configuration file (downloaded earlier from SafeNet Trusted Access). If the file is available, the system continues with step 4. Else, complete the following steps:
-
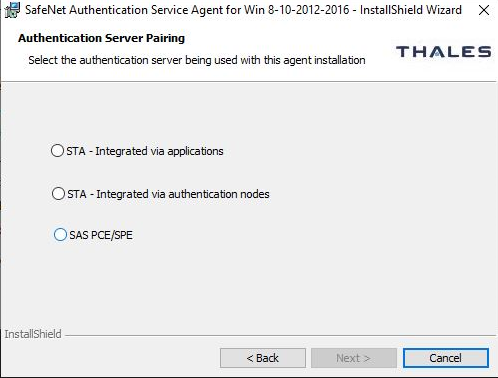
On the Authentication Server Pairing window, select the STA authentication server type that you are using, and then click Next.
-
On the Browse File window, click Change, select a configuration file, and then click Next.
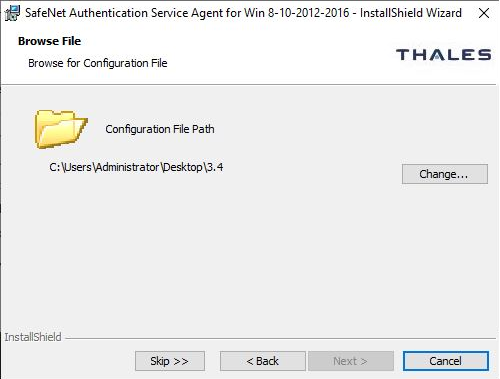
Click Skip to proceed without selecting an agent configuration file. You can upload the file later in Communications > Agent Configuration.
-
-
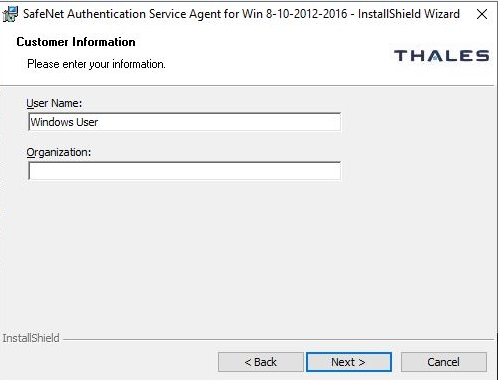
On the Customer Information window, complete the following steps:
-
Enter your user name in the field provided.
-
Enter the name of your organization in the field provided.
-
Click Next.
-
-
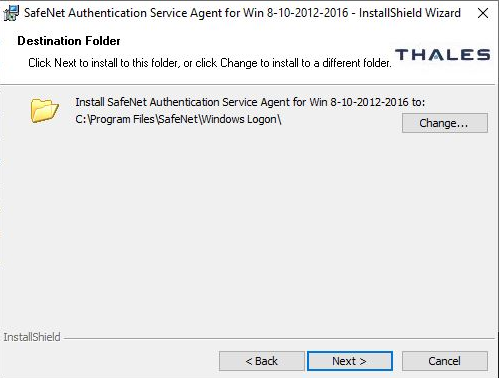
On the Destination Folder window, complete one of the following steps:
-
To accept the default installation folder, click Next.
-
To change the installation folder, click Change. Then browse to select the required folder and click Next.
-
-
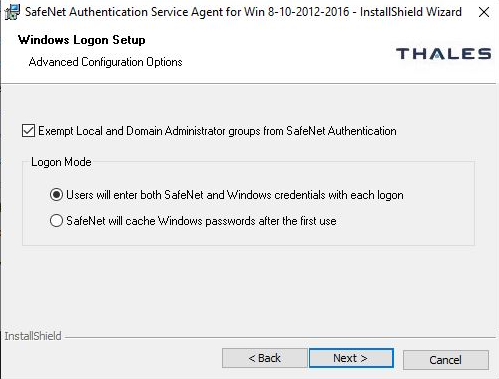
On the Windows Logon Setup window:
-
Select Exempt Local and Domain Administrator groups from SafeNet Authentication to allow administrators to log on without providing STA credentials.
-
Select one of the following logon modes:
-
User will enter both STA and Windows credentials with each logon
-
STA will cache Windows passwords after the first use
-
-
-
Click Next.
-
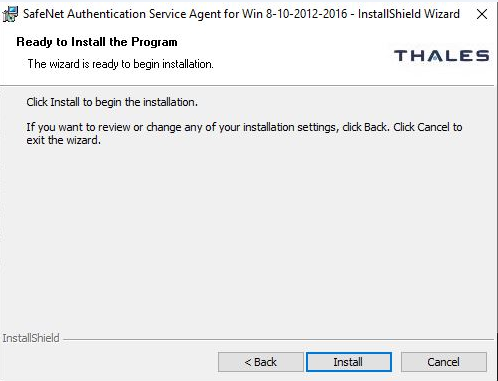
On the Ready to Install the Program window, click Install.
-
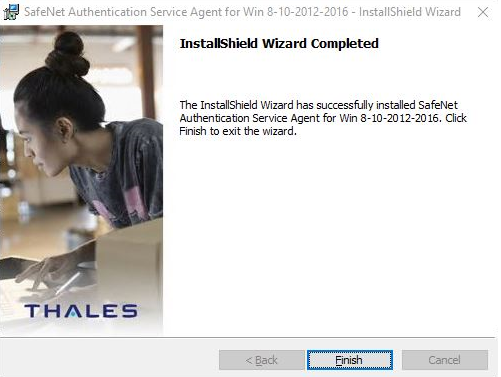
When the installation completes, the Installshield Wizard Completed window displays. Click Finish.
Silent Installation
You can install the agent silently with parameters. A silent installation enables you to complete the installation without any user prompts. This allows you to set the key configuration items, such as authentication server FQDN and logon mode.
To install silently, enter the following command from the command line to launch the SafeNet Windows Logon msi installation package:
msiexec /i "SafeNet Authentication Service Agent for Win 8-10-2012-2016 x64.msi" /quiet AGENTMODE=1
Keep both the .msi and .agent files in the same location.
After the silent installation completes, the machine restarts.
To set options, the property name is used in name value pairs with spaces in between each pair. For example, to install the agent in NextGen mode and provide a specific path to the agent file, run the following command:
msiexec /i "SafeNet Authentication Service Agent for Win 8-10-2012-2016 x64.msi" /quiet AGENTMODE=1 JSONFILEPATH="<PathToAgentFile>"
SSL will be enabled by default.
The following is a list of options that can be specified. If the option is not specified, it will be set to the default value, which is equivalent to clicking Next on all pages of the installer dialog. These parameters cannot be specified during agent upgrades.
| Option | Description | Value |
|---|---|---|
| AGENTMODE | Logon mode of installation | 1 for Next Generation mode, 0 for Classic installation Default: 0 |
| JSONFILEPATH | Path to agent file | Path to agent file Default: 0 |
| AGENTSTATUS | To enable or disable the agent | 1
Enable the agent, 0 Disable the agent
Default: 1 |
| INSTALLDIR | To install the agent at a non-default location | Use the following command: msiexec /i "MSI_file_path\MSI_file_name" /quiet INSTALLDIR=<"target_directory_path"> |
Configuring the updated agent file
To configure the updated agent file, download the .agent file, push it in a secure location, and execute the following command on the command line:
cd C:\Program Files\SafeNet\Windows Logon\WinLogonManager.exe JSONFILEPATH="<PathToAgentFile>"
For example, use the following commands to load the configuration from the agent file when the file is pushed to:
-
Installation Directory

-
Centralized Directory

After the command executes, the following agent file configuration gets updated:
-
The Primary and Secondary URL gets updated in the registry.
-
The BSID Key gets updated in the existing BSID Key file location.