Share authenticators on Windows
SafeNet MobilePASS+ authenticators can be managed and accessed by multiple users in Windows. You control which authenticators can be accessed, and by whom, by setting permissions on the authenticator files with Windows file management.
This feature is applicable to new authenticators that are created in exe- or msi- based installations of SafeNet MobilePASS+ for Windows.
When using shared authenticators within SafeNet MobilePASS+, authenticators are by default sorted alphabetically when users launch the app.
Enable sharing
-
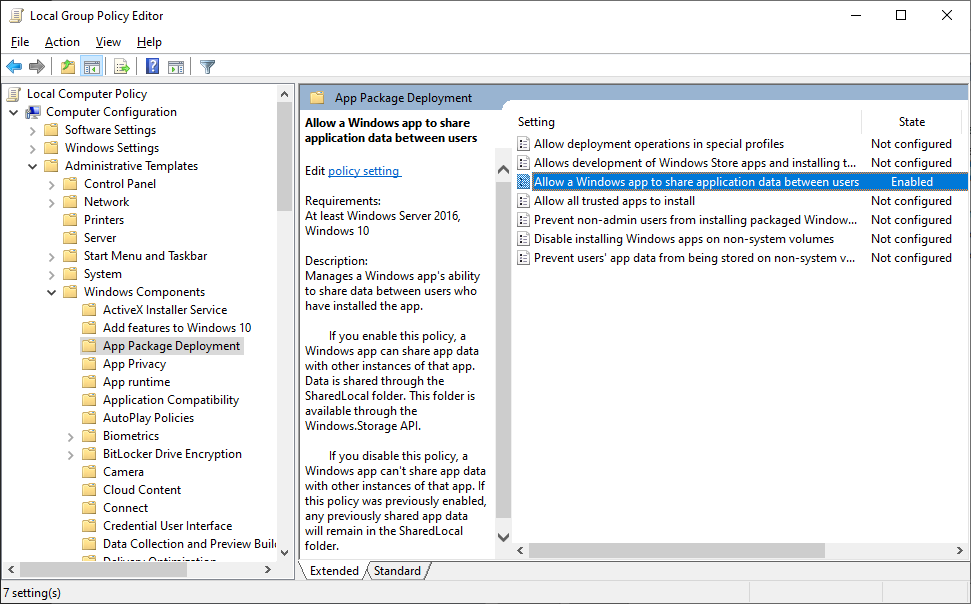
Before installing the SafeNet MobilePASS+ app, enable the group policy, to allow data-sharing among Windows users.
Alternatively, create a REG_DWORD parameter, titled AllowSharedLocalAppData, with a value of 1 under:
HKEY_LOCALMACHINE\SOFTWARE\Policies\Microsoft\Windows\CurrentVersion\AppModel\StateManager.
-
During the SafeNet MobilePASS+ setup, select Multiple users to install a SafeNet MobilePASS+ authenticator for sharing.
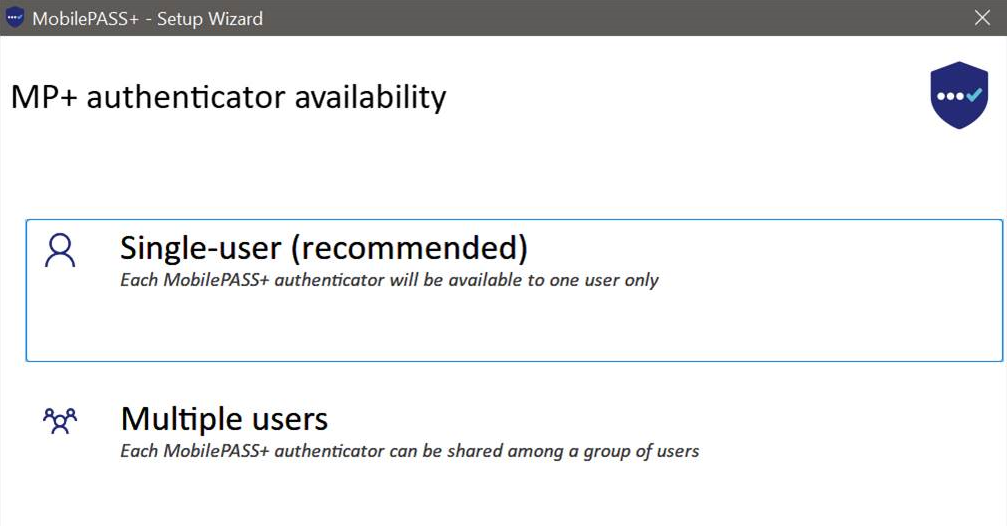
After selecting Multiple users, the app data will be stored in a shared location.
C:\ProgramData\Microsoft\indows\AppRepository\Families\05EB1CFA.SafeNetMobilePASS_bnm8hg3x9na9j\SharedLocal -
Open SafeNet MobilePASS+.
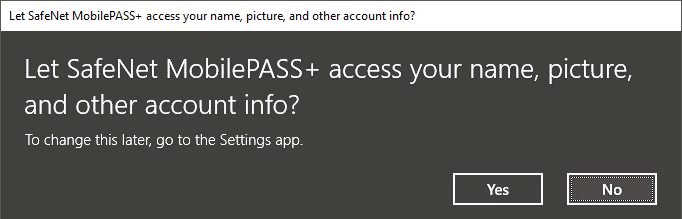
You will be prompted for permission to fetch account information to uniquely identify the user.
-
Select Yes to continue.
After installation, when an authenticator is enrolled, a dat file is created in the shared location, titled with the authenticator serial number.
-
Use Windows file rights management to provide access to other users on that machine for that dat file (authenticator).
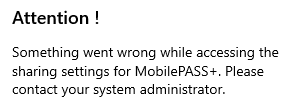
If the policy is disabled and/or the dat files are not accessible to the user, then an error message displays.
Virtual machines are supported. However, if there is a hardware change on the host on which the VM is running or VMs are moved to another host, then the authenticators will no longer work. However, if a VM is cloned on the same host, the authenticators will still be accessible.
Manage permissions
-
Open SafeNet MobilePASS+.
-
Enroll an authenticator.
-
Go to the app data shared folder, TokensPermissions, to view the .dat file that is titled with the authenticator's serial number.

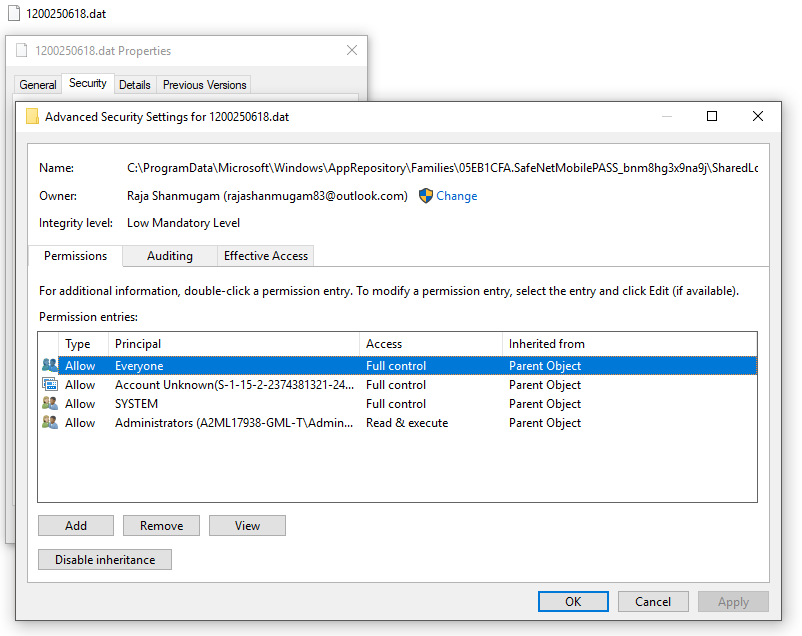
By default, these files are accessible by every user in the system.
-
Restrict access to these files by removing all users and groups that should not have access. Repeat this step for all of the authenticator .dat files.
-
Right-click a authenticator .dat file and select Properties > Security > Advanced > Permissions.
-
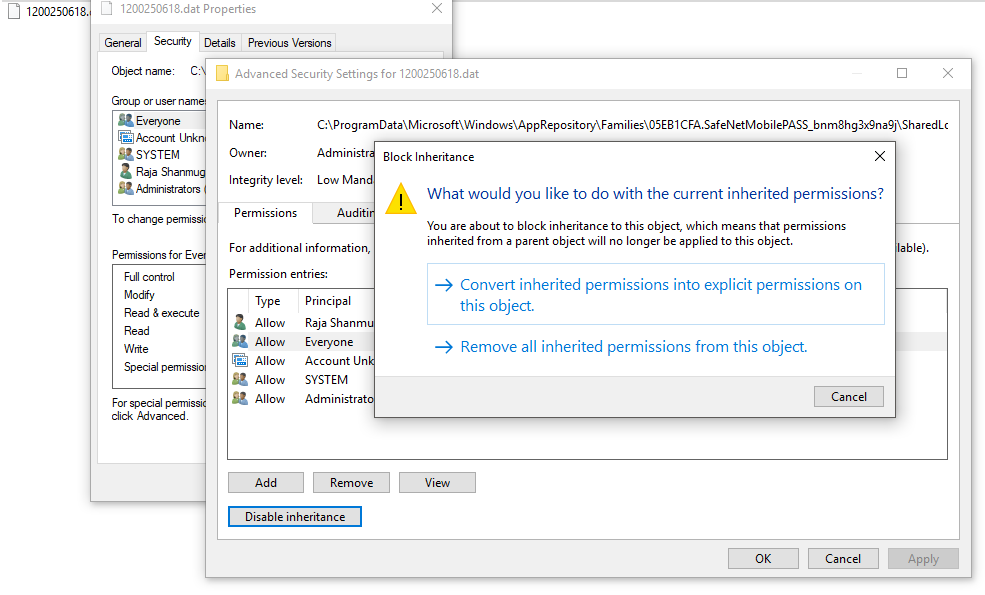
In the permission entries table, select Everyone and then select Disable inheritance.
-
Select Convert inherited permissions into explicit permission on this object.
-
In the permission entries table, select Everyone, again.
-
Select Edit > Clear all permissions and then select OK.
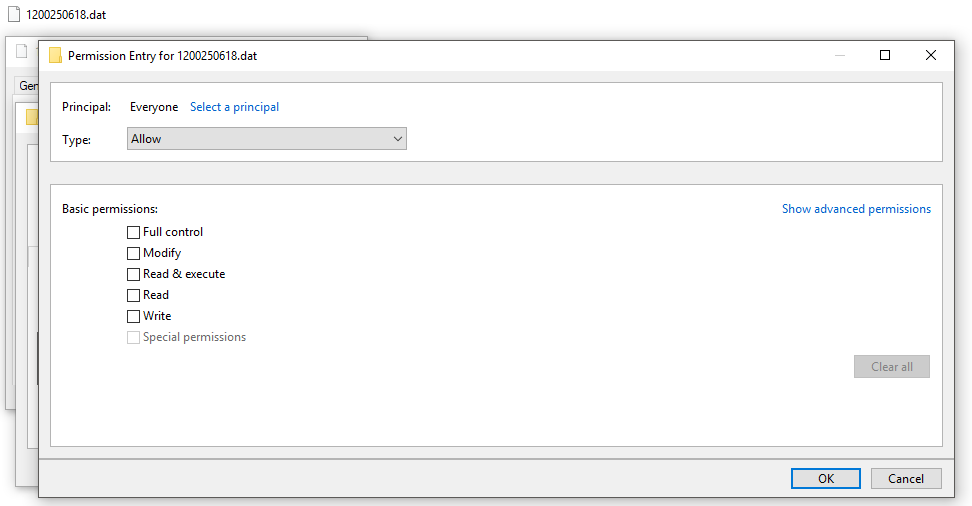
This blocks everyone on the system from accessing this authenticator file. Next, add the users whom you want to have access.
-
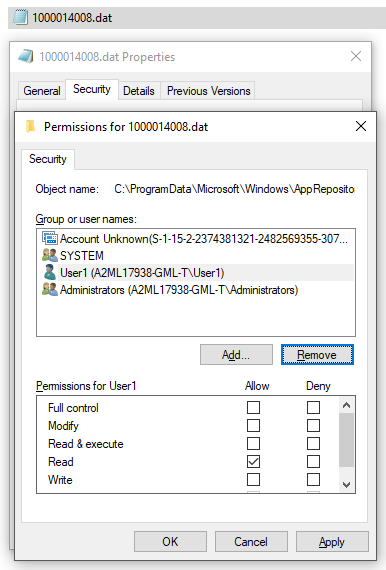
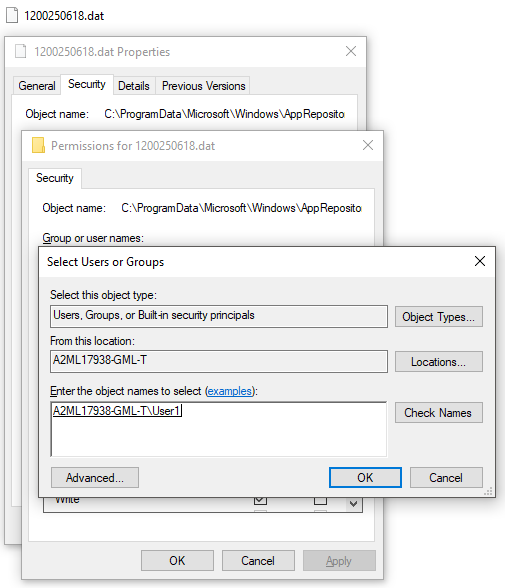
Right-click the authenticator .dat file and select Properties > Security > Edit.
-
To change the permissions, select Add user and then select the user from Select Users or Groups and select OK.
-
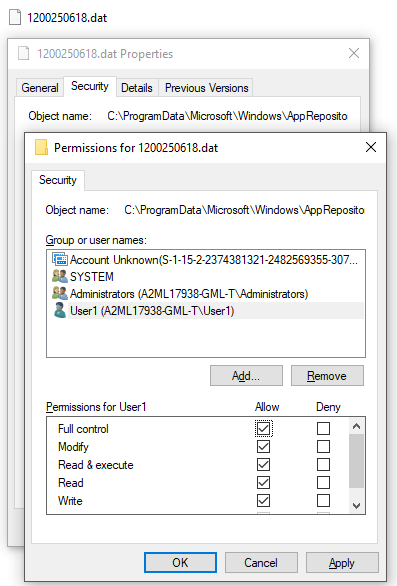
Select the permissions that are appropriate for the user and then select OK.
Permission Capabilities Full control View, rename, and delete authenticator. Enable biometrics. Share and download log files. Change PIN. Modify View and rename authenticator. Enable biometrics. Share and download log files. Read & execute View and rename authenticator. Enable biometrics. Read View authenticator. Enable biometrics. Share and download log files. Write View and rename authenticator. The example that follows shows the options selected for a user granted full control.
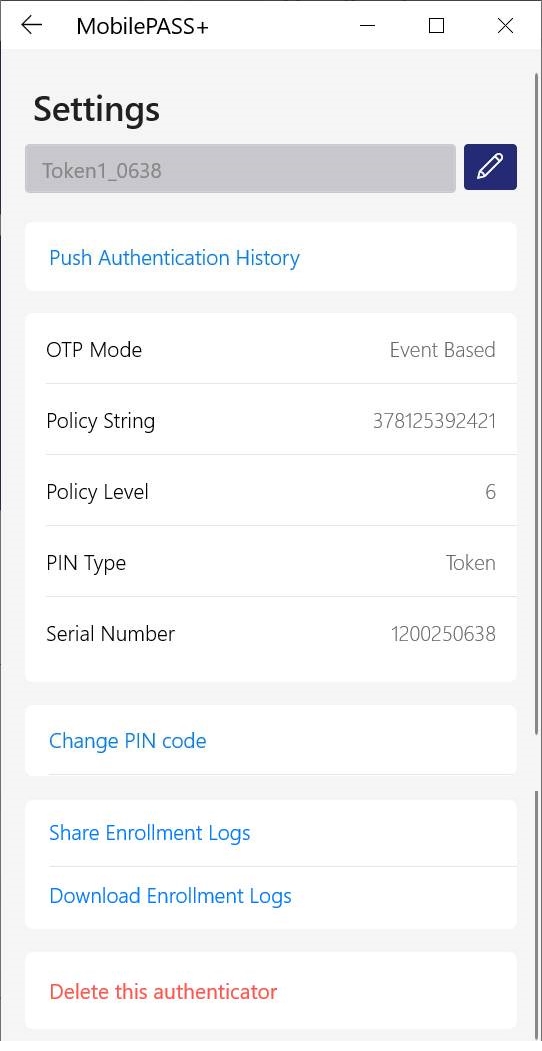
The example that follows shows the settings that display in the SafeNet MobilePASS+ app for a user granted full control.