
Third-party authenticators on Android
Before you can use SafeNet MobilePASS+ to generate passcodes, you must enroll an authenticator on your device. The authenticator can be either a SafeNet MobilePASS+ authenticator or a third-party authenticator.
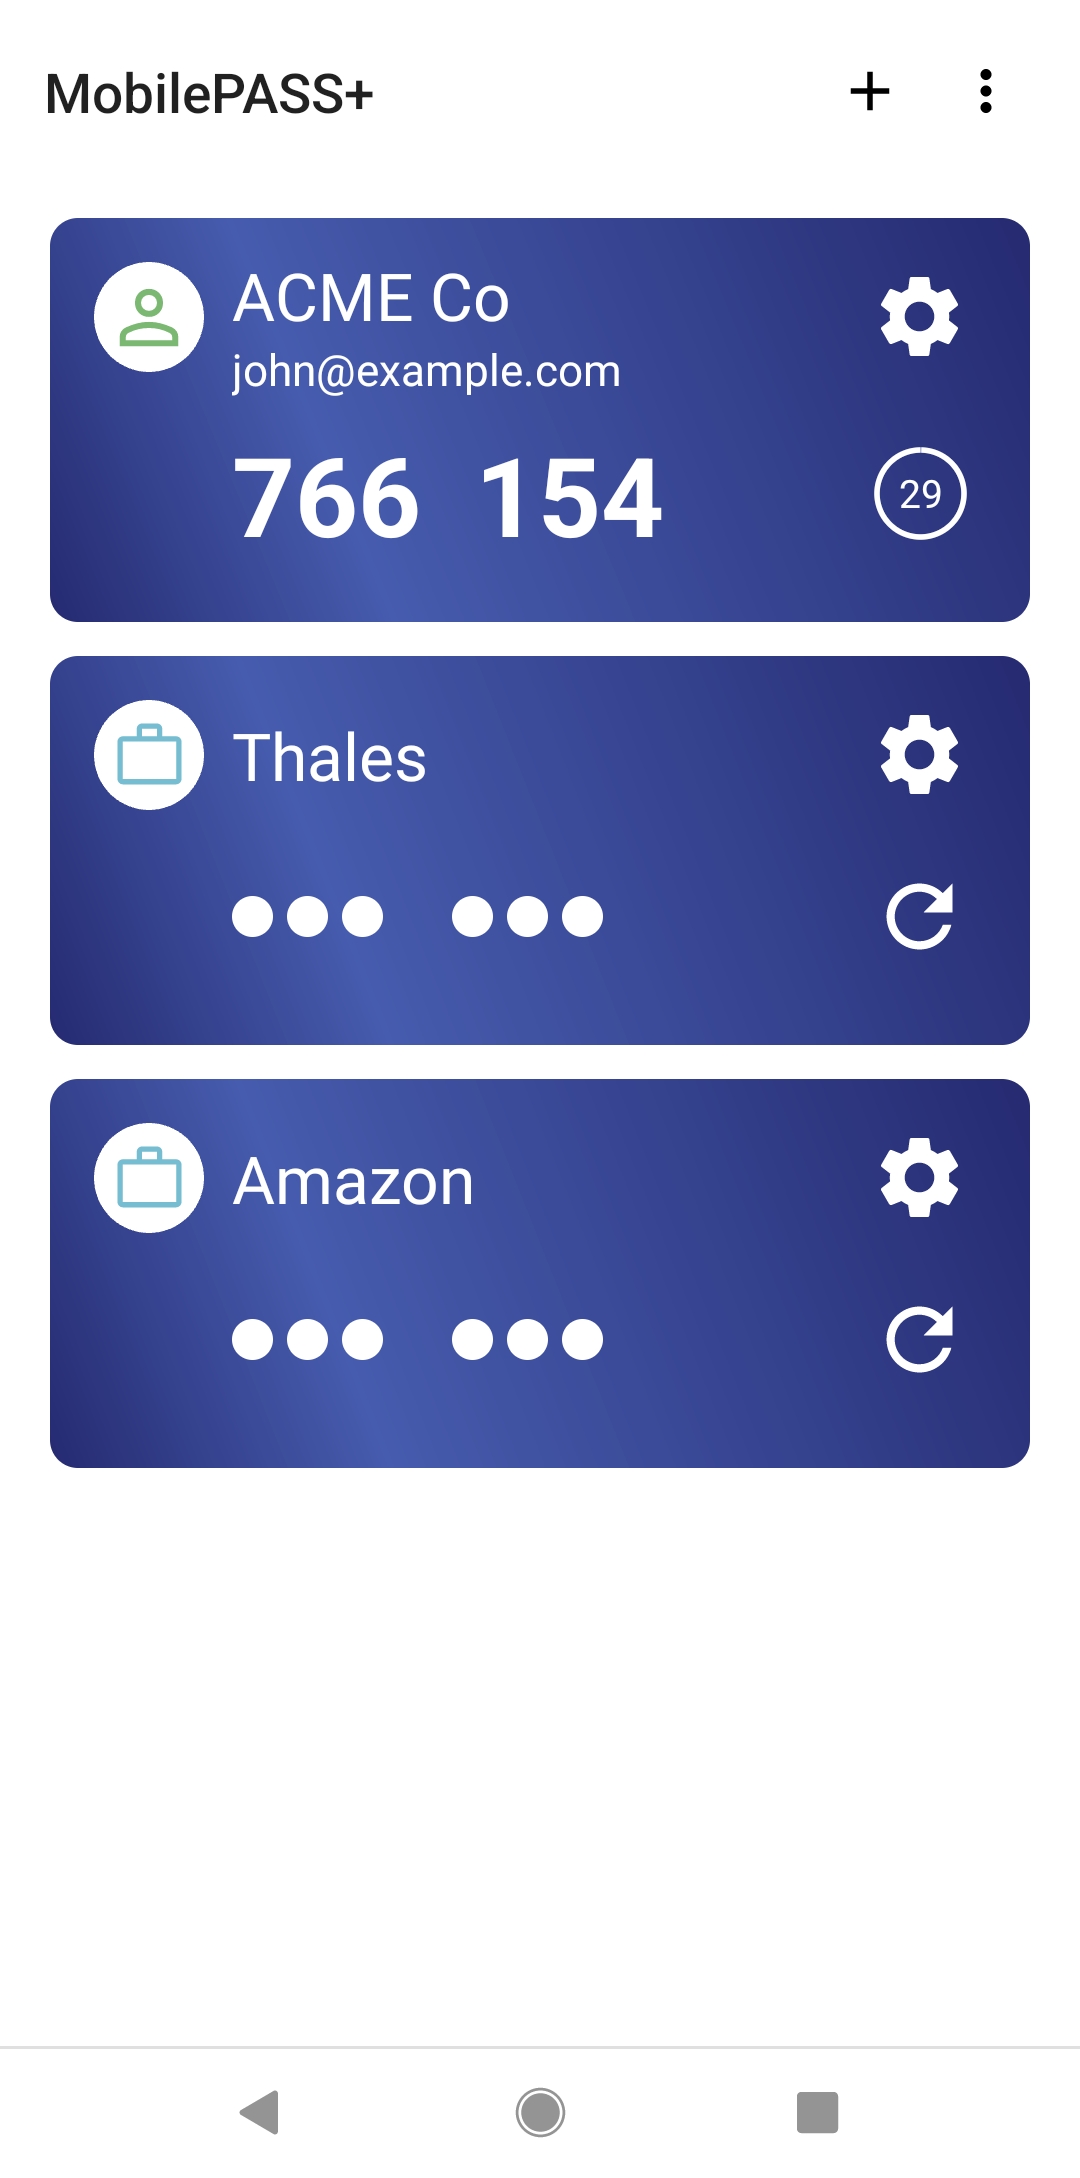
In the authenticator list, third-party authenticators have a different icon.
You can enrol a third-party authenticator using one of the following methods:
-
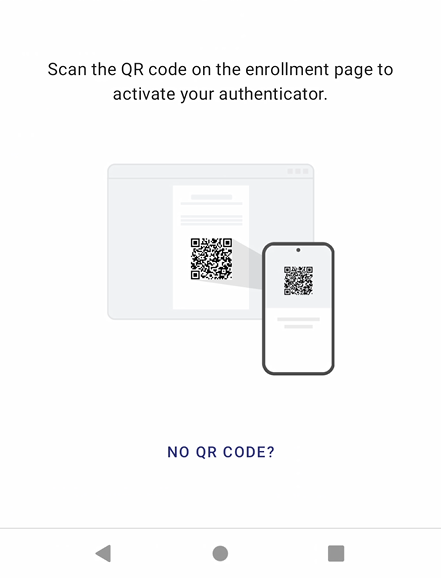
QR code enrollment – Scan a QR code to enroll your authenticator.
-
Copy-paste enrollment – Manually copy and paste a URL or a third-party authenticator secret.
-
External link enrollment - Click a URL on your device from outside of the SafeNet MobilePASS+ app.
As a security best practice Thales Group recommends that you do not use the copy and paste function for the passcode or enrollment strings, because the clipboard is shared among all applications running on a device. Users should also refrain from using custom or third party keyboard applications as those can be used to capture sensitive user data like passcodes and PINs.
QR code enrollment
-
On your mobile device, open the SafeNet MobilePASS+ app.
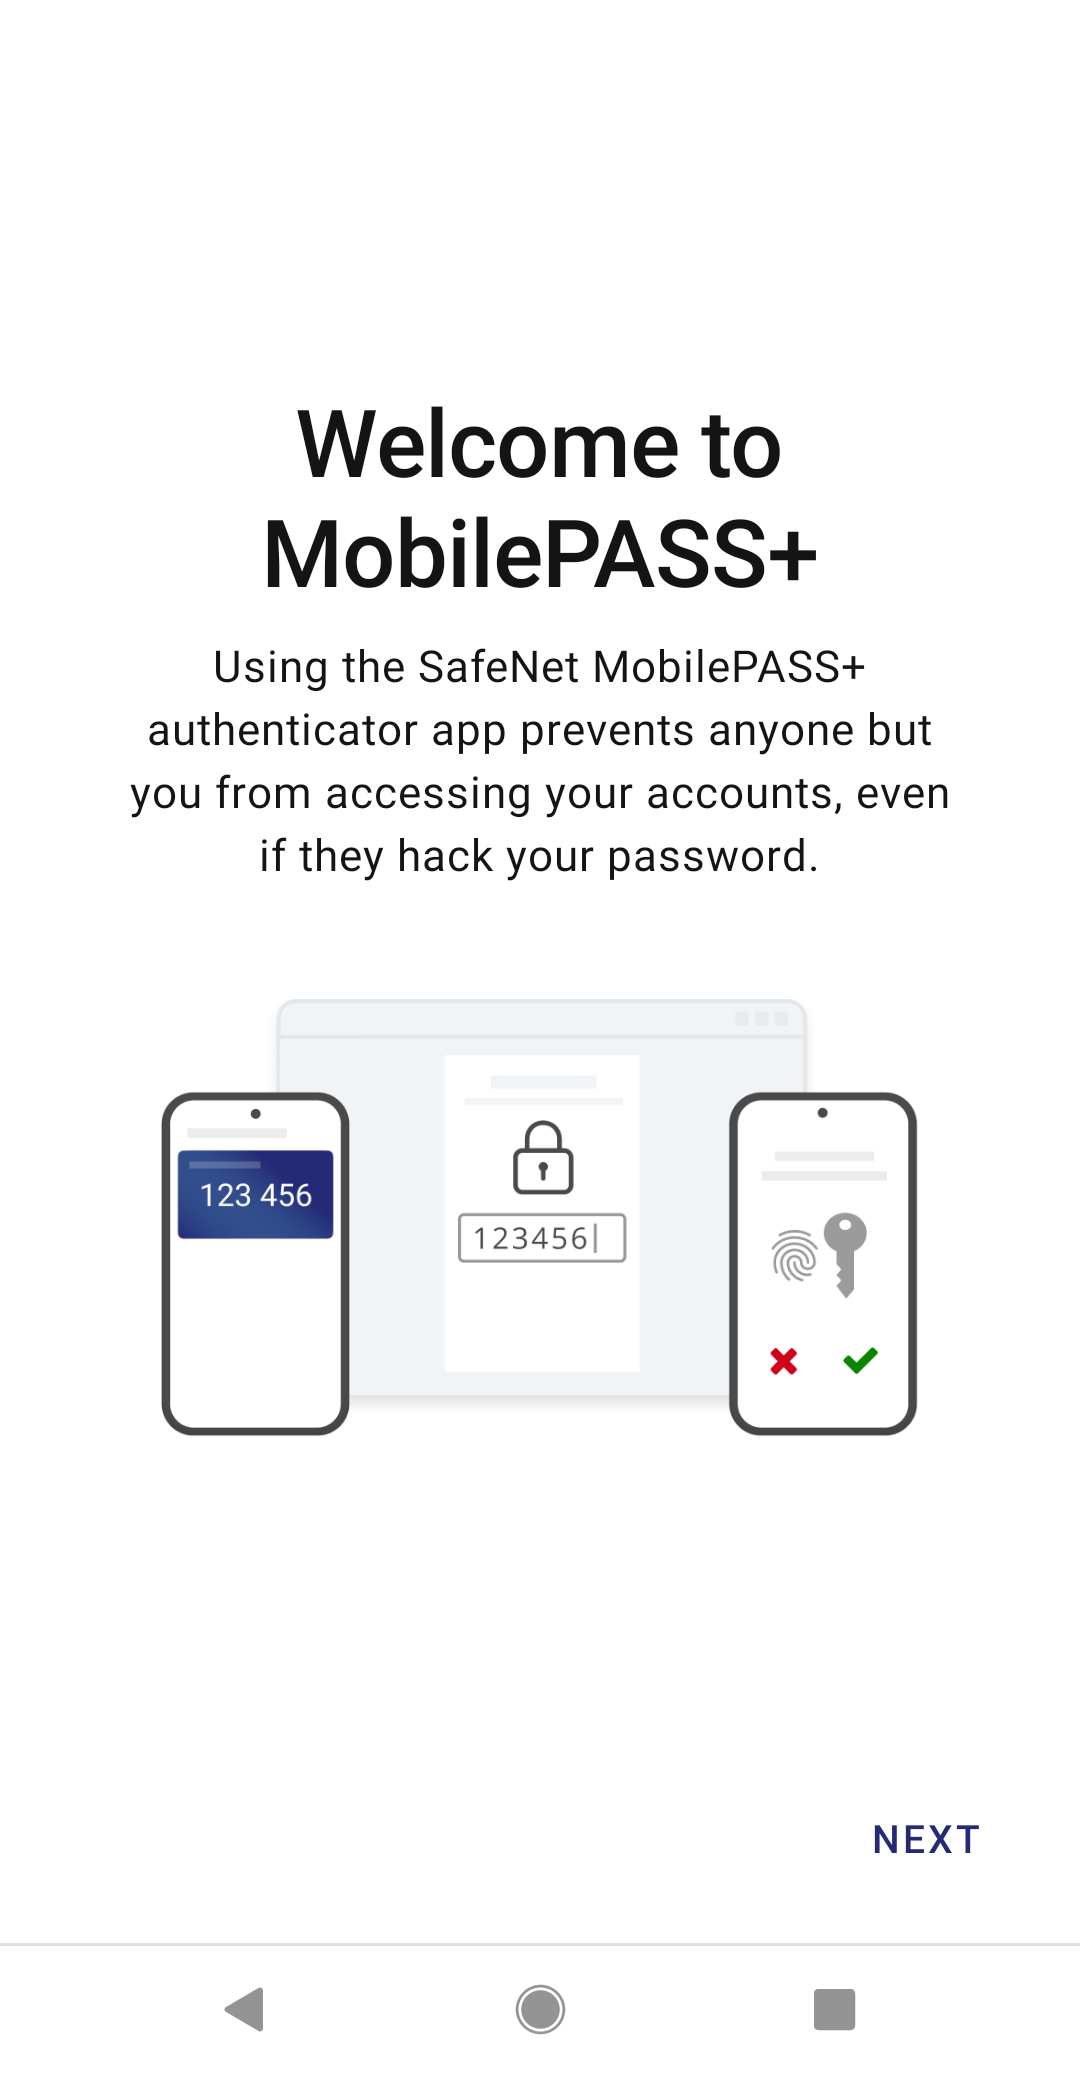
The SafeNet MobilePASS+ app displays the welcome screens that briefly describe the advantages of using the SafeNet MobilePASS+ app.
-
On the Welcome to MobilePASS+ screen, select Next.
-
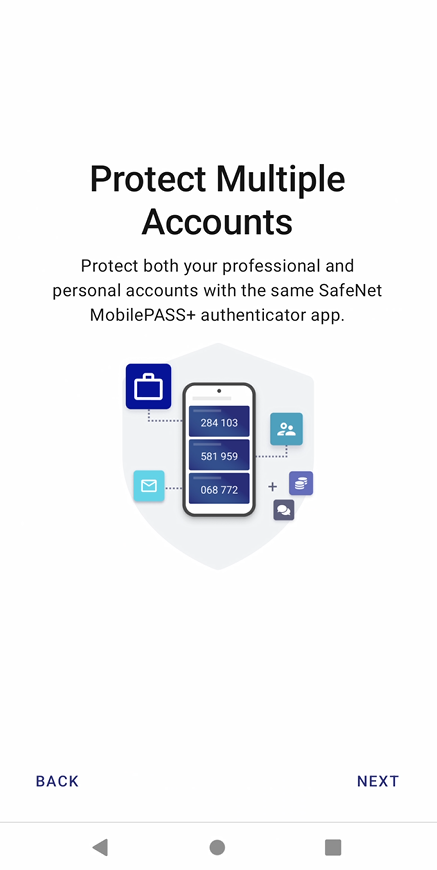
On the Protect Multiple Accounts screen, select Next.

-
Use your mobile device to scan the QR code for the third-party authenticator, such as on Github or Amazon.
MobilePASS+ displays the Activating Progress screen, and then the Activation Success screen.

-
Select Done.
The authenticator is now available in the authenticator list.
Copy-paste enrollment
-
Copy the URL or third-party authenticator secret.
To copy on Android:
- Long-tap on the URL or authenticator secret.
- Drag the set of bounding handles to include the whole URL or secret.
- Tap the selected text again to copy it. -
Open the SafeNet MobilePASS+ app.
-
On the Welcome screen and the Protect Multiple Accounts screen, select Next.
-
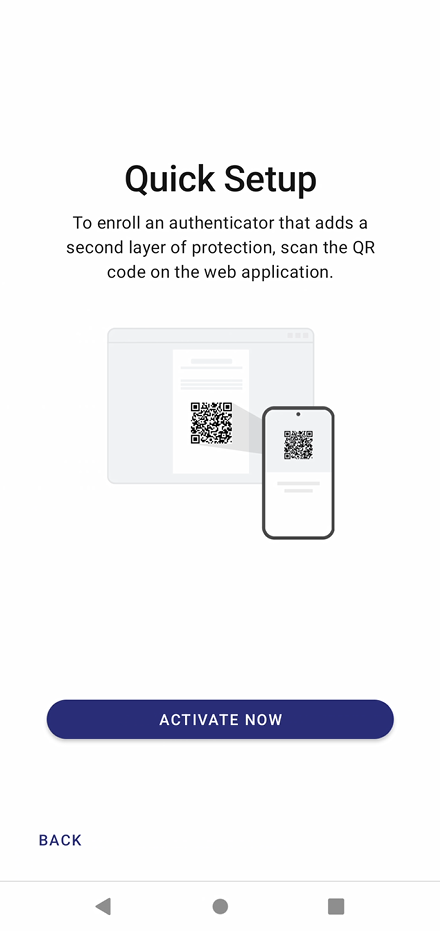
On the Quick Setup screen, select Activate Now.
-
Select No QR Code.
-
Paste the URL or authenticator secret that you copied into the text box and select Continue. You can also type the URL or authenticator secret in the text box.

-
If you used a URL, the Key Confirmed page is pre-filled.
-
If you entered the authenticator secret, the Key Confirmed page is blank. Enter the Provider Name and Account Name.

-
-
On the Key Confirmed page, select Activate.
MobilePASS+ displays the Activating Progress screen, and then the Activation Success screen.
-
Select Done.
The authenticator is now available in the authenticator list.
External link enrollment
When you enroll a third-party authenticator from an external link, you do not open the SafeNet MobilePASS+ app first.
-
On your mobile device, tap the URL for enrolling a third-party authenticator.
-
When prompted, open the URL in the SafeNet MobilePASS+ app and proceed through the enrollment screens until the authenticator is activated.
MobilePASS+ displays the Activating Progress screen, and then the Activation Success screen.

-
Select Done.
The authenticator is now available in the authenticator list.
Third-party authenticator settings
Third-party authenticators have fewer authenticator settings than MobilePASS+, consisting of provider name, account name, and an option to remove the authenticator.

Importing and Exporting Authenticators
MobilePASS+ provides functionality to allow you to export your personal authenticators from one device to another. It is important to note that this only works for third party authenticators, and not for managed authenticators that are provided by SAS / STA.
In order to transfer your third-party authenticators from one device to another, you must have access to both devices.
-
Open the SafeNet MobilePASS+ app on both of your devices.
-
On the importing device, use the 3 dot menu in the top right corner to begin the Import Authenticator flow.

Alternatively if you already have authenticators enrolled on the importing device, launch MobilePASS+ and go to the app settings menu from the top right corner of the Authenticator List page. You can begin the Import Authenticator process from here.


-
Take note of the code displayed on the importing device

-
On the exporting device, enter the code displayed from step 2.
-
Select the authenticators you wish to export and proceed.
-
On the importing device, use the camera displayed on the import authenticator page to scan the QR codes on the exporting device.
-
Once all the QR codes have been scanned on the importing device, the importing process will automatically complete. You should now be able to use the authenticators on your new device.
The exporting device will display an indicator on the export device settings. This indicator can be cleared by viewing the app settings page after 1 hour has passed since the authenticators were exported.