
End-to-End Flow
The following section describes the complete process of authentication using FIDO2.
Admin Flow
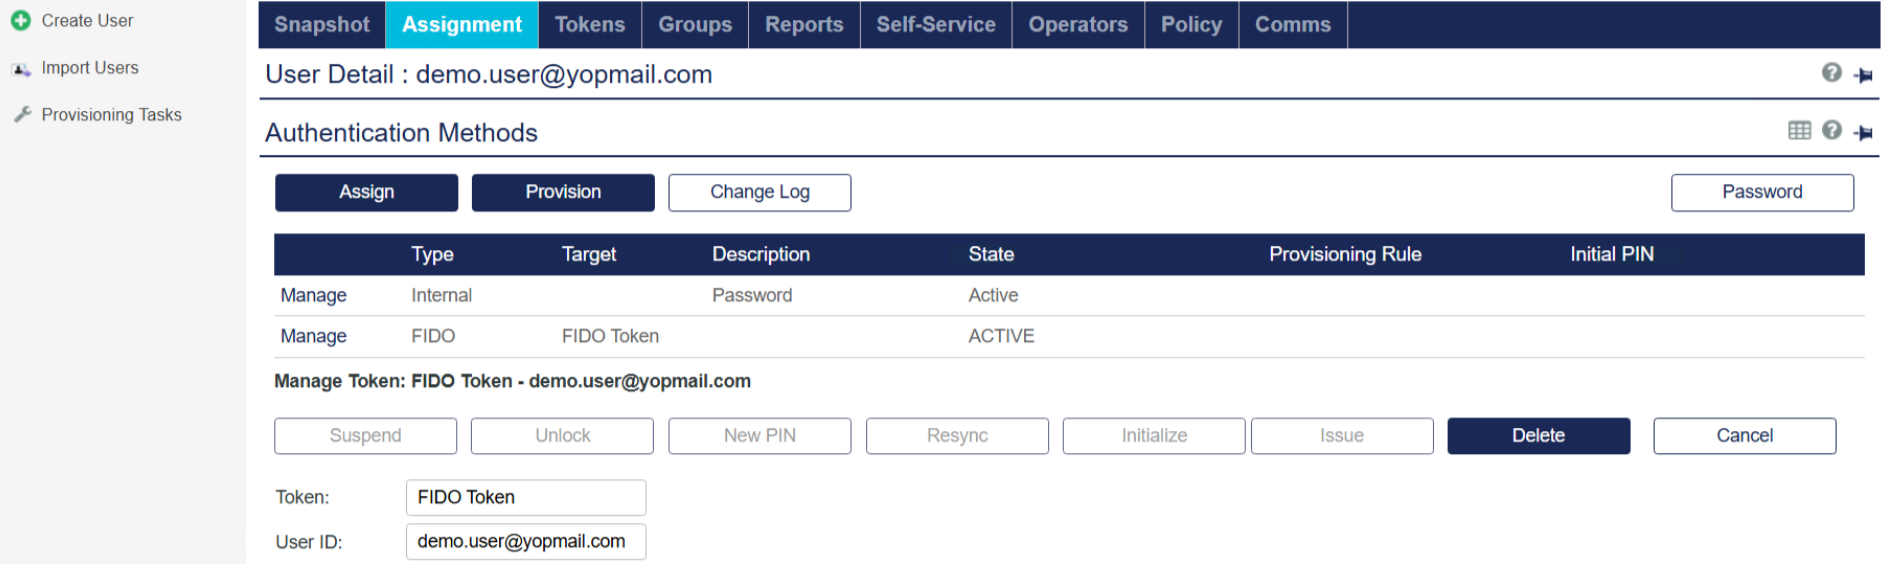
Token Management
Navigate to the Assignment tab and select the desired user to view their enrolled FIDO token. The tenant can manage the FIDO token using two available actions: View and Delete.
Monitor Authentication Activity
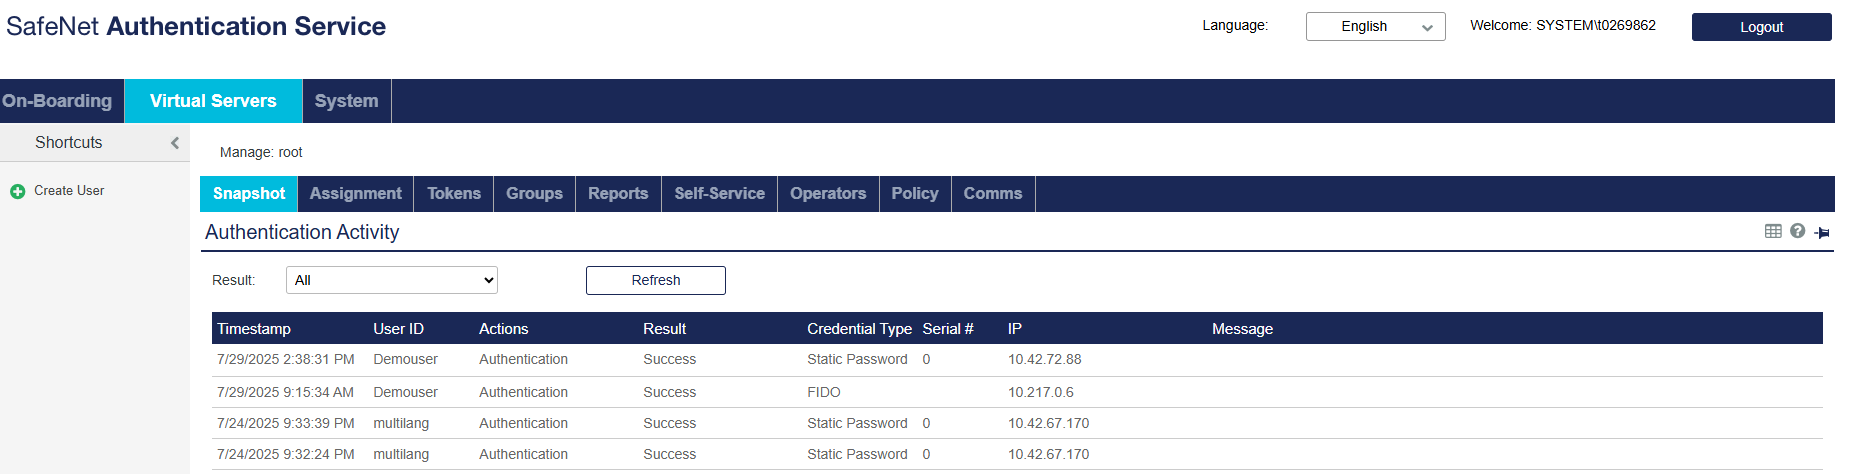
For FIDO authentication, all authentication logs are stored and displayed under the Snapshot tab in the SAS Admin Console.
-
Log in as an operator and select the appropriate tenant to view user authentication logs.
-
Navigate to the Snapshot tab, where authentication logs for FIDO—similar to other token types—will be visible, as illustrated below for the user demouser.
End-User Flow
The complete FIDO enrollment and authentication for end users will be facilitated through a self-service portal.
Note
Users have the flexibility to use any public application.
For this end-user flow, we will use a user account created by the tenant, with OTP (password) serving as the first level of authentication. The process follows the SafeNet OTP FIDO flow.
The user will first authenticate using an OTP token assigned via SafeNet Authentication Service (SAS). Upon successful OTP authentication, the user will be prompted to enroll a FIDO token.
Enrollment Flow
-
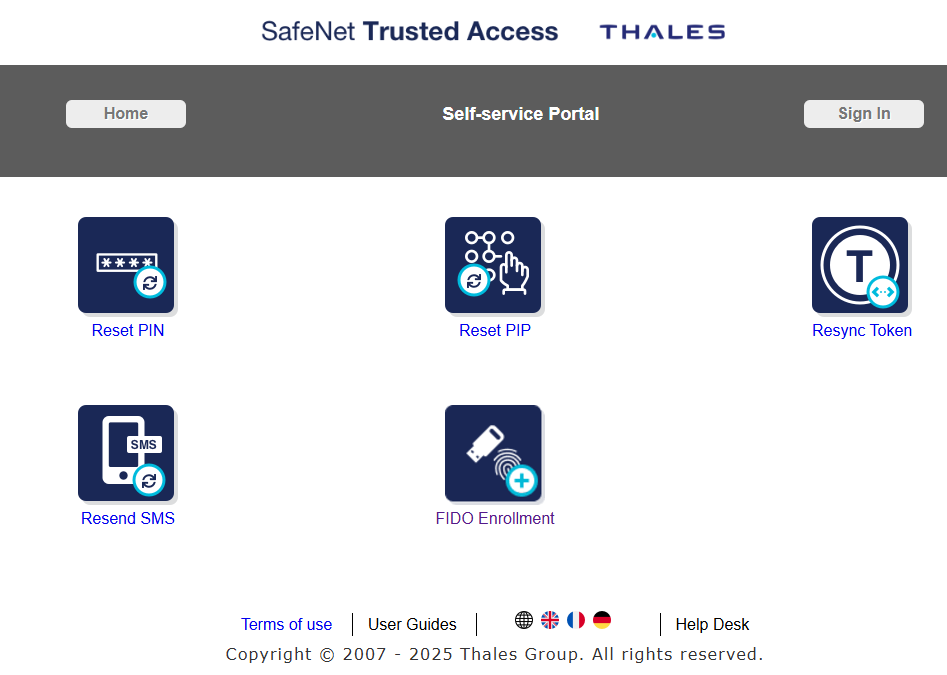
Open the Self-service portal.
-
Click the FIDO Enrollment icon on the Self-service portal. This action will redirect the user to the designated FIDO enrollment URL.
-
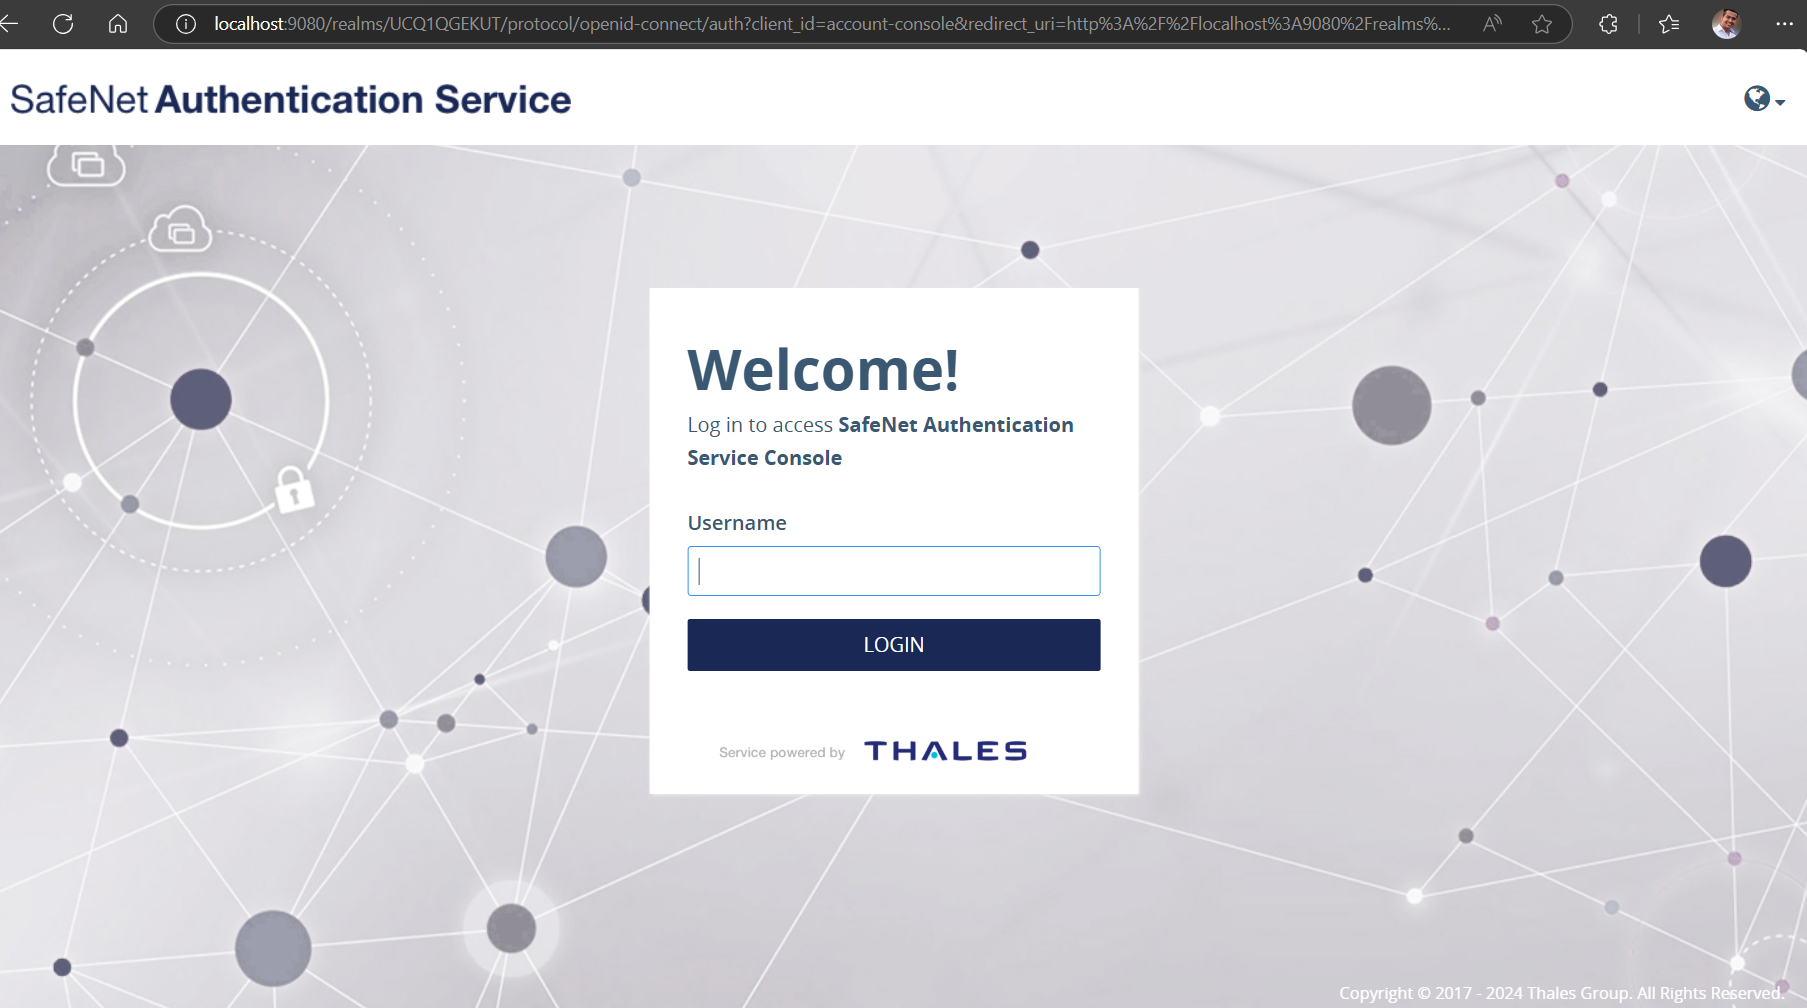
In the Username field, enter the username, and then click LOGIN.
-
In the Passcode field, enter OTP (first factor authentication), and then click LOGIN.
-
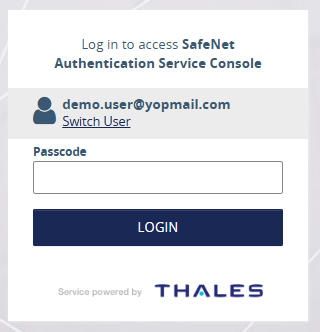
As part of the enrollment flow, the user will be prompted to Add Authenticator. Click Add Authenticator. This step initiates the FIDO token enrollment process.
-
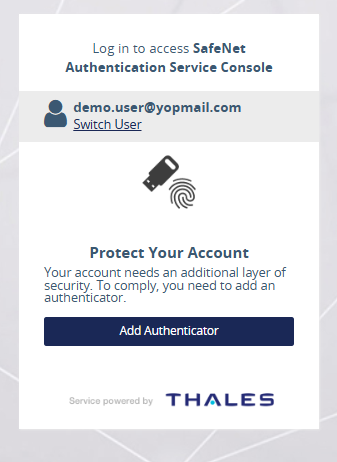
The user will then proceed with FIDO enrollment, which can be completed using either a FIDO physical token or a device-bound passkey.
Note
For this flow, a FIDO physical device is used for enrollment.
-
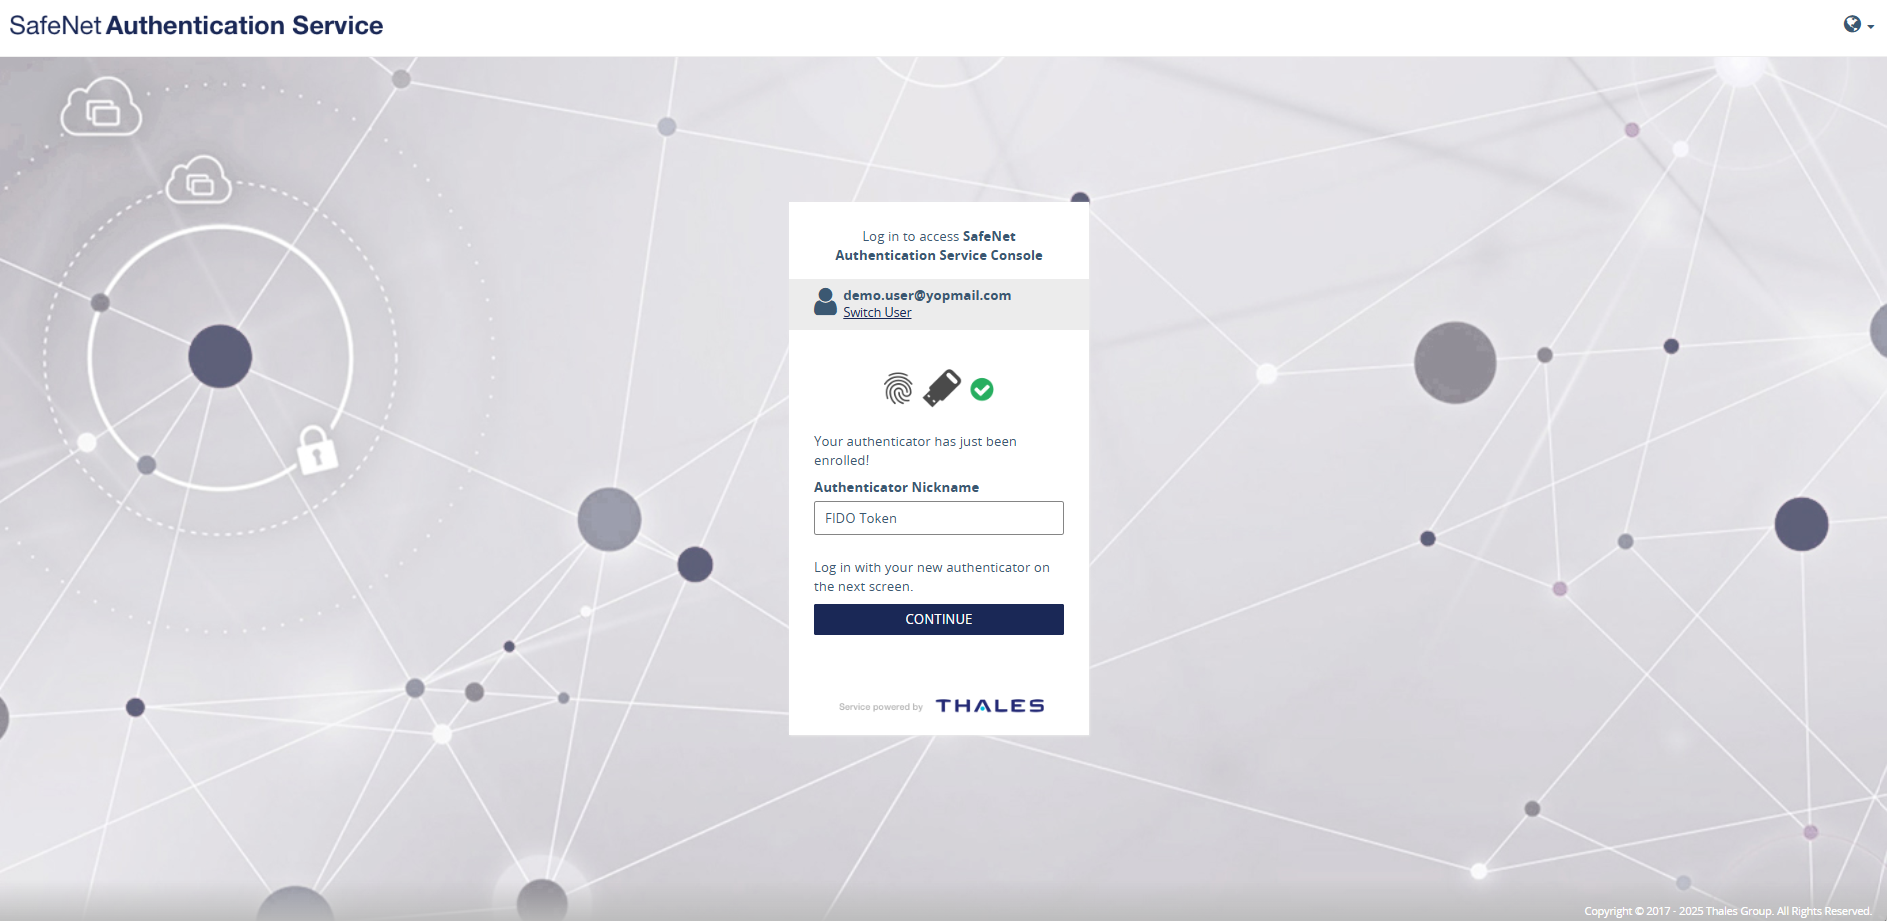
The user is prompted to enter an Authenticator Nickname for the enrolled FIDO token. This nickname will be used to identify the token and will be visible in the SAS Admin console.
-
After the user provides a name for the enrolled FIDO token, the FIDO enrollment process is completed. The user is then required to perform an initial authentication using the newly enrolled FIDO token to verify successful enrollment.
-
After successful authentication, the user is granted access and logged into the SAE demo application.
User authentication logs and details of enrolled tokens will be visible on the SAS Admin console for the tenant.
Authentication Flow
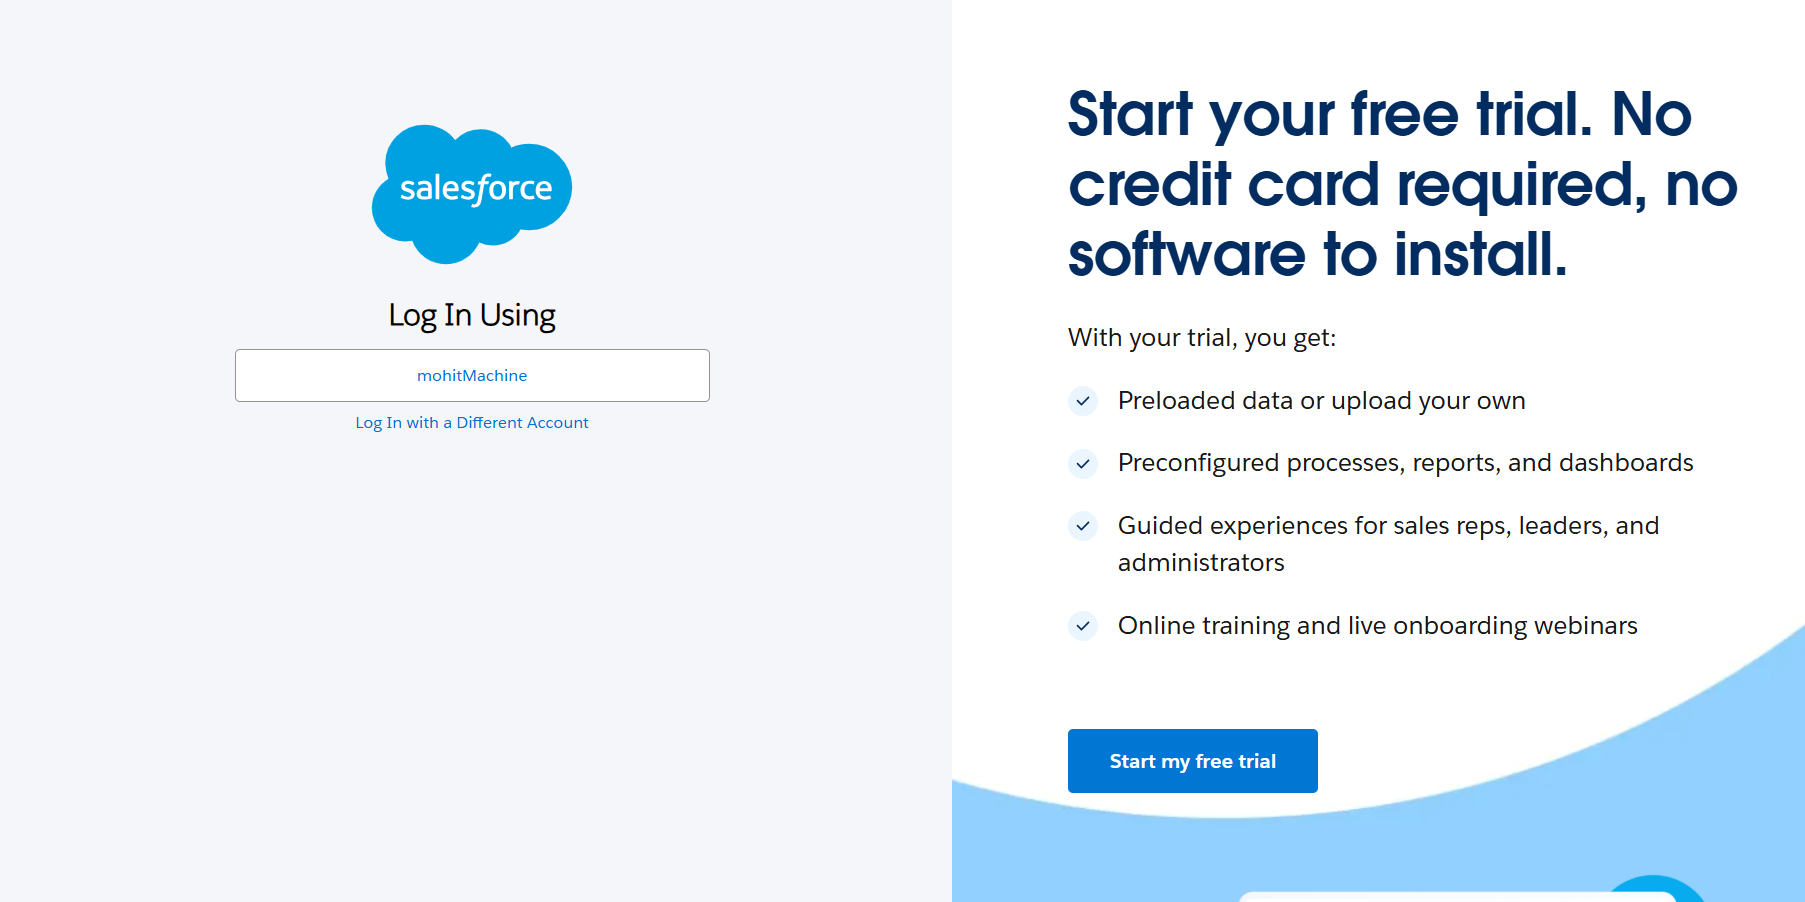
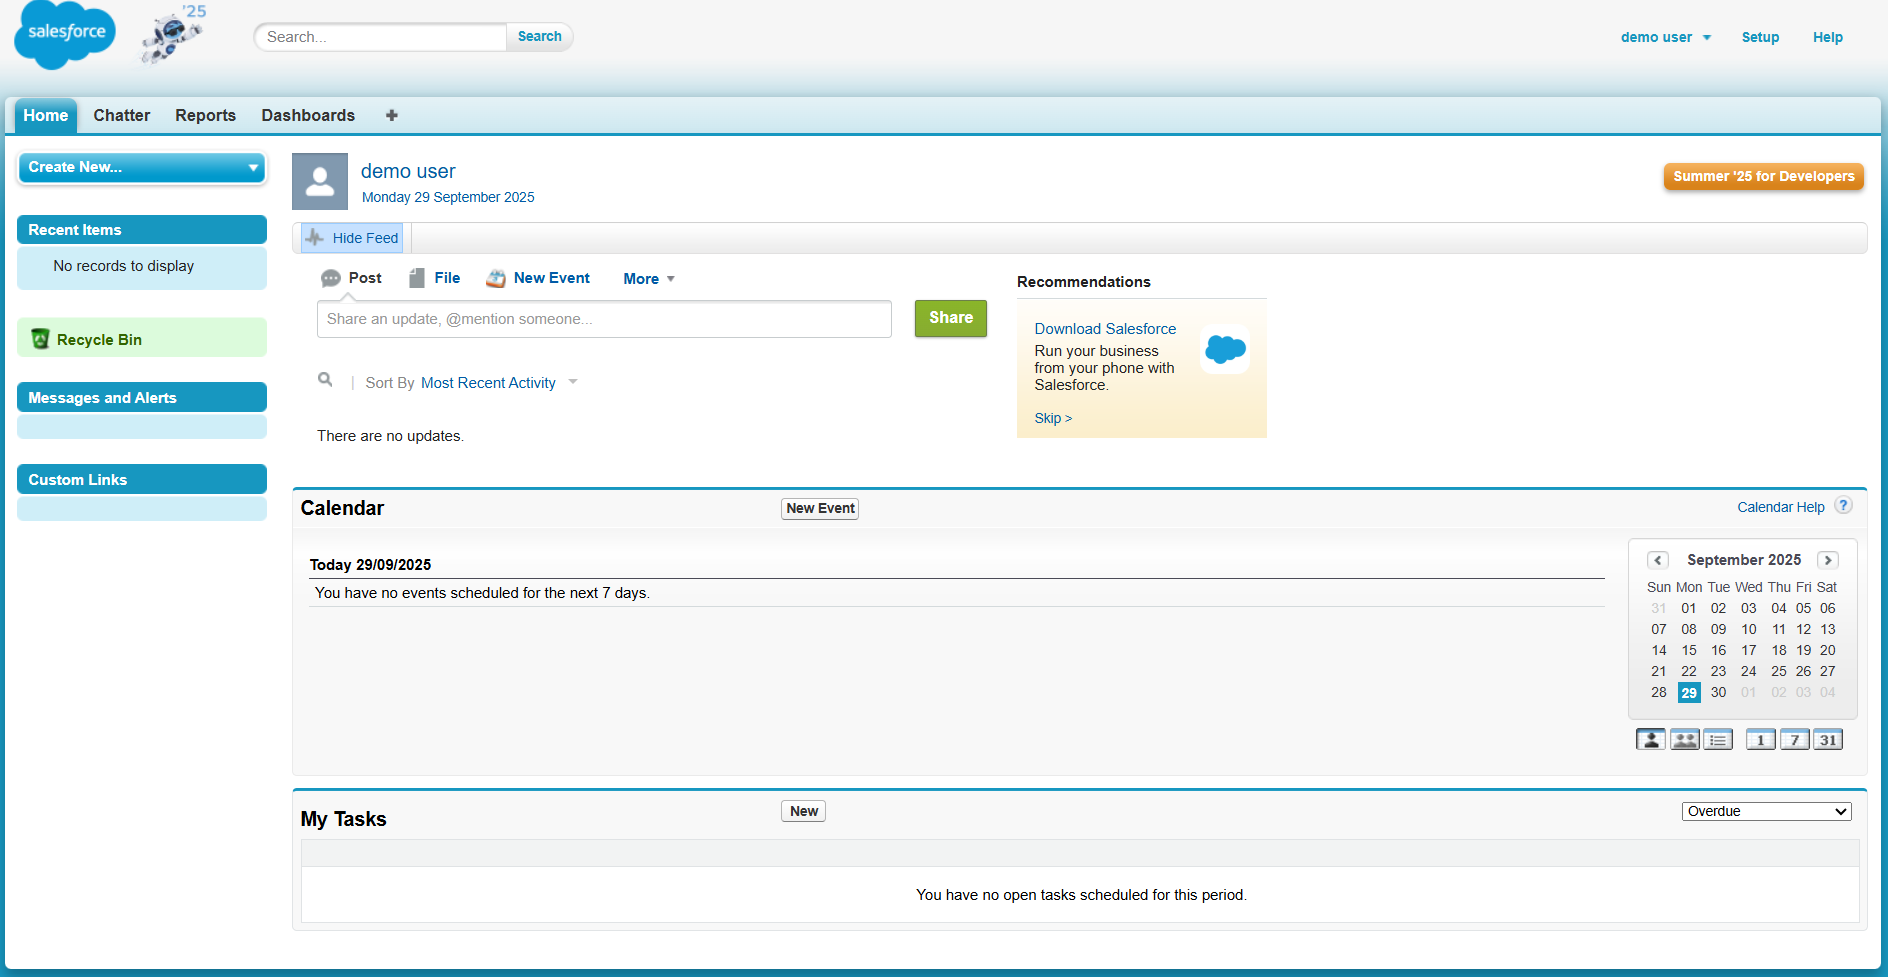
For Authentication flow, we will use the Salesforce application integrated with the same user account for which FIDO enrollment is completed.
-
Open the SalesForce login URL.
-
The user is prompted to select their account, after which they will be redirected to the SAE login screen according to the authentication flow configured for that user.
-
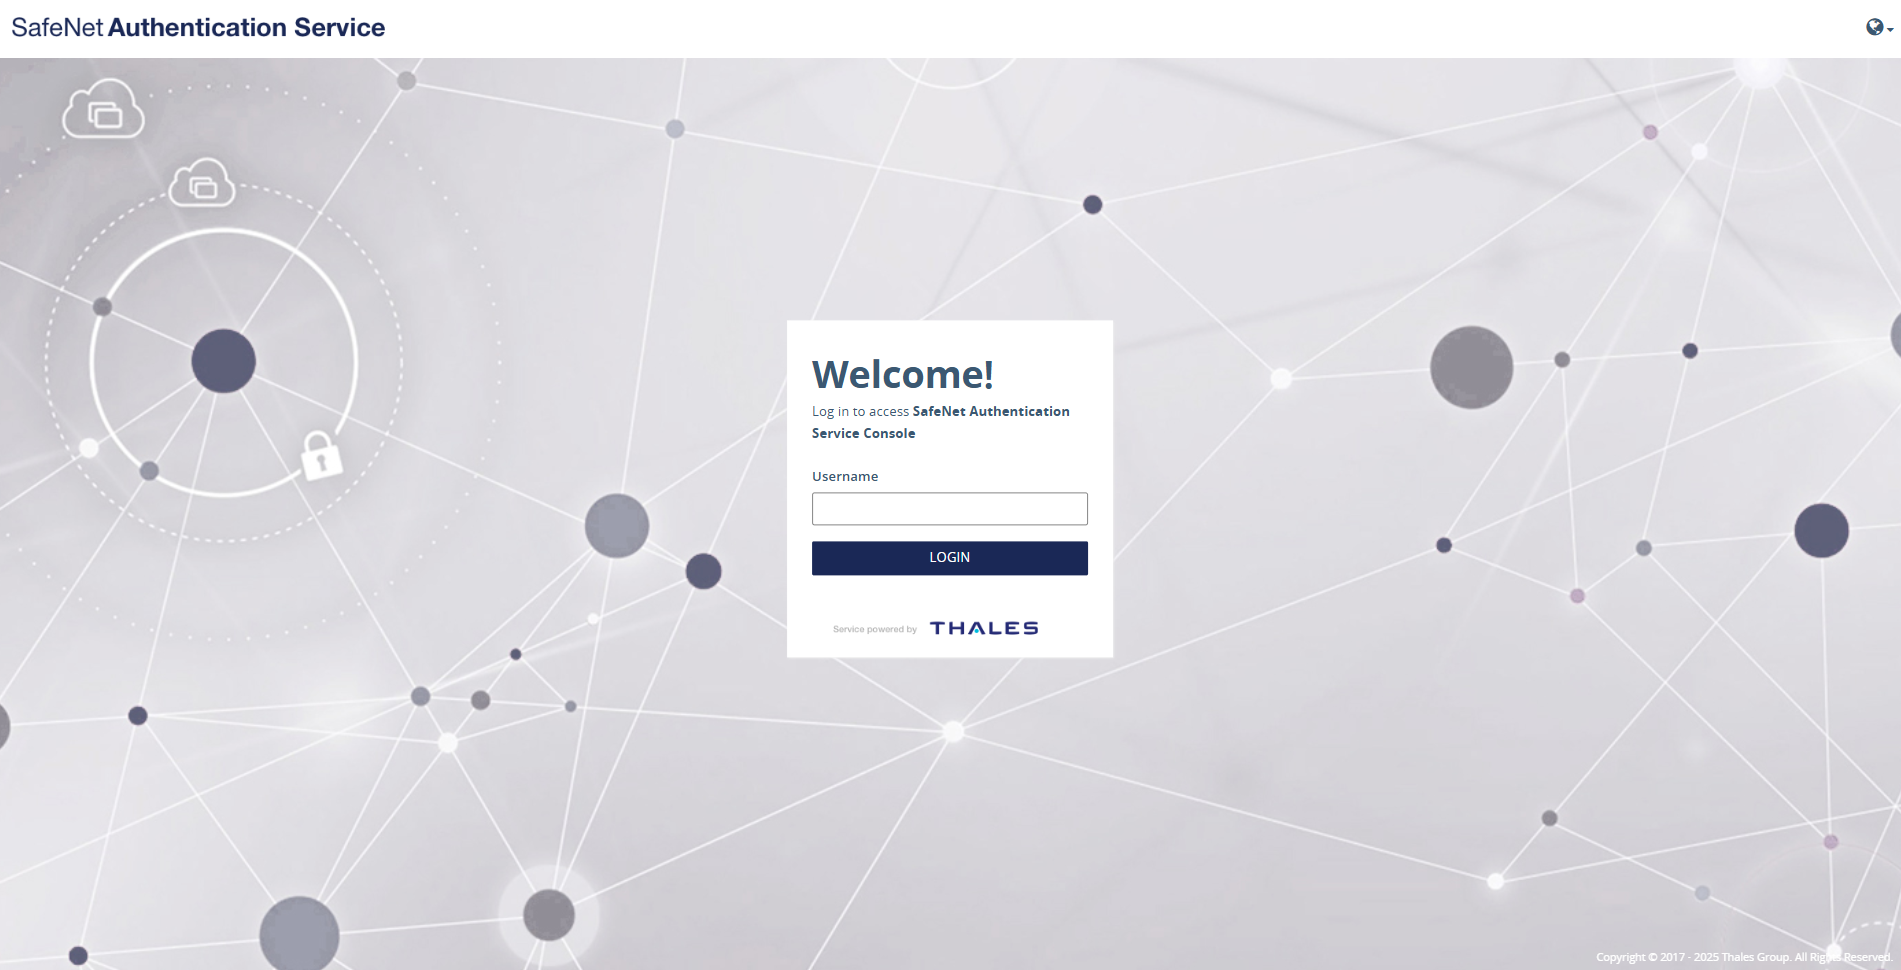
In the Username field, enter the username, and then click LOGIN.
-
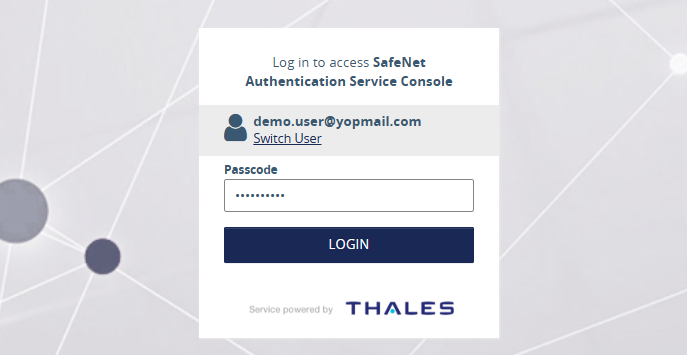
In the Passcode field, enter OTP (first factor authentication as per the OTP-FIDO flow configured for this user), and then click LOGIN.
-
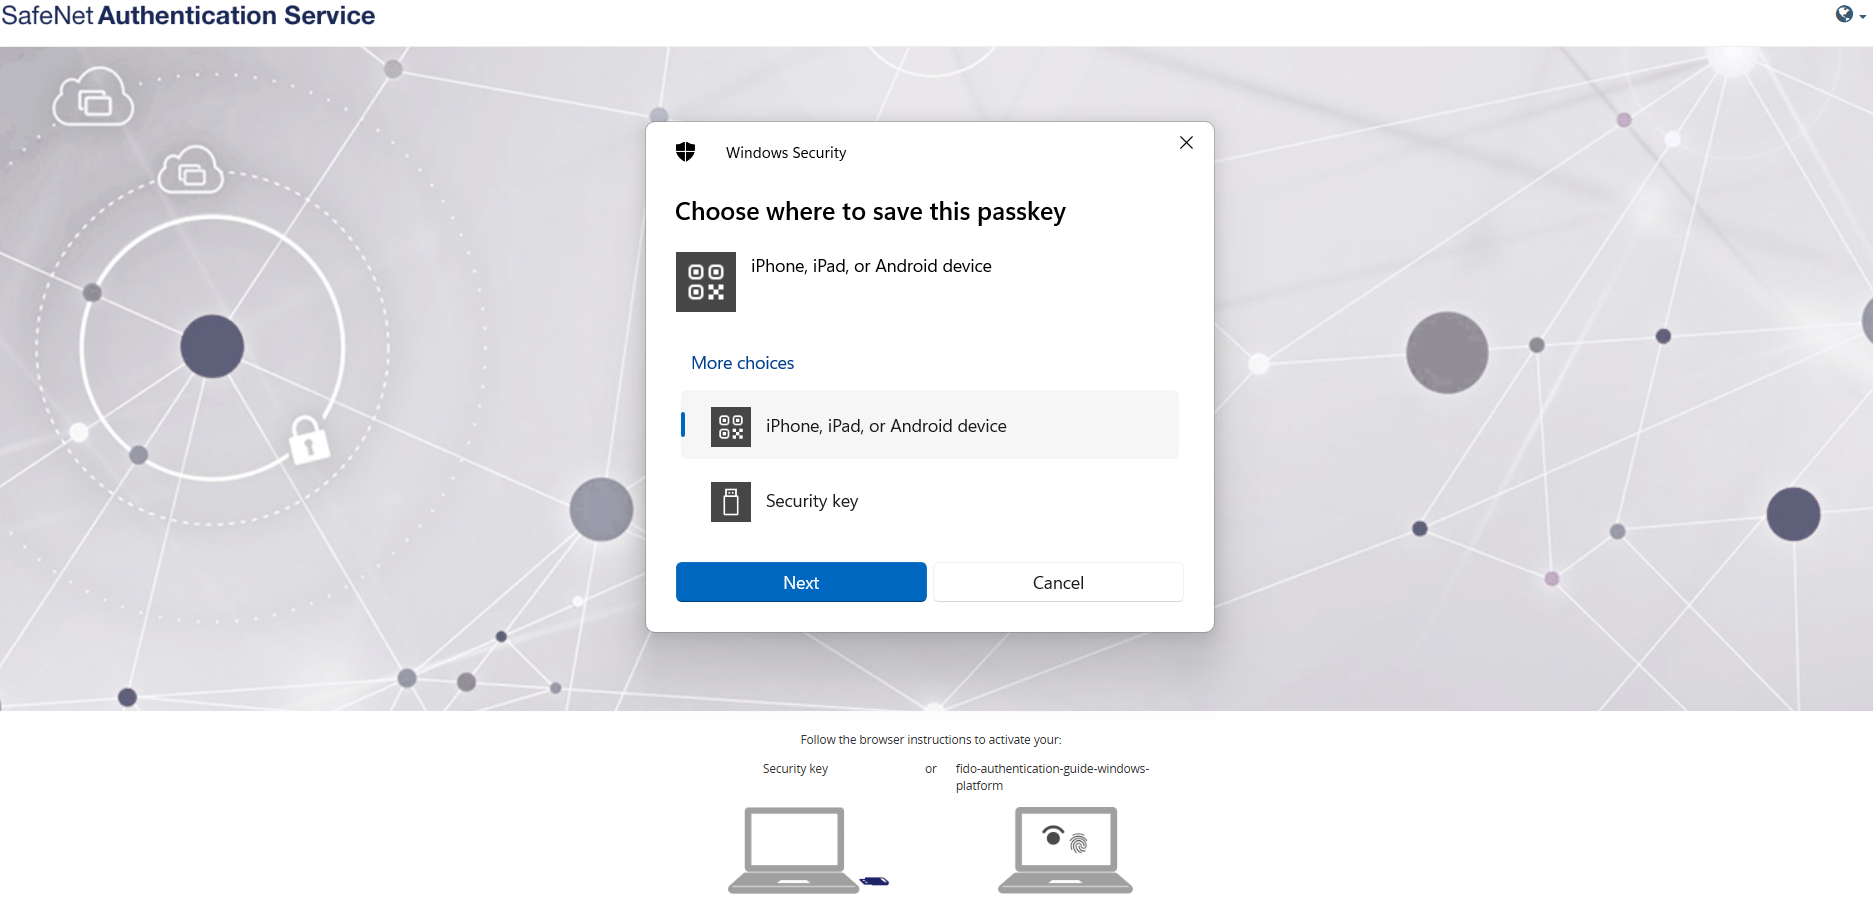
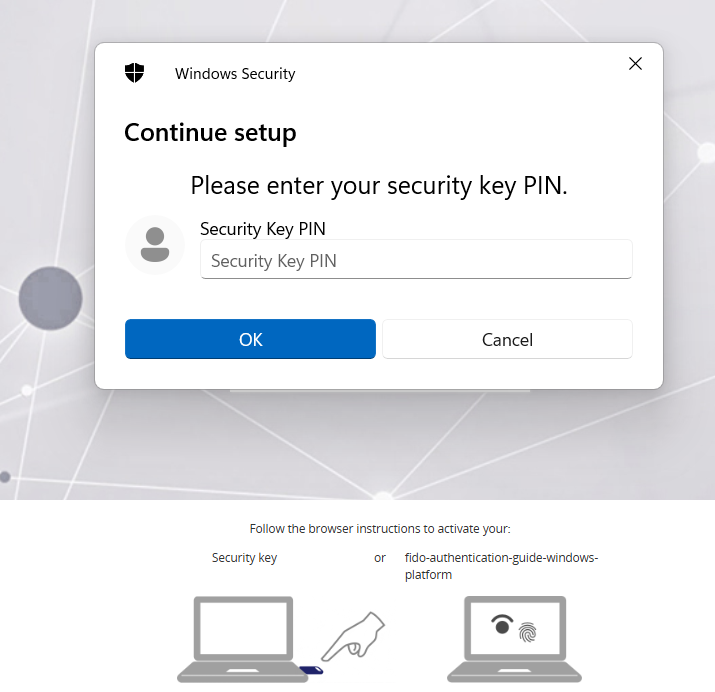
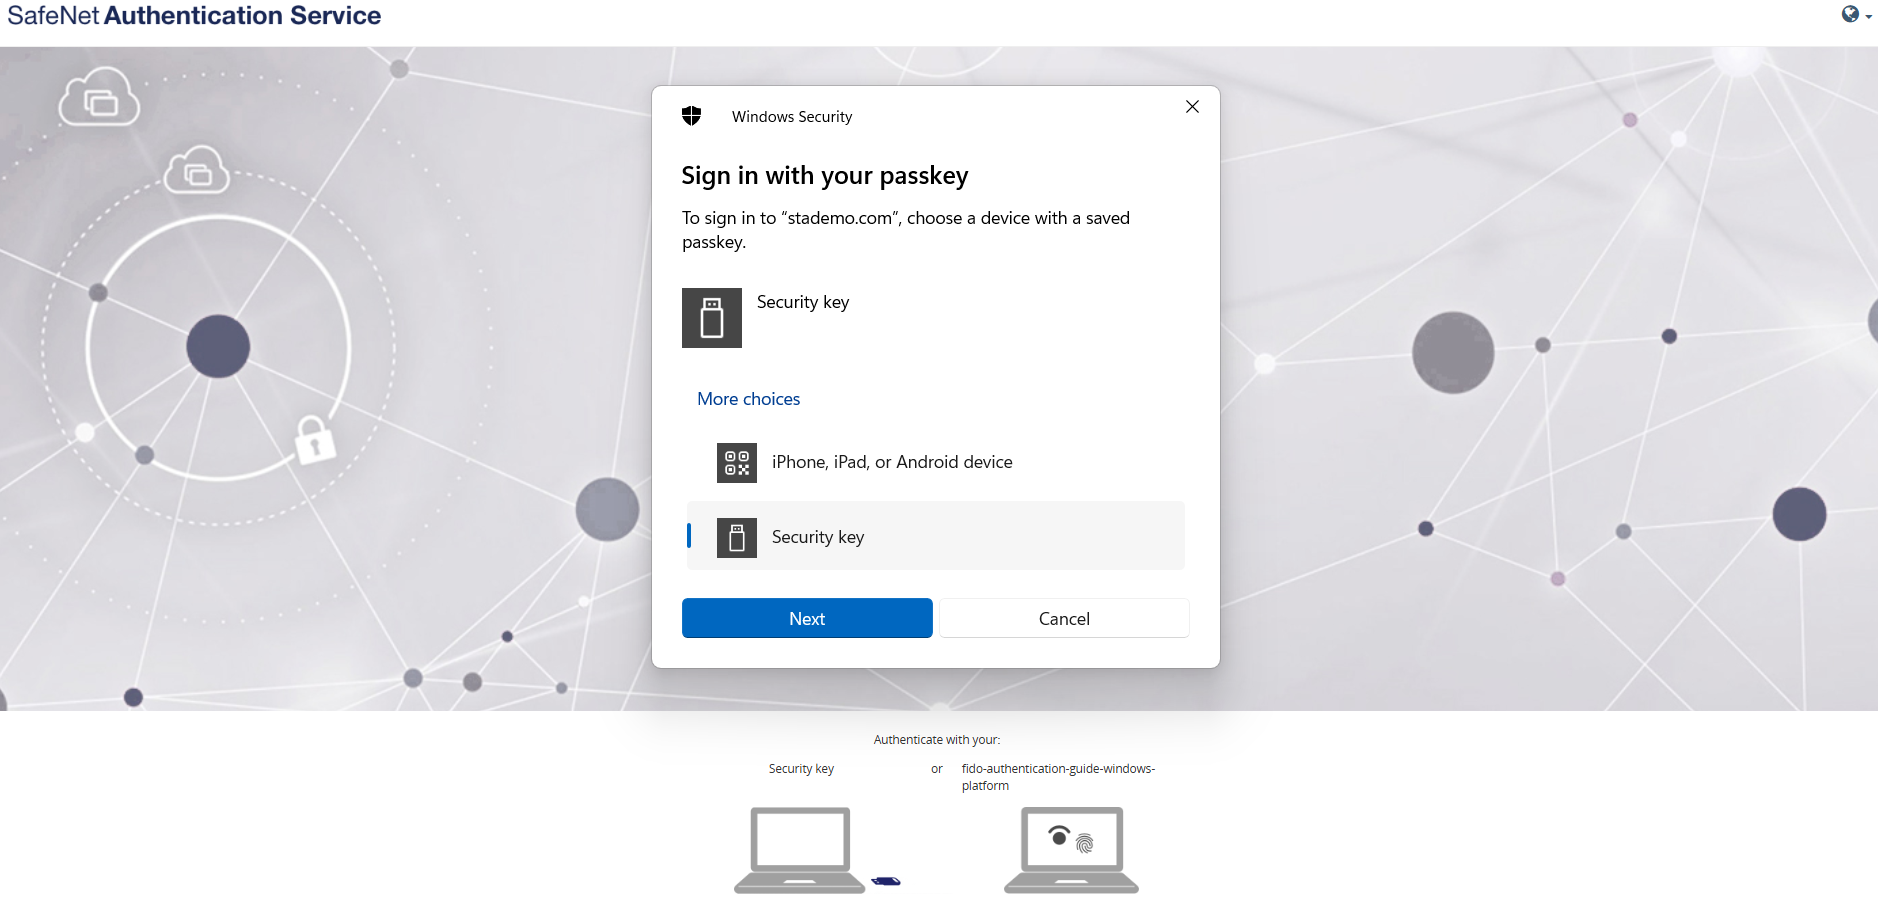
Select Security key and click Next.
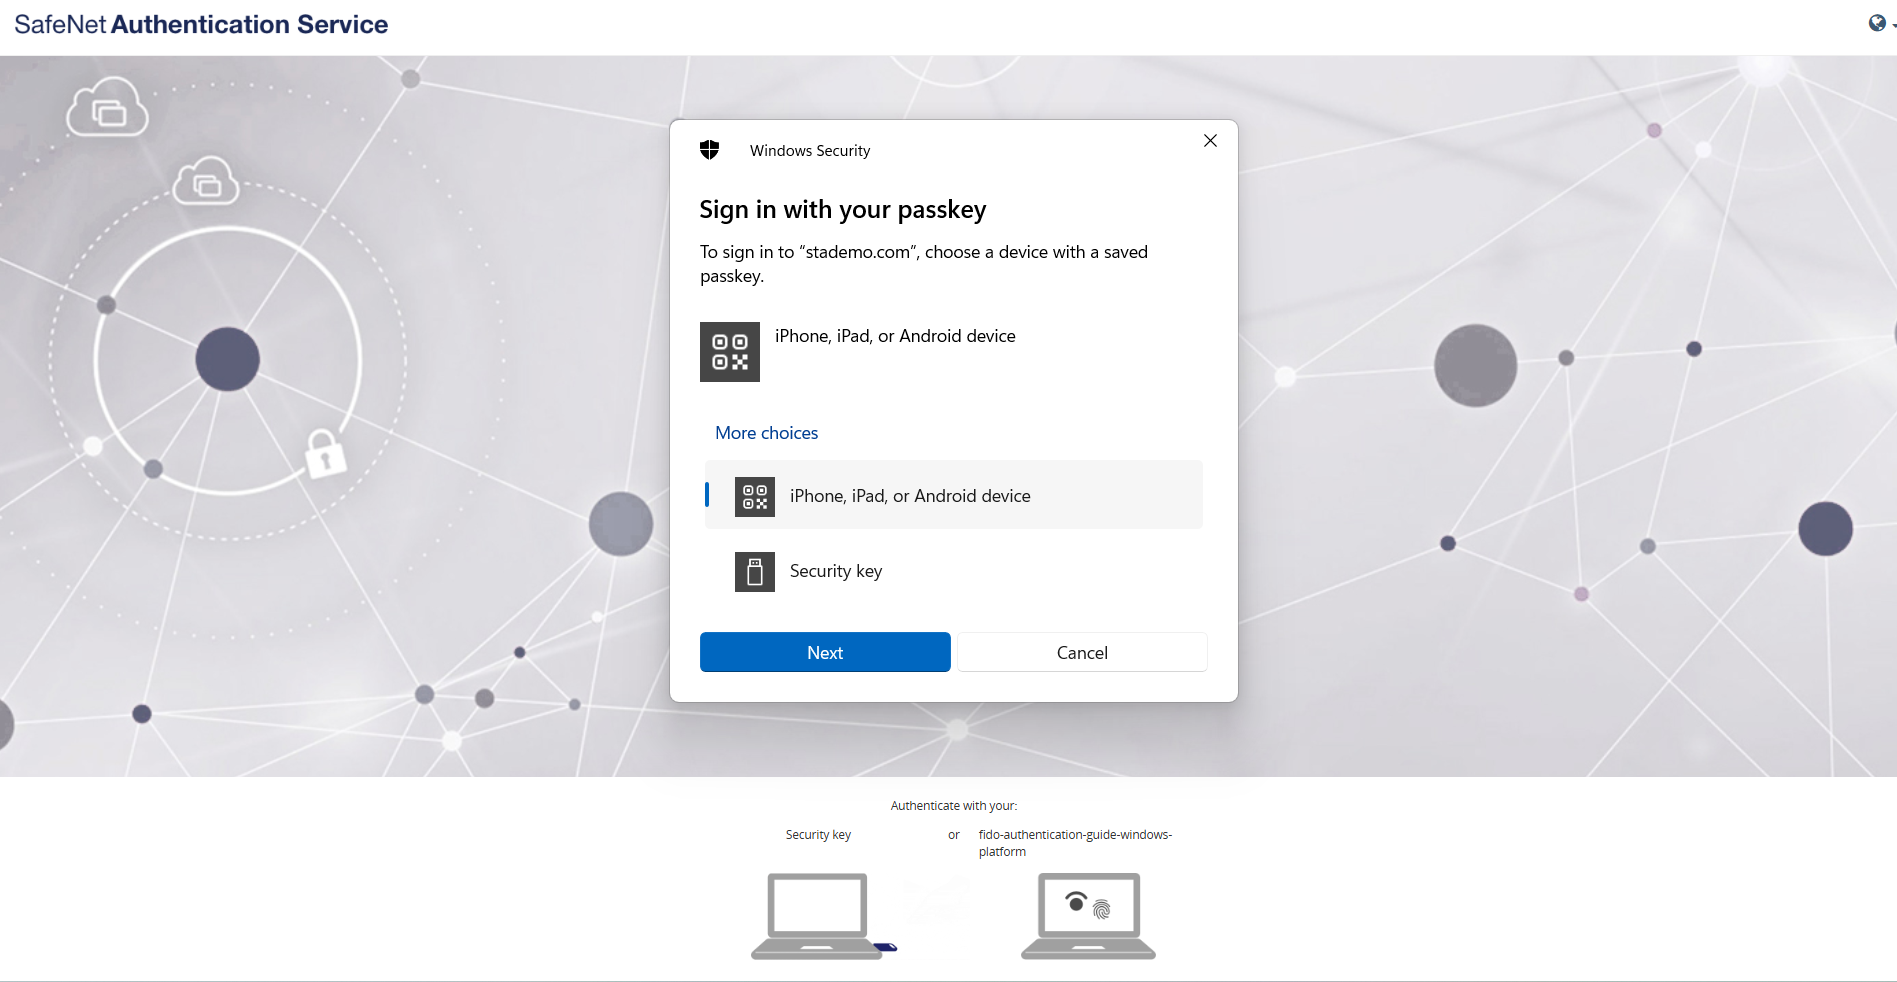
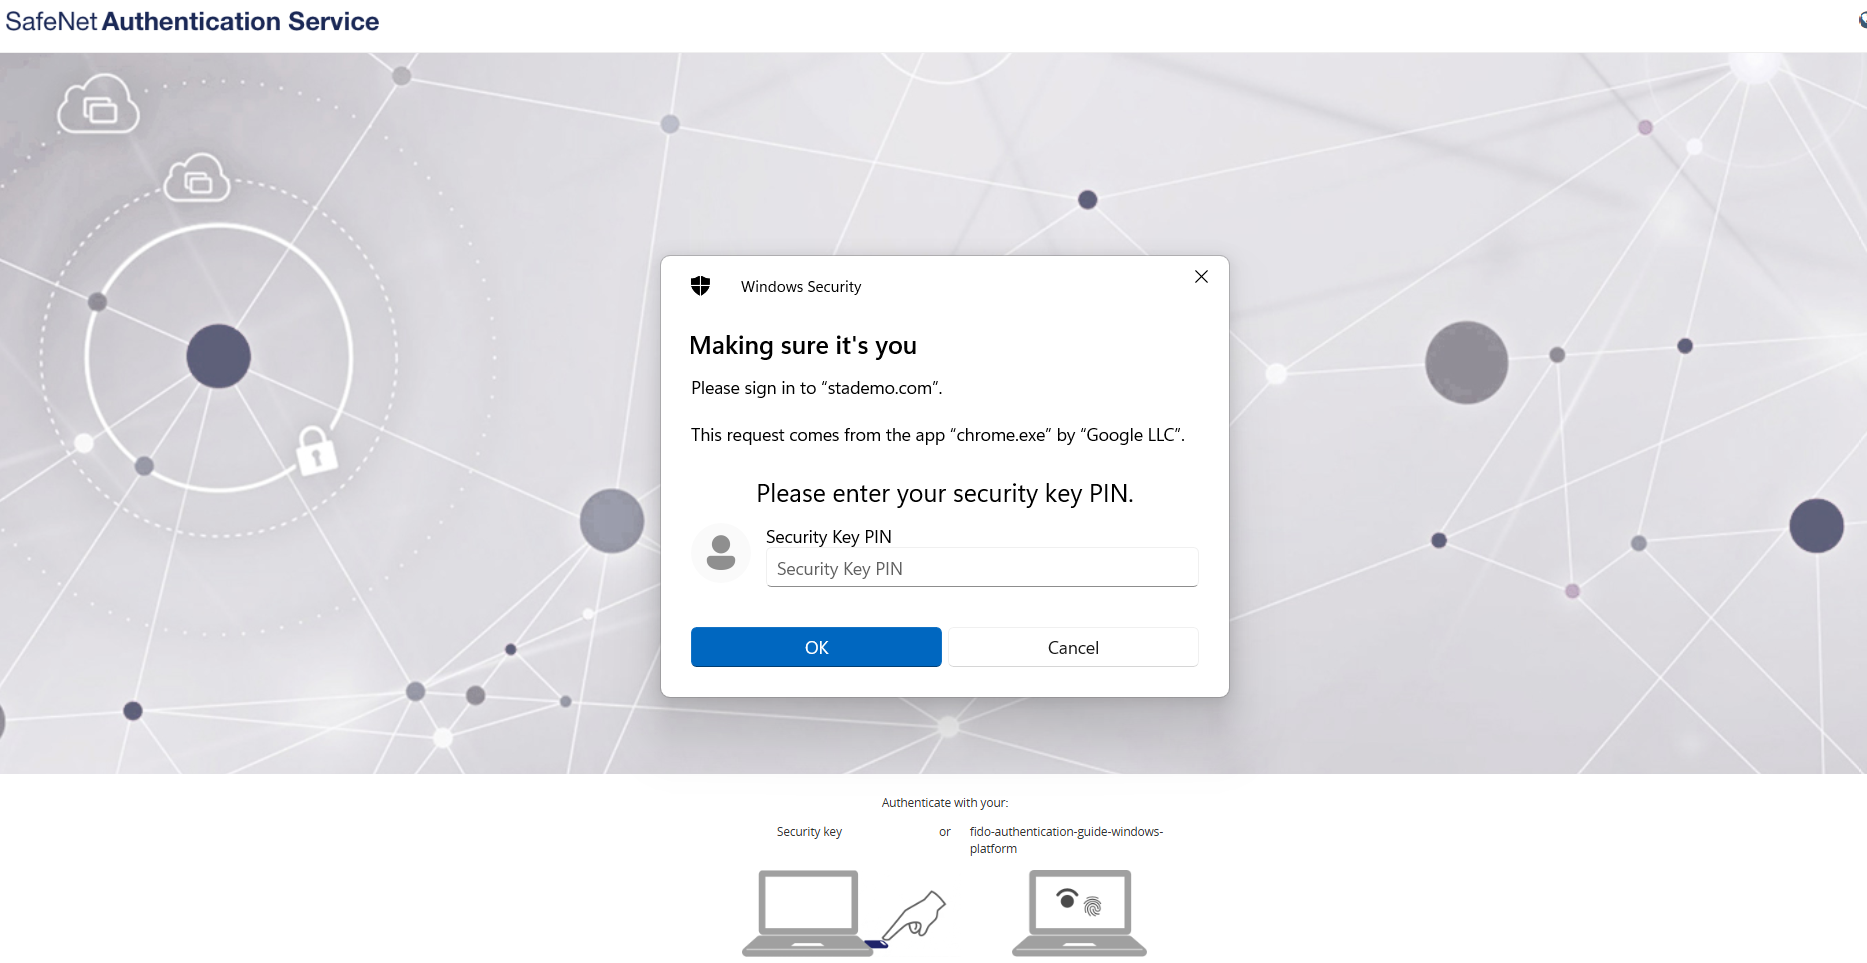
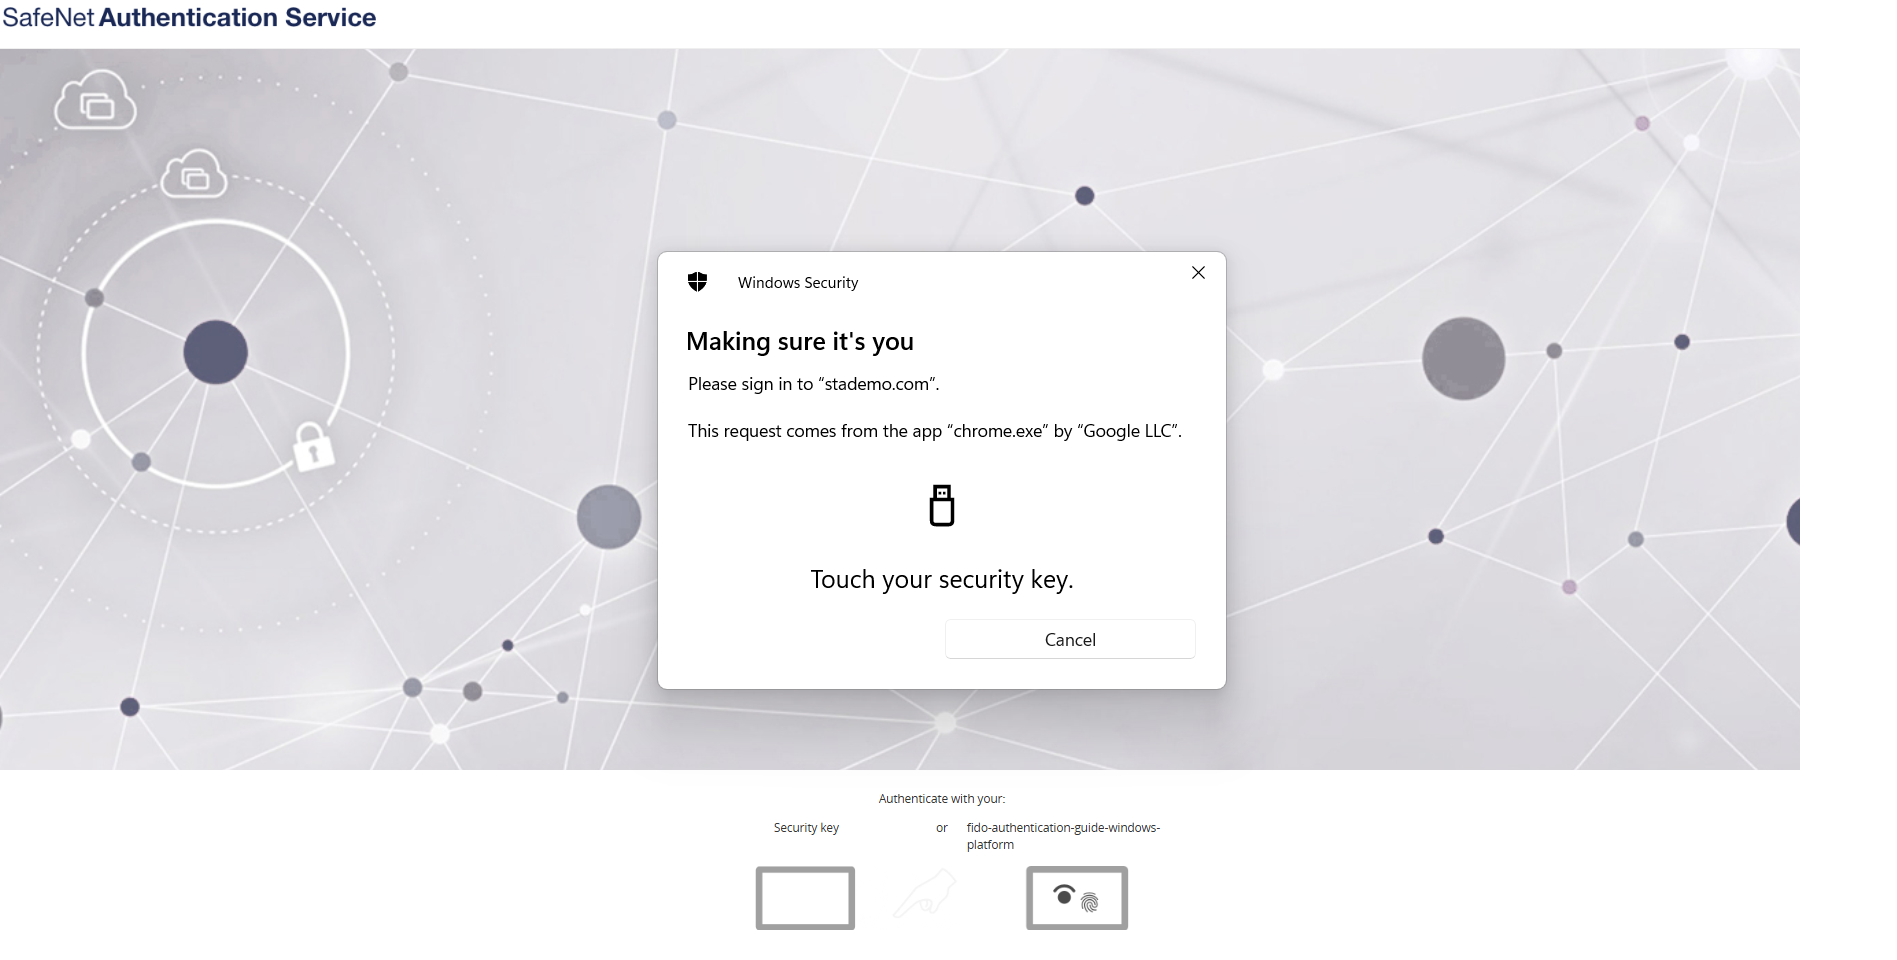
Note
Select Windows Hello/iPhone, iPad, or Android device to use device-bound passkeys. Otherwise, use a FIDO physical security key.
-
After successful verification using the FIDO security key, the user is granted access and logged into the Salesforce application.
Troubleshooting
-
For correct authentication activity logs on the SAS console, SafeNet Access Exchange (SAE) and FIDO Server must be deployed on servers in the same time zone.
-
If you are installing SafeNet Access Exchange for the first time, you can use the compose.yml file and update the IP Address for FIDO2_API_URL environment variable for SAE. If you are using existing SafeNet Access Exchange, then add a configuration FIDO2_API_URL under the environment variables.
FIDO2_API_URL=http://<<IP-Address>>:8080/fido2 -
If you encounter any issues related to FIDO enrollment, ensure that all the required prerequisites are complete as outlined in the documentation. Additionally, verify that SafeNet Access Exchange, FIDO server, and SAS PCE are up and running with correct configurations.
-
Since multiple FIDO token support is not available, users may experience issues if they use an incorrect FIDO token or PIN during authentication. In such cases, ensure to use the correct FIDO token and PIN to log in.
-
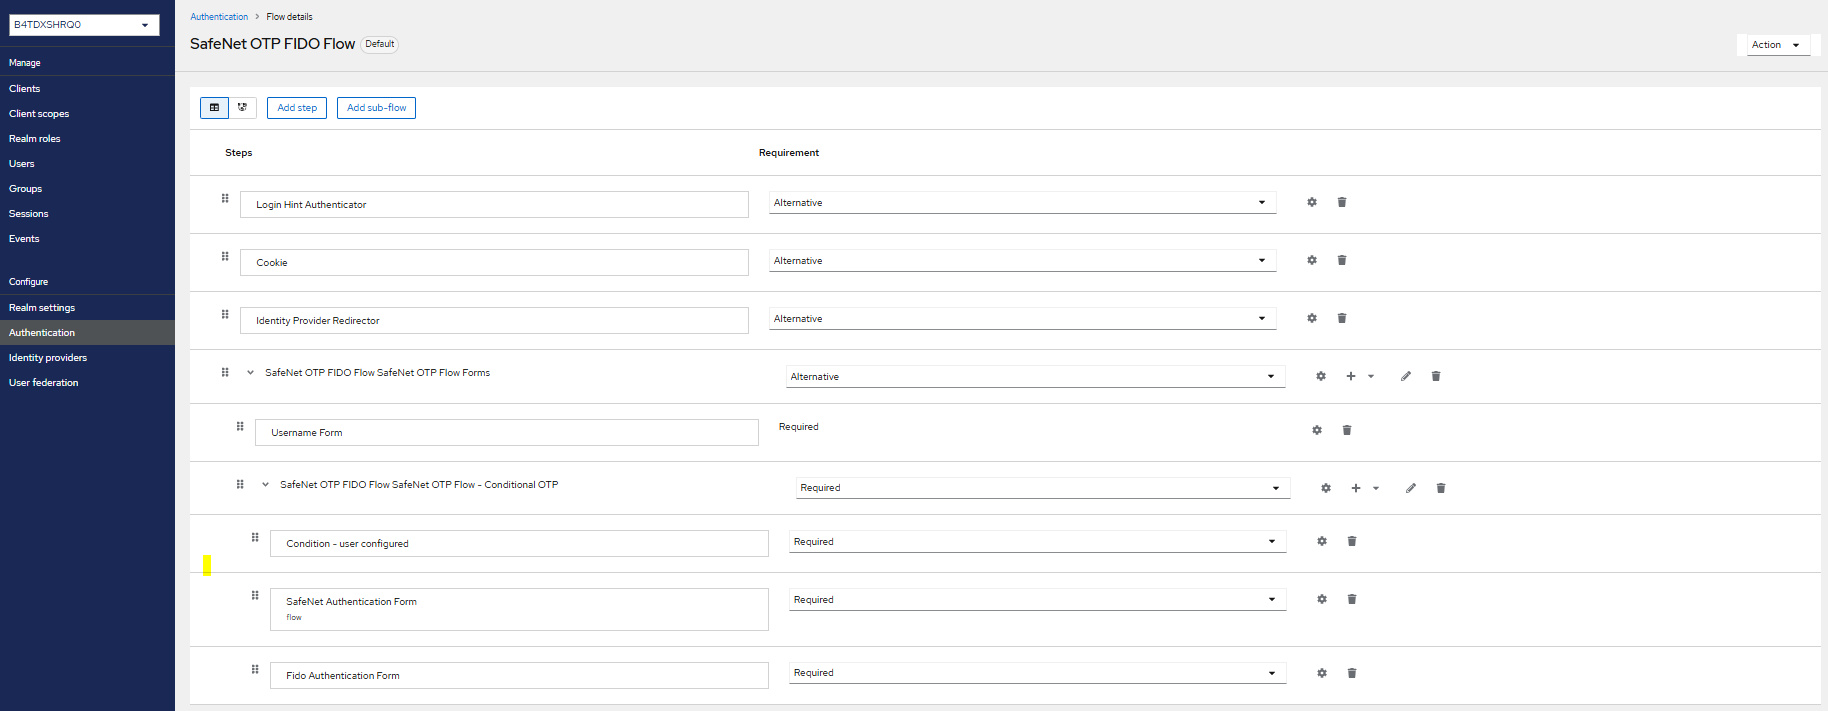
For existing SafeNet Access Exchange users utilizing existing realms, the FIDO Authentication Form must be manually added to their authentication flow.