
Installing the Client Using Installer (Windows Only)
This section provides the instructions to install the SafeNet IDPrime Virtual client using the Installer.
Administrator rights are required during installation of the package. Perform the following steps to install SafeNet IDPV Client for windows with its default properties and features:
-
Close all applications, which are using PKI.
-
Double-click
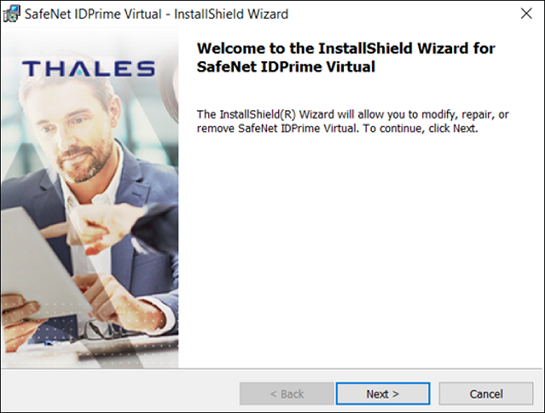
SafenetIDprimeVirtual.msifile.The SafeNet IDPrime Virtual Installation Wizard is displayed. Click Next.
-
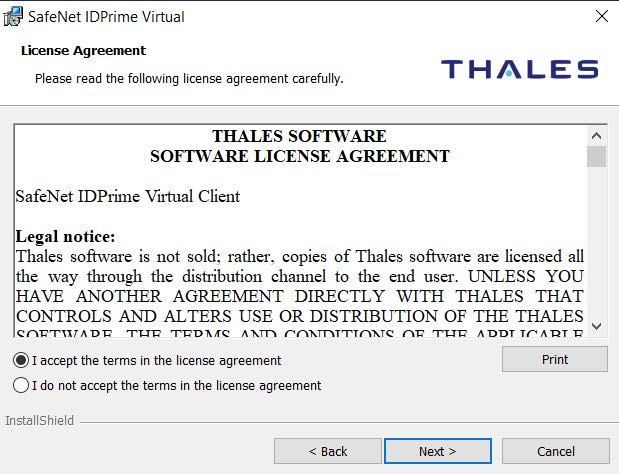
The End-User License Agreement is displayed. Read the License Agreement, select I accept the terms in the license agreement, click Next.
-
The Custom Setup window is displayed.
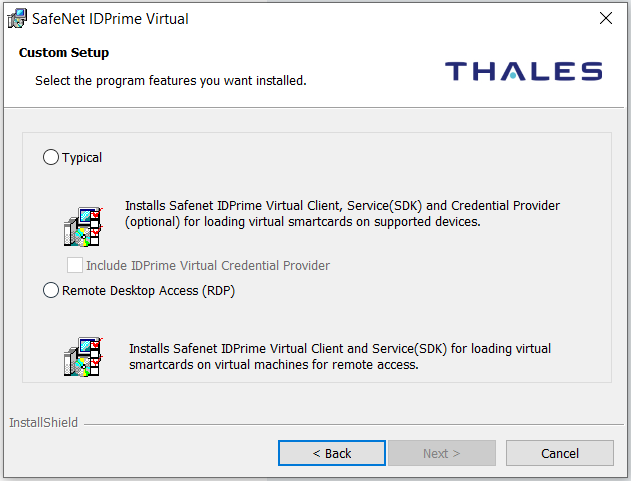
Select one of following three installation types as per your preferred configuration and click Next:
-
Typical: In the Typical installation type, SafeNet IDPV Client, and SDK Windows Service are installed to load virtual smart cards on supported devices.
-
Complete: In the Complete installation type, SafeNet IDPV Client, SDK Windows Service, and Credential Provider are installed to load virtual smart cards on supported devices.
-
Remote Desktop Access (RDP): In the Remote Desktop Access (RDP) installation type, SafeNet IDPV Client and SDK Windows Service are installed to load virtual smart cards on virtual machines for remote access. Remote Desktop Access (RDP) supports multi-user sessions.
For more information, refer to the Remote Desktop Access Support section.Note
The Remote Desktop Access profile is used to disable usage in the Offline mode.
Remote Desktop Access (RDP) does not support:
- IDPrime Virtual Credential Provider
- SafeNet Minidriver and SAC Tools in Minidriver mode
-
-
To install the IDPrime Virtual Credential Provider feature, refer to step 1 of the Installing SafeNet IDPrime Virtual Credential Provider, and click Next.
-
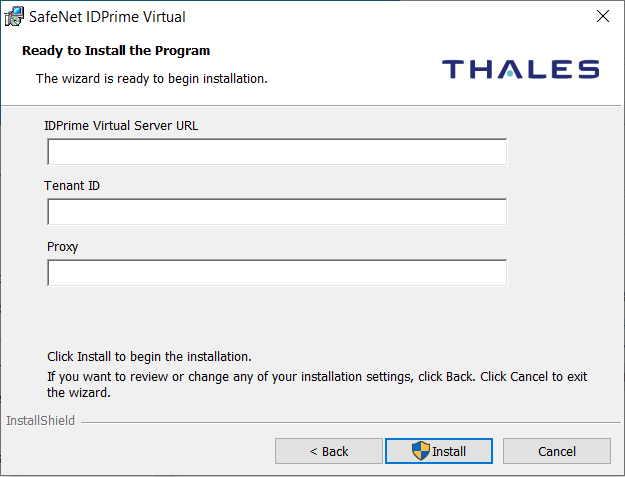
The Ready to Install the Program window is displayed.
Enter the applicable properties value, refer to the table given in Manually Setting up the Registry Keys (Windows Only), and click Install.
If no entry is made in the IDPrime Virtual Server URL, Tenant ID and Proxy fields, ensure that the correct data is configured using the registry. User must set up a proxy if the Credential Provider is the only option to login to the IDPV.
-
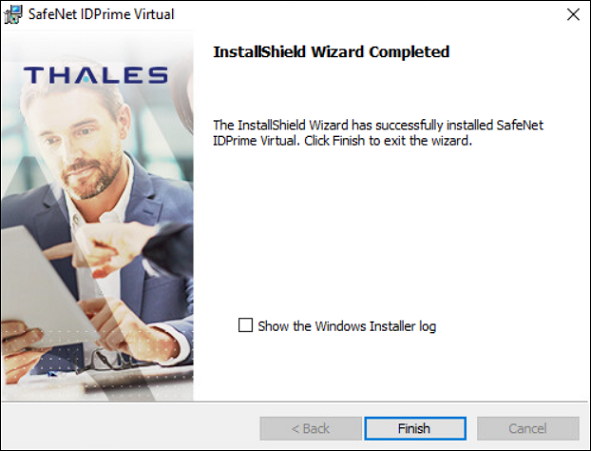
Click Finish. When the installation is complete, a confirmation message is displayed.
In case all the prerequisites are not met before the installation, you need to restart the SafeNet IDPrime Virtual service or restart your machine after completing all the prereqisites.
Restart the SafeNet IDPrime Virtual Service
Follow the below steps to the SafeNet IDPrime Virtual Service:
-
Exit the systray application as shown in the screenshot.

-
Go to Services, and search for SafeNet IDPrime Virtual and click on Restart the service.
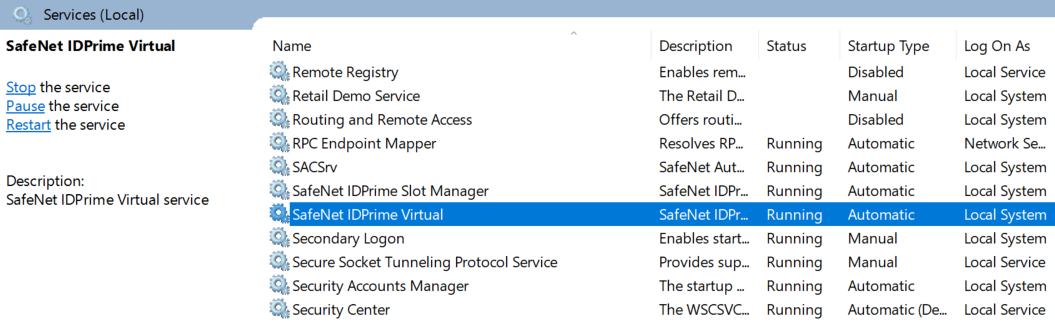
The SafeNet IDPrime Slot Manager service is listed with status as Running when IDPV is installed using the Remote Desktop Access (RDP) installation type.
-
Launch the IDPV Client again.