
Connect on Behalf of the User
Administrators can use the Connect on Behalf of the User feature to connect to the server, create and provision token(s) for end user(s), and disconnect end user(s).
Enable the Connect On Behalf Feature
To use Connect on Behalf of the User feature, the On Behalf Connect registry key must be enabled. Administrators can manually set the Connect on behalf of the user setting using the Registry Editor.
Activating the On Behalf Connect registry key switches you into the Administrator mode.
Perform the following steps to manually edit the registry setting:
-
On the Windows taskbar, select Start > Run.
-
In the Run dialog box, enter
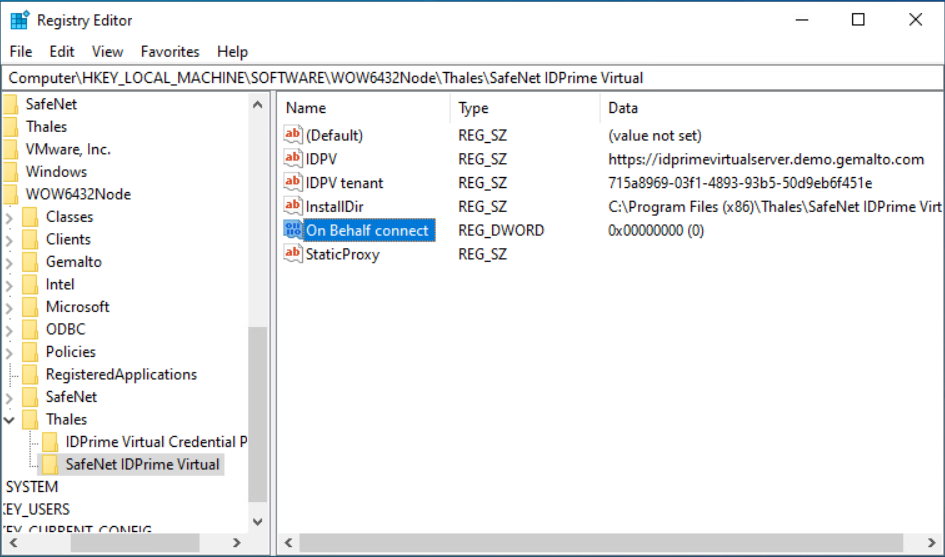
regedit, and click OK. The Registry Editor displays the registry folders tree in the left pane. - Expand the tree by executing the following command:
HKEY_LOCAL_MACHINE\SOFTWARE\Thales\SafeNet IDPrime Virtual - Double-click On Behalf connect registry key:
- To enable the setting, change the value from 0 to 1.
- To disable the setting, change the value from 1 to 0.
On a multi-user session supported machine, if an administrator changes the registry value of On Behalf connect from 0 to 1, the Connect On Behalf option in the system tray becomes available for all users. Additionally, if the tenant is set up with the -u flag as true, non-admin users will also be able to create more tokens.
Caution
Before restarting the IDPV service, the Admin must notify other users, giving them time to exit the IDPV system tray and close all applications that are currently using the IDPV service.
-
Close the Registry Editor.
-
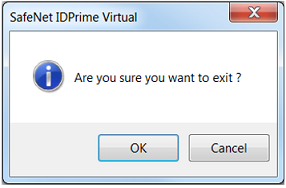
Right-click the SafeNet IDPrime Virtual Client tray icon, select Exit to close the application and apply the registry setting changes. A confirmation window is displayed.
-
Click OK.
-
Restart the SafeNet IDPrime Virtual Client application form
services.mscfile. The Connect on behalf options are added to the tray menu.
Create and Provision Token(s) for End Users
Creating and provisioning tokens for end users using the Connect on Behalf of the User is a two-step process:
Connect on Behalf of the User
Perform the following steps to connect on behalf of the user:
-
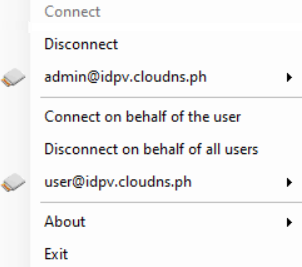
Right-click the SafeNet IDPrime Virtual Client tray icon. The SafeNet IDPrime Virtual Client administrator tray menu is displayed.

-
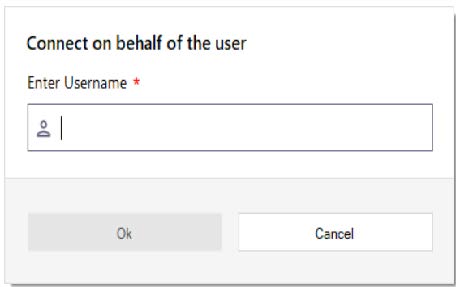
Select Connect on behalf of the user. The Connect on behalf of the user window is displayed.
-
Enter the user ID defined in Identiy Provider section and click OK. The tray menu icon
 starts flashing on and off as SafeNet IDPrime Virtual Client attempts to connect to the IDP Server. When the connection is established, the tray menu icon turns green
  .
.As an administrator, you cannot provision your own smart card (created by another administrator) using the Connect on behalf of the user option. If you use this option and enter your user ID, the application will operate in the same manner as it does in the case of the Connect option. However, you can still create and use new smart cards. For more information on the Connect option, refer to the Connecting IDPV Smart Card to the Server section.
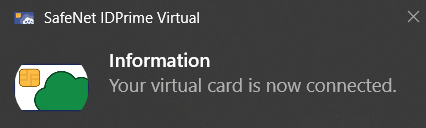
The virtual smart card is connected and the user's name is displayed in the list:
Microsoft limits a user to create a maximum of 10 virtual smart cards on the same computer.
The following notification is displayed:
A user can use their smart card only after the administrator performs settings that requires
login to the smart card (such as Rename Smart Card, Change PIN or Import
Certificate).
Initialization Mode – A user cannot see tokens on the system tray when the card is in the initialization mode.
Operational Mode – Administrator has performed settings on the smart
card/user connects to the server. If no virtual smart card exists, the
server generates an empty smart card in operational mode.
Complete Token Provisioning
For IDPV Client v2.9 and onwards, an administrator needs to perform the following steps to complete the token provisioning process:
For IDPV Client v2.8 and earlier, the administrator simply needs to click Disconnect on behalf of all users (for multiple users) or Disconnect user (for an individual user) to complete the token provisioning process.
-
On the SafeNet IDPrime Virtual Client administrator tray menu, select the user for whom token provisioning is to be done.
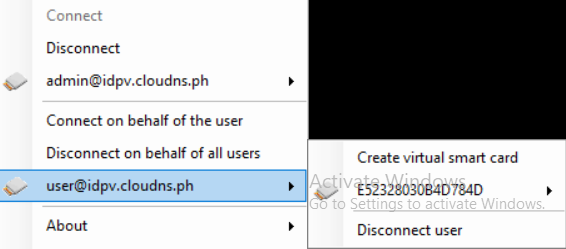
-
Select the user token to be provisioned and then click Complete Provisioning to complete the token provisioning.
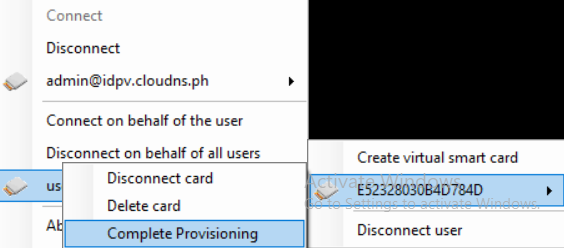
-
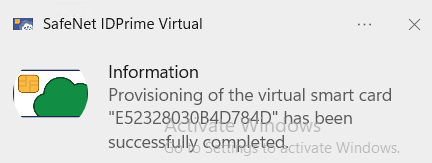
If the token contains a valid certificate, the token provisioning is successfully completed and the following message is displayed on the right side of the taskbar.
-
If the token is empty or does not contain a valid certificate, the following window is displayed:
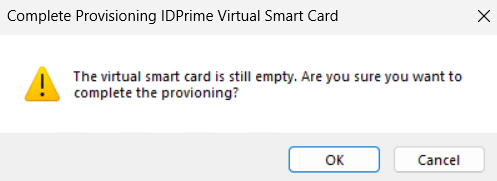
Click OK. The token provisioning is successfully completed and the following message is displayed on the right-side of the task bar.
-
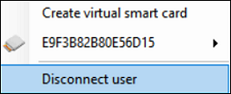
-
Select the user and click Disconnect user.
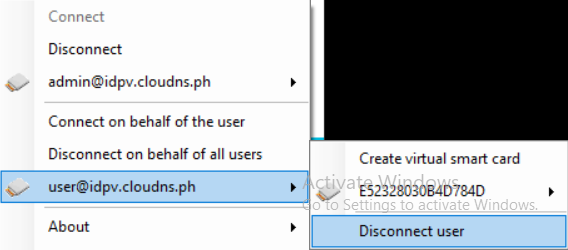
-
Click Exit.
Disconnect on Behalf of all Users
When you have more than one user connected using the Connect on behalf of the user feature, you can perform bulk disconnect in one click using Disconnect on Behalf of all User feature instead of disconnecting each user one at a time.
Perform the following steps to disconnect on behalf of all users:
-
Right-click the SafeNet IDPrime Virtual Client tray icon. The SafeNet IDPrime Virtual Client administrator tray menu is displayed.

-
Do one of the following:
-
Select Disconnect on behalf of all users to disconnect all users.
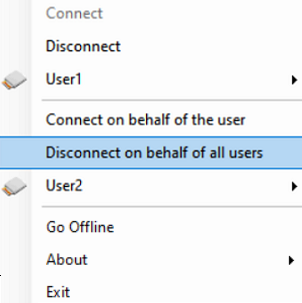
-
Click the user you want to disconnect, and select Disconnect user.
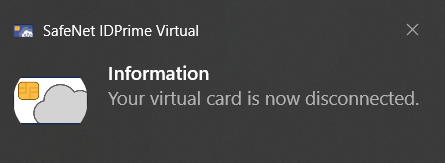
The relevant virtual smart cards are disconnected and the following notification appears:
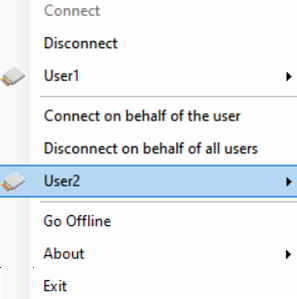
-
-
Click User2 and select the smart card you want to Disconnect/Delete on behalf of the user.
Scenarios of Connect on Behalf
The following scenarios exists:
-
Once a user has logged into the token, an admin cannot perform operations on the token Connect on behalf of the user, but can only delete it.
-
Admin cannot download the offline bundle of a user token on-behalf, and must go online to perform functions on connect on behalf of the user tokens.
-
When the admin did not complete the provisioning (for example, did not import the certificate). The user connects and tries to login to the token, the following error pop-up message is displayed.
– Incorrect Password
Also, the following balloon messages are displayed:
– Access to smart card not enabled, contact administrator.In addition, the following error messages appear in the Event Viewer.
– Event 8075, Https Request Exception: User is trying to login but provisioning is not completed.
-
After the completion of provisioning, if the Admin tries to log into the token, the following error pop-up message is displayed.
– Incorrect Password
Also, the following Balloon messages are displayed:
– Access to smart card not enabled, contact administrator.
In addition, the following error messages appear in the Event Viewer.
– Event 8074, Https Request Exception: Admin is trying to login but provisioning is already complete.
-
An administrator (for example Bob) cannot work on his own smartcard unless its provisioning is completed. Provisioning can be completed by another administrator (for example, Alice) through any of the following ways:
– Alice calls the Complete API via the Provisioning API.
– Alice connects the smartcard on behalf of Bob and then invokes Disconnects on behalf either through Windows SDK or IDPV icon on the system tray.
Bob can also wait for 60 minutes (configurable on the server) for automatic smartcard provisioning.