
Installing SafeNet Agent for Microsoft IIS
Note
Administrative rights to the Windows system are required when installing, migrating, upgrading, configuring, and uninstalling SafeNet Agent for Microsoft IIS.
To install SafeNet Agent for Microsoft IIS:
-
Log on to the Microsoft IIS web server as a user with administrative privileges.
-
Locate and execute the following installation package: SafeNet Agent for Microsoft IIS.exe
-
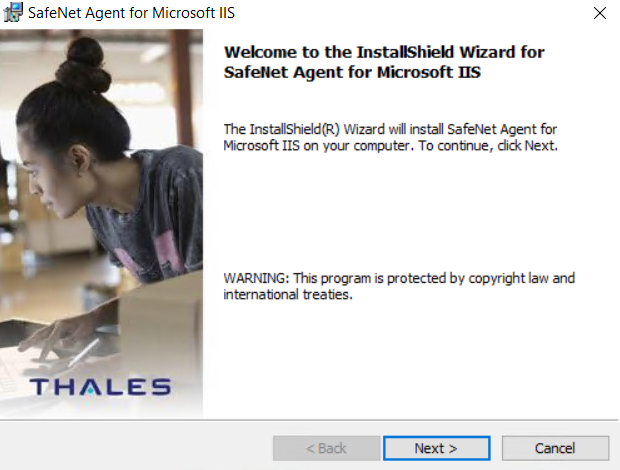
On the Welcome to the InstallShield Wizard for SafeNet Agent for Microsoft IIS window, click Next.
-
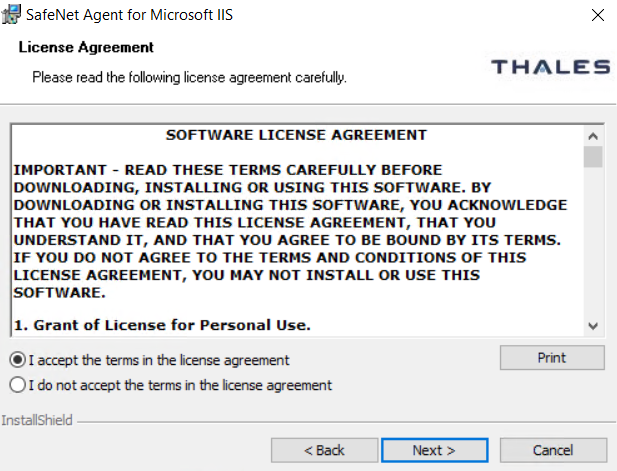
On the License Agreement window, read the software license agreement, select I accept the terms in the license agreement, and click Next.
-
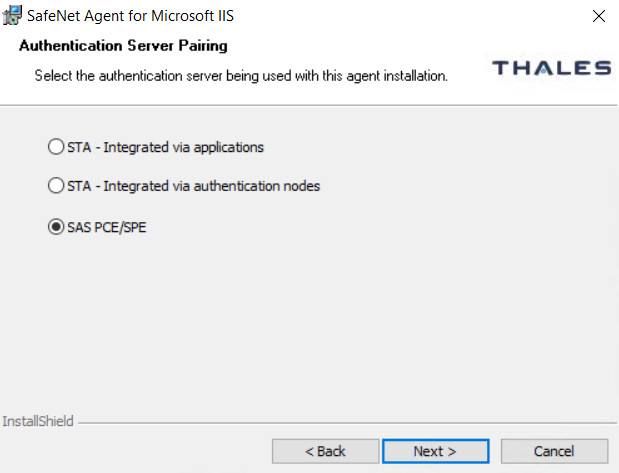
On the Authentication Server Pairing window, select SAS PCE/SPE from the Authentication Server types and click Next.
-
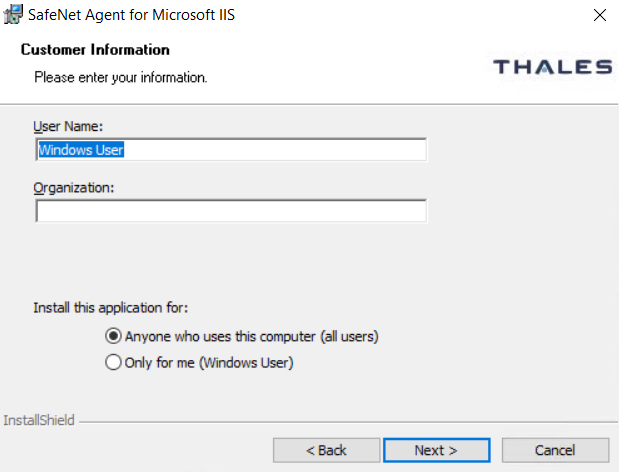
On the Customer Information window, enter User Name and Organization and click Next.
Note
To determine who will have access to the application, select one of the following: Anyone who uses this computer (all users) or Only for me (Windows User).
-
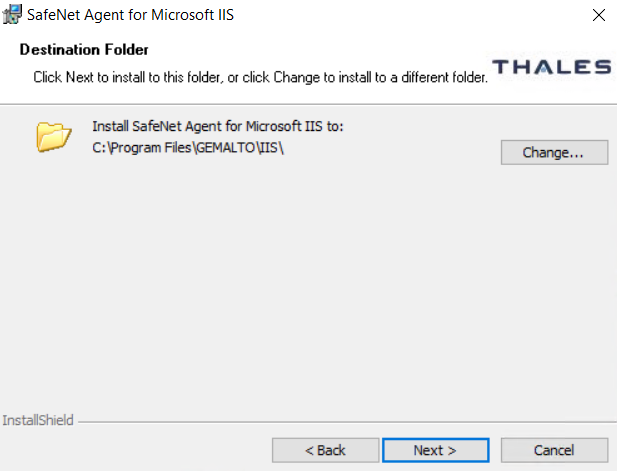
On the Destination Folder window, select one of the following options:
-
To change the installation folder, click Change, navigate to the required folder, and then click Next.
-
To accept the default installation folder as displayed, click Next.
-
-
On the Ready to Install the Program window, click Install.
-
Once the installation is completed, the InstallShield Wizard Completed window displays. Click Finish to exit the wizard.
Configuring Internet Information Services
SafeNet Agent for Microsoft IIS requires that Terminal Services Web be configured to use Basic Authentication or Windows Authentication. Prior to enabling SafeNet Agent for Microsoft IIS, the following steps must be performed.
Activating basic authentication
To prevent superfluous prompts for credentials when logging in, set the web pages to Basic Authentication.
-
Launch the IIS Manager from Administrative Tools.
-
Navigate to Computer Name > Sites > Default Web Site.
-
In the IIS section of the Features View pane, select Authentication.
-
Enable Basic Authentication and ensure that all other authentication types are disabled.
Configuring Terminal Services Web for basic authentication
-
Launch the IIS Manager from Administrative Tools.
-
Click Computer Name > Sites > Default Web Site.
-
Select TS.
-
In the IIS section of the Features View pane, select Authentication.
-
Disable Windows Authentication.
-
Enable Basic Authentication.
-
-
At the Edit Basic Authentication Settings window, enter a default domain (or leave it blank) in the Default domain field. Users who do not provide a domain when they log on to your site are authenticated against this domain.
-
In the Realm text box, enter a realm (or leave it blank). Usually, you can use the same value for the realm name that was used for the default domain.
Caution
If you enter the default domain name in the Realm text box, your internal Microsoft Windows domain name may be exposed to external users during the user name and password challenge.
-
Click OK to save your changes.
Activating Windows authentication
To prevent superfluous prompts for credentials when logging in, set the web pages to Windows Authentication.
-
Launch the IIS Manager from Administrative Tools.
-
Navigate to Computer Name > Sites > Default Web Site.
-
In the IIS section of the Features View pane, select Authentication.
-
Enable Windows Authentication and ensure that all other authentication types are disabled.
Configuring Terminal Services Web for Windows authentication
-
Launch the IIS Manager from Administrative Tools.
-
Click Computer Name > Sites > Default Web Site.
-
Select TS.
-
In the IIS section of the Features View pane, select Authentication.
-
Enable Windows Authentication and ensure that all other authentication types are disabled.
Enabling the agent
The following procedure describes how to enforce SafeNet authentication during logon to Terminal Services Web. For more information about each setting, see Configuring SafeNet Agent for Microsoft IIS.
-
Click Start > All Programs > SafeNet > Agents > IIS Agent Configuration Tool.
-
On the Policy tab, under All Web Sites, select Default Web Site.
-
Under Protected Applications, select the websites that you want to protect.
-
Select Enable Agent and any additional settings, if required.
-
-
Click the Communications tab. Verify that the Authentication Server Settings reflect the location of the SafeNet server.
-
Verify that all other tabs meet your requirements.
-
Apply the settings. The IIS server will restart for the settings to take effect.
Uninstalling the agent
Note
Administrative rights to the Windows system are required when installing, migrating, configuring, and uninstalling SafeNet Agent for Microsoft IIS.
To uninstall SafeNet Agent for Microsoft IIS:
-
Navigate to Start > Control Panel > Programs and Features.
-
Select SafeNet Agent for Microsoft IIS.
-
Click Uninstall.
Configuring Transport Layer Security
To configure TLS 1.2 support on SafeNet Agent for Microsoft IIS, set the registry as follows:
- HKLM\System\CurrentControlSet\Control\SecurityProviders\SCHANNEL\Protocols\TLS 1.2\Client
DisabledByDefault => 0x0