
Install or upgrade SafeNet Agent for TVP
This section describes the steps to install and upgrade the SafeNet Agent for TokenValidator Proxy (TVP).
Always work in Run as administrator mode when installing, uninstalling, upgrading, enabling, or disabling the SafeNet Agent for TVP.
Installing SafeNet Agent for TVP
Perform the following steps to install the SafeNet Agent for TVP:
-
Locate and run the following installation package:
SafeNet Agent for TokenValidator Proxy x64.exe(64-bit) -
On the Welcome to the InstallShield Wizard for SafeNet Agent for TokenValidator Proxy, click Next.
-
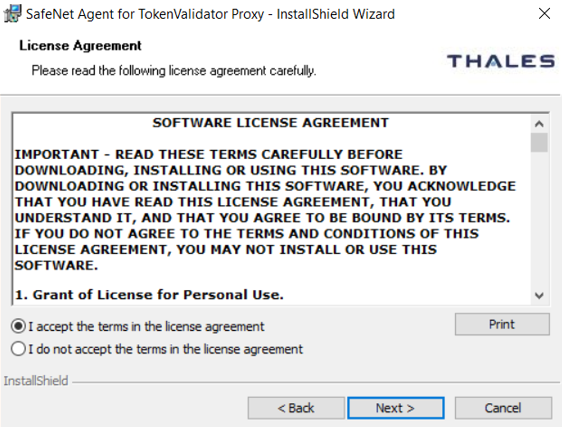
On the License Agreement window, read the software license agreement and to proceed, select I accept the terms in the license agreement option, and click Next.
-
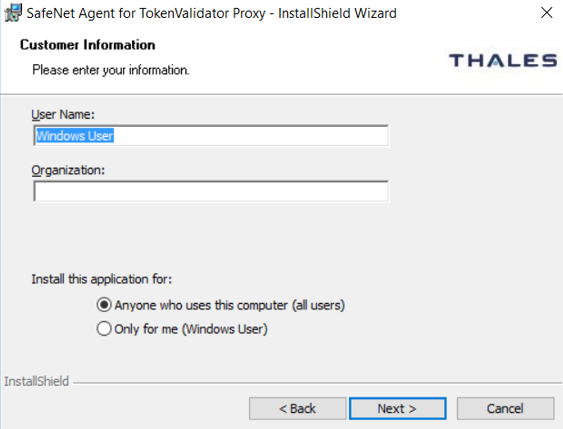
On the Customer Information window, enter the following fields, and click Next:
-
Enter the User Name and Organization.
-
Select one of the following options to determine who can use the application:
-
Anyone who uses this computer (all users)
-
Only for me (Windows User)
-
-
-
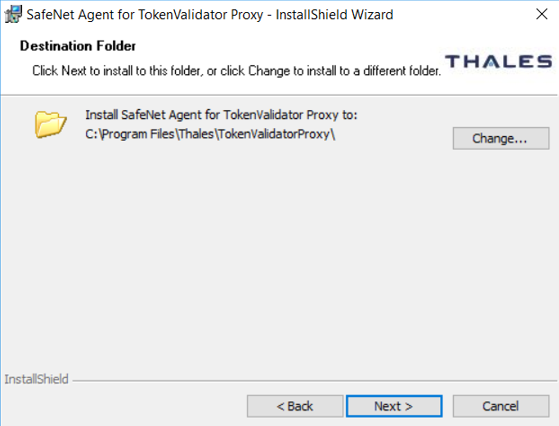
On the Destination Folder window, the installation folder is displayed.
-
To change the location, click Change and browse to the required location. Select the required location, and then click Next.
If changing the default destination folder, do not locate on a root drive. This will cause the agent to malfunction. If a non-default destination folder is selected, the SAS Connectivity Test in connected agents will not work.
-
To accept the default installation folder as displayed, click Next.
-
-
On the Authentication Service Setup window, enter the IP address of the SafeNet server and click Next.
The default location
localhostis not valid. It must be replaced with the SafeNet Authentication Server IP address here, during installation, or changed later in the Windows Registry.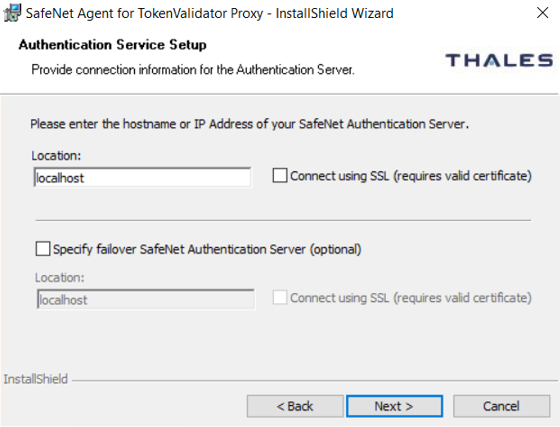
The Connect using SSL (requires valid certificate) setting is relevant only for the connection between the SafeNet Agent for TVP and the SafeNet server. It will not affect the agents that are connected through the SafeNet Agent for TVP.
-
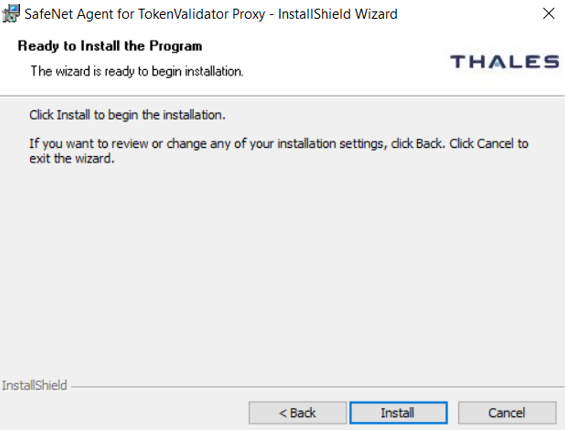
On the Ready to Install the Program window, click Install to begin installation.
-
When the installation process completes, the InstallShield Wizard Completed window is displayed. Click Finish to exit the installation wizard.

Note
-
Ensure that the IIS server is configured securely.
-
Ensure that the TLS private key of the SSL certificate on the IIS server is protected securely from any unauthorized access.
Upgrading SafeNet Agent for TVP
The SafeNet Agent for TVP 3.1.0 supports upgrade from v1.0.2 (or later versions).
To upgrade the agent, run the installation and select the appropriate upgrade options when prompted.
See installing SafeNet Agent for TVP.
Replacing SafeNet Agent for TVP
This version of SafeNet Agent for TVP does not support upgrade from versions earlier than v1.0.2.
Always work in Run as administrator mode when installing, uninstalling, upgrading, enabling, or disabling the SafeNet Agent for TVP.
To replace a SafeNet Agent for TVP version earlier than v1.0.2, perform the following steps:
-
Uninstall the previous version of the SafeNet Agent for TVP.
-
Ensure that all the installed files are removed. If not, remove them manually.
-
Install the latest version of SafeNet Agent for TVP.
-
Configure the latest version of SafeNet Agent for TVP.