
Install SafeNet Agent for Keycloak
The Installation script deploys all the binaries and theme resources required for Keycloak to work with SAS (built using Keycloak SPIs). After the successful deployment, the script restarts the Keycloak server.
-
Run the Safenet_Keycloak_Agent_Setup script from the extracted folder.
- For Windows, run Safenet_Keycloak_Agent_Setup.bat.
- For Linux, run ./Safenet_Keycloak_Agent_Setup.sh.
Note
For Linux, add the execution permission to all the scripts files, using the command
find “<path-of-keycloak-agent-directory>” -type f -iname "*.sh" -exec chmod +x {} \;
-
Enter the path of the Keycloak server directory, for example
C: \keycloak, in the command line and press Enter.
Note
Refer to Terminology or Prerequisites as a reference for the path.
-
Enter 1 to install the SafeNet Agent for Keycloak.

-
Enter Y to stop the server.

-
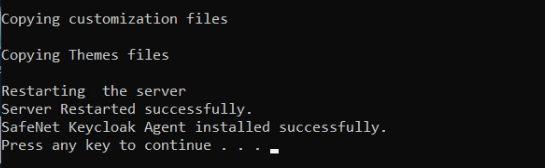
Post installation, the Keycloak server reloads and installation success message is displayed.
-
Press any key to close the window.
Note
- The agent reloads the server if it is already in the running state.
- If the server is in shutdown state, then the agent script only applies the customization.
- The Keycloak SAS Providers (Keycloak SPIs) are visible when the server boots up.
-
To view service provider information:
-
Log in as Keycloak administrator.
-
Click Admin in the top-right and then click Provider info.

-
STA Hybrid
For STA-Hybrid configurations:
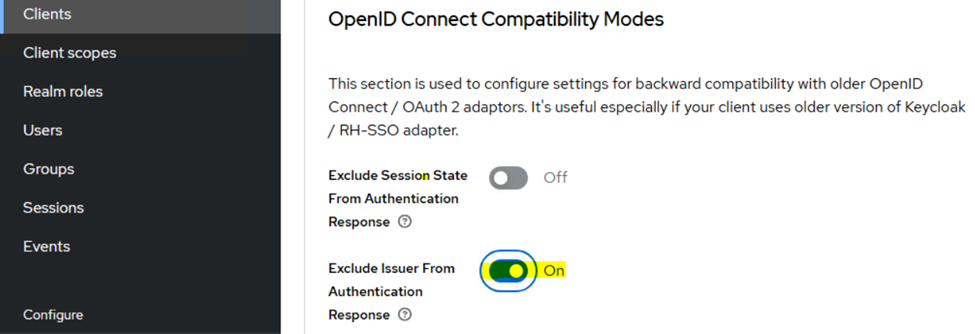
- Go to STA-Hybrid Client > Advance Settings.
-
Enable Exclude Issuer From Authentication.
For more information about STA Hybrid configurations, see STA Hybrid Access Management Add-On
SafeNet Agent for Keycloak version
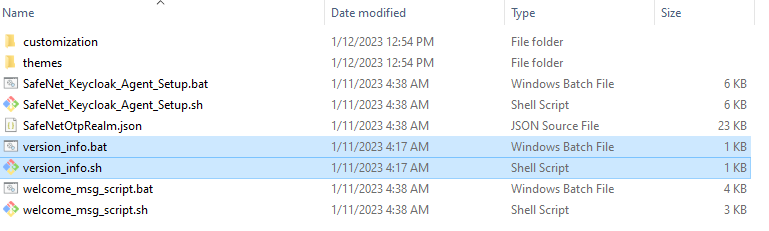
If the version_info file is not present in the bin folder, it means the initial GA version is installed on your system. You need to upgrade it.
View version for Linux-based systems
-
Go to the location of Keycloak bin folder:
{keycloakDirectory}\keycloak-24.0.5\bin -
Run the
version_info.shbatch file. The current installed version number displays.
View version for Windows-based systems
-
Go to the location of Keycloak bin folder:
{keycloakDirectory}\keycloak-24.0.5\bin -
Run the
version_info.batbatch file. The current installed version number displays.
View version of SafeNet Agent for Keycloak package
To view the version of the downloaded agent, run the version_info file located in the package.
Upgrade the SafeNet Agent for Keycloak
To upgrade the SafeNet Agent for Keycloak, follow the installation steps.
This SafeNet Agent release is compatible with the Quarkus distribution of Keycloak version 24.0.5.
For using the SafeNet Agent for Keycloak as per your Keycloak server, consider the following table:
| Keycloak Server | SafeNet Agent for Keycloak |
|---|---|
| Version 24.0.5 (Quarkus Distribution) |
1.5.0 |
| Version 22.0.5 (Quarkus Distribution) |
1.4.0 |
| Version 19.0.3 (Quarkus Distribution) |
1.3.0 |
| Version 15.0.2 (WildFly Distribution) |
1.2.0 |
For all newly created realms, the Authentication Flows do not need to change. After the 1.0.1 release, ensure the below settings are in place, for all existing realms.
-
Go to the Authentication tab, and search for
SafeNet.The four SafeNet Authentication Flows display in the search list.

-
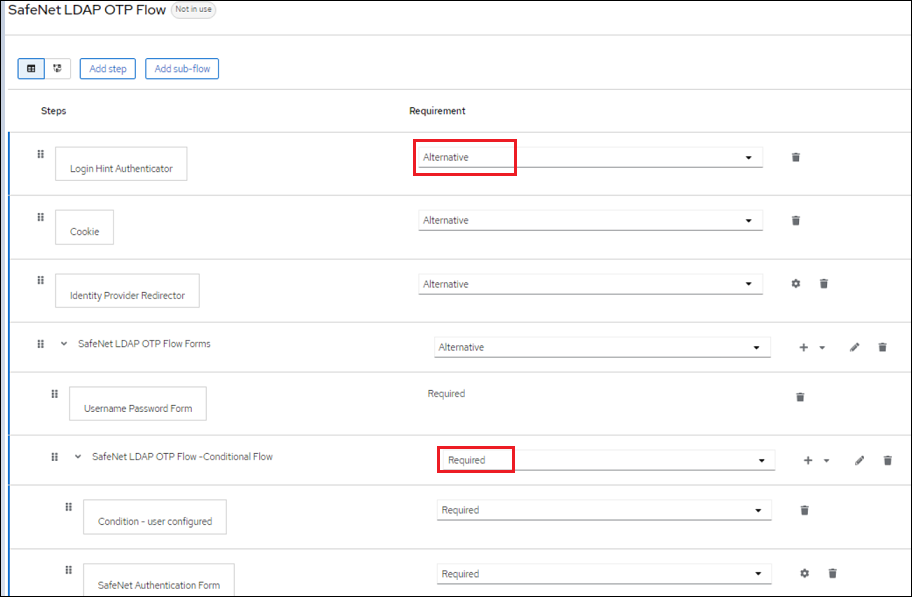
Select the required flow and ensure the requirements are set to Alternative while the sub-requirements under SafeNet Flows are set to Required.
If Keycloak is set up as a Windows service, then the service must be stopped before upgrading the SafeNet Agent for Keycloak.
Uninstall SafeNet Agent for Keycloak
-
Follow steps 1 and 2 from Install SafeNet Agent for Keycloak.
-
Enter 2 to uninstall the SafeNet Agent for Keycloak.

-
The agent is uninstalled successfully.

The client URLs configured with SafeNet Agent for Keycloak wont't work anymore. Also, the Authentication bindings, SafeNet LDAP OTP Flow, SafeNet OTP Flow, SafeNet LDAP UserIdProvided Flow, and SafeNet OTP LDAP Flow won't work.
-
Press any key to close the window.