[ This page is a repeat of a similar page in the Maintenance section. The other page uses drawings to illustrate the actions. Some people prefer photos; some people prefer line-drawings. ]
The Luna SA appliance has two "hot-swap"-capable power supplies. In normal operation, they run concurrently. In the event that one fails, for any reason, the other maintains system function. This allows you to notice the fault and replace the faulty power supply with no system down time.
As you face the rear of the appliance the two power supplies are to the right.
In normal operation, each power supply indicates proper function via its own green LED.
If a power supply fails, a tone sounds, and the LED blinks red, alerting the attending technician to the problem. See the Power Supplies page for a table of indications.
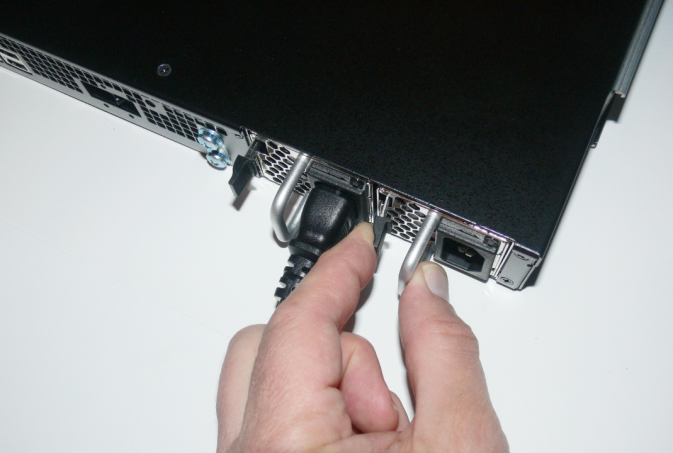
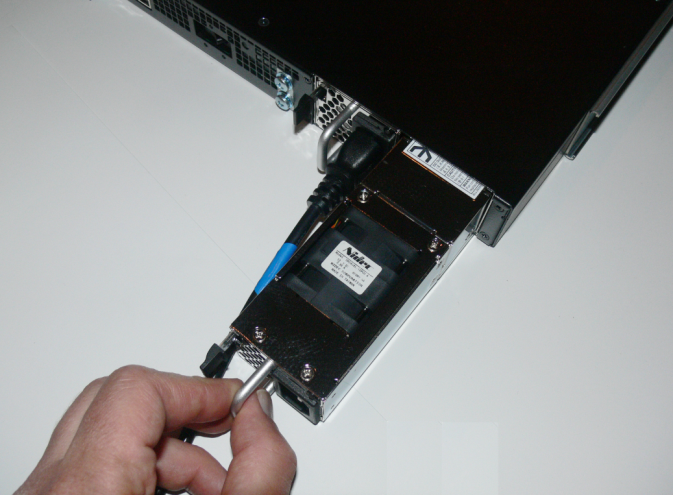
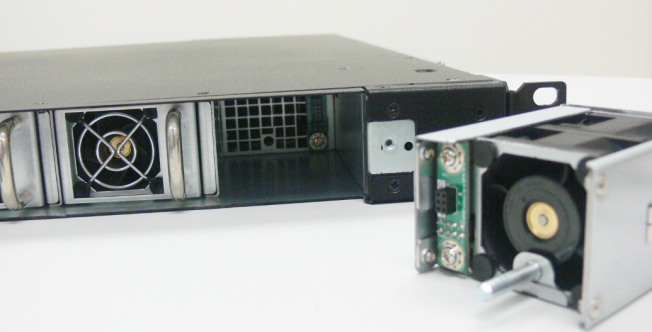
From the back of the appliance, grasp the handle of the selected power supply, and the spring-loaded release tab. Squeeze the two together and pull. The catch releases and the power supply slides out of the Luna SA appliance.Support the body of the power supply with your other hand.
Release the power-supply catch
Slide the power supply out
When facing the back of the appliance, insert the connector end of the power supply into the selected opening and push. The spring-loaded tab and catch should be on the left, and the AC input socket to the right as you insert. The power supply should slide in easily and then offer slight resistance at the end of its travel. Push gently to engage the connector at the end of the power supply with the system connector inside the appliance. When the spring catch snaps and locks, the power supply is fully inserted.
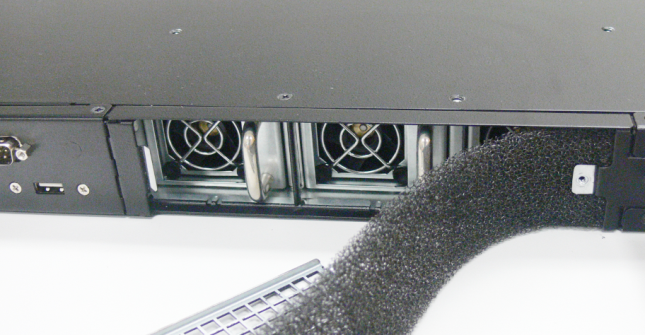
Three fan modules are mounted at the front of the appliance to pull in ambient air, which then circulates past the components inside the appliance and is expelled out the back, along with excess heat, by the tandem fan pairs in each power supply.
If there is any dust in the environment, it can be drawn into the appliance along with cooling air, so a filter in front of the intake fans helps to trap such pollutants before they can enter the system. Over time, in a less-than-ideal environment, that filter could become dirty and might restrict airflow. Thus it should be inspected occasionally and cleaned if necessary.
The front of the appliance is covered by a decorative and protective bezel, held in place by retaining clips over two mounting posts. The LCD display and the serial, PED and USB connectors are all accessible through the bezel, so there is no need to remove the bezel in normal operation. However, for filter and fan maintenance the bezel must come off. To uncover the front of the appliance, grasp the bezel firmly and pull toward you to release the clips.
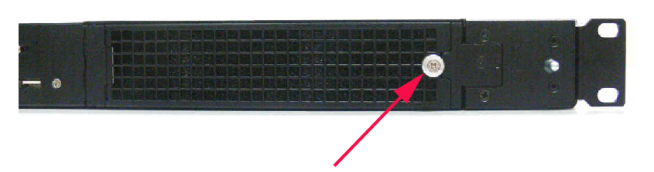
Three ventilation fans, behind a mesh filter and an open-grid filter cover, occupy the right-hand half of the front of the appliance. The filter cover is secured by a captive retaining screw with a knurled-knob.
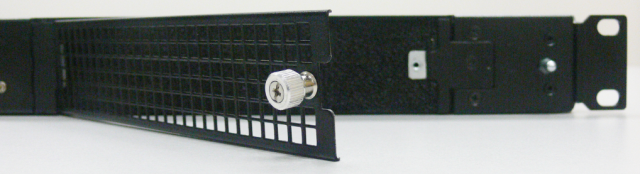
You can remove the filter cover by unscrewing the retaining screw (twist counter-clockwise). The panel falls free - it has simple metal tabs at the end opposite the retaining screw. This exposes the mesh air filter. With the cover removed, the filter is retained by friction. Tug it with your fingers to remove it.
Open the Fan Cover
If the filter becomes dirty, you can remove it, rinse with water, air-dry it, and return the filter to its position.
Remove and Clean the Filter
Insertion is easier if you tuck in the right-hand end first. If your fingers are not sufficient, use a blunt-end tool to push the end of the filter behind the fan retainer plate.
The fans are removable/replaceable, but opening the fan bay (not merely the filter cover) triggers a tamper event. If you have SRK enabled ( hsm srk enable ), you must perform hsm srk transportMode recover in order to resume using the HSM following any tamper event. If you do not have SRK enabled (no external split of the tamper key for PED-authenticated HSM, or for any password-authenticated HSM), then the event is noted, but a recover operation is not needed.
Opening the filter cover is not noticed and does not cause any kind of event.
The fans are redundant, so a single failed fan can wait until your next maintenance window for replacement.
The fan retainer plate is mounted in similar fashion to the filter cover, with tabs at the left-hand end and a screw fastener at the right-hand end. However, you will need a #8 Torx screwdriver to remove that screw (see above about this causing a tamper event).
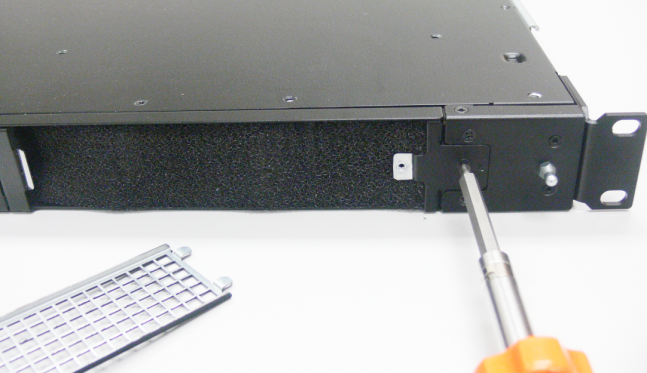
With the screw removed, the fan retainer swings out and falls free of the appliance.
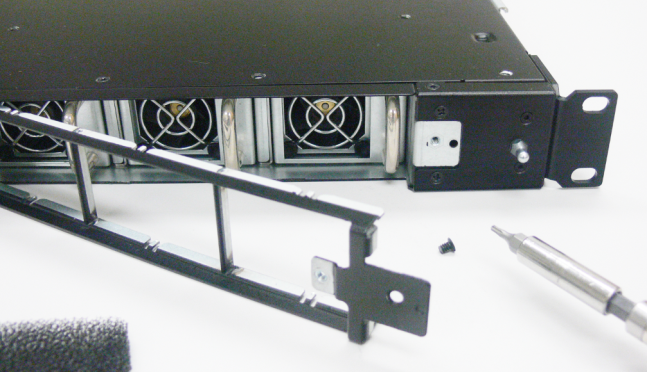
To remove any of the three fans, grasp its handle and pull toward you.
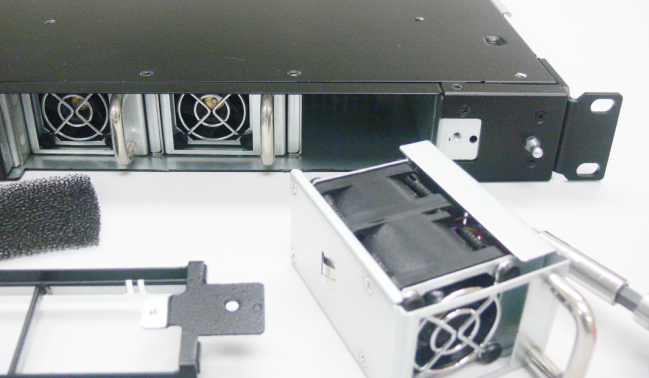
Replace with the same type of fan, by aligning the [new] fan with the slot and pushing in until the guide post and the fan's power connector mesh with their matching elements inside the slot.
You should feel the fan seat snugly in position and the front of the fan should be level with the front edge of the fan bay, and with other fans already in place.
When working fans are in all slots, reverse the above instructions to replace the cover and filter.
If you have SRK enabled, you will need to perform "hsm srk recover", using your purple PED Key, in order to resume HSM operation after this "tamper" event. If you do not have SRK enabled, a simple restart is sufficient. The tamper event is recorded in the log.
Any of the above maintenance activity can be performed while the appliance is mounted in a server rack and is powered on and in operation. The power supplies are "hot-swappable" but the fans are not: opening of the fan bay for removal of one or more fans causes a tamper event that interrupts Client servicing.
For optimum function and operating temperature control, ensure that defective fans or power supplies are replaced as soon as is practical to do so.