|
Home > |
Network HSM Installation/Configuration Guide > Testing and Configuration > Step 1: Access the Console
|
|---|
To test the system and configure the network, you must first access the SafeNet ProtectServer Network HSM console. There are two options:
•Direct access. Connect a keyboard and monitor (not included) to the USB (keyboard) and VGA (monitor) ports located on the unit's front panel.
•Remote access. Connect the RJ45 console port to a terminal emulation device, such as a laptop or terminal server.
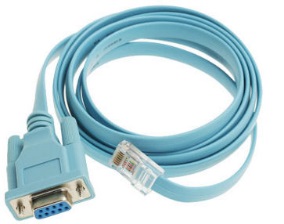
Note: To access the console remotely through the console port, you will need the appropriate cable. If your terminal device is equipped with a DB9 serial port, you require a cable with an RJ45 connector on one end and a DB9 serial port on the other end (see Serial cable: RJ45 to DB9). If your terminal device is equipped with an RJ45 serial port, you can use a standard Ethernet cable. Serial cables are not included.
Figure 1: Serial cable: RJ45 to DB9
If you are using a serial connection, configure your local VT100 or terminal emulator settings as follows:
|
Speed (bits per second) |
115200 |
|
Word length (data bits) |
8 |
|
Parity |
No |
|
Stop bit |
1 |
Continue to Step 2: Power on and Log in